How to Build a Raised Floor in Basement
Are you looking to upgrade your basement into something more useful? Building a raised floor in basement can help make the most of this oft-neglected space. Not only does it add structural strength, but it also allows for better access and ventilation.
It might seem like an intimidating project, but with the right materials and some elbow grease, installing a raised floor in basement is actually much easier than you think! In this blog post we’ll walk through all of the steps required to construct a strong and functional elevated platform that will maximize your living space without breaking the bank.
In this blog post, we’ll help guide you through how to build a raised floor in basement- from start to finish – everything you need to know about selecting materials, laying out boards correctly and more. So if you’re ready for an easy-to-follow project, read on as we dive into all the necessary steps needed for constructing a stylish yet functional new space!
Why is It Important to Build a Raised Floor in Basement?
1 . To Improve Air Circulation and Ventilation
When constructing a raised floor in your basement, you are essentially creating an air gap between the concrete slab and the flooring above. This allows for proper air circulation and ventilation, which is essential for maintaining a healthy indoor environment.
Without proper airflow, moisture can build up in the basement and create conditions that are conducive to mold growth. By building a raised floor, you can prevent this from happening and ensure that your basement remains dry and mold-free.
2. To Increase Insulation
Basements are known to be the coldest part of the house because they are built below ground level. By building a raised floor, you can add insulation between the concrete slab and the flooring above. This will help keep your basement warmer, making it more comfortable to spend time in. It will also help reduce your overall heating costs, as the insulation will prevent heat from escaping through the floor.
3. To Create Additional Storage Space
A raised floor in your basement can provide valuable storage space that would otherwise be wasted. The air gap between the concrete slab and flooring can be used to run electrical and plumbing lines, creating a hidden storage area beneath the floor. This can be particularly useful in smaller homes where storage space is limited.
4. To Prevent Water Damage
Basements are prone to flooding, whether it’s from heavy rain or a burst pipe. By building a raised floor, you are elevating your flooring above ground level and reducing the risk of water damage. In the event of a flood, the raised floor can act as a barrier, preventing water from seeping into your living space and causing costly damage.
5. To Create a Level Surface
Many basements have uneven or sloping floors due to settling or poor construction. By building a raised floor, you can create a level surface for your basement that is also more visually appealing. This will make it easier to install flooring, furniture, and other fixtures without having to deal with uneven surfaces.
How to Build a Raised Floor in Basement in 5 Easy Steps
Step 1: Determine the Purpose
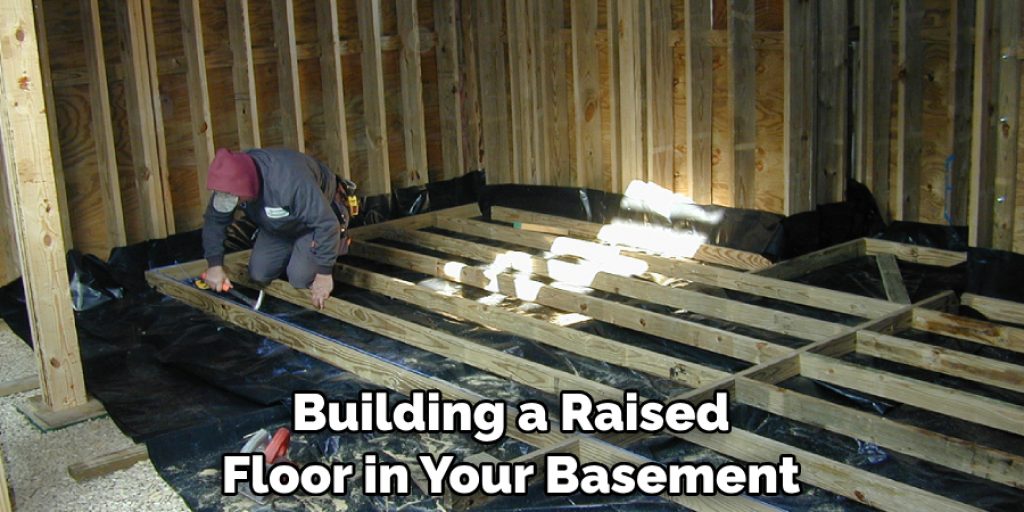
Building a raised floor in your basement can serve many purposes. It can increase the height of your ceiling, add insulation, and create additional storage space. Before beginning this project, it’s important to determine what you want to achieve with your raised floor.
Step 2: Gather Materials
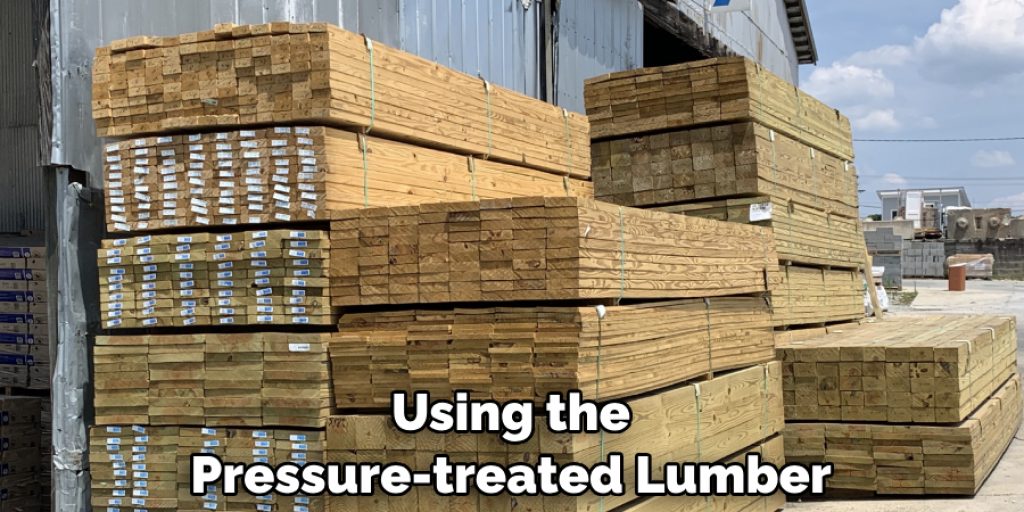
To build a raised floor in your basement, you will need some basic materials such as pressure-treated lumber, plywood, screws, drill, circular saw, and a level. You may also need insulation if you plan to use the raised floor for additional living space.
Step 3: Measure and Plan
Measure the area using measuring tape where you want to build your raised floor and create a detailed plan. This will help you determine how much material you will need and the layout for your floor. Make sure to leave space for proper ventilation if you plan to use insulation.
Step 4: Build the Frame
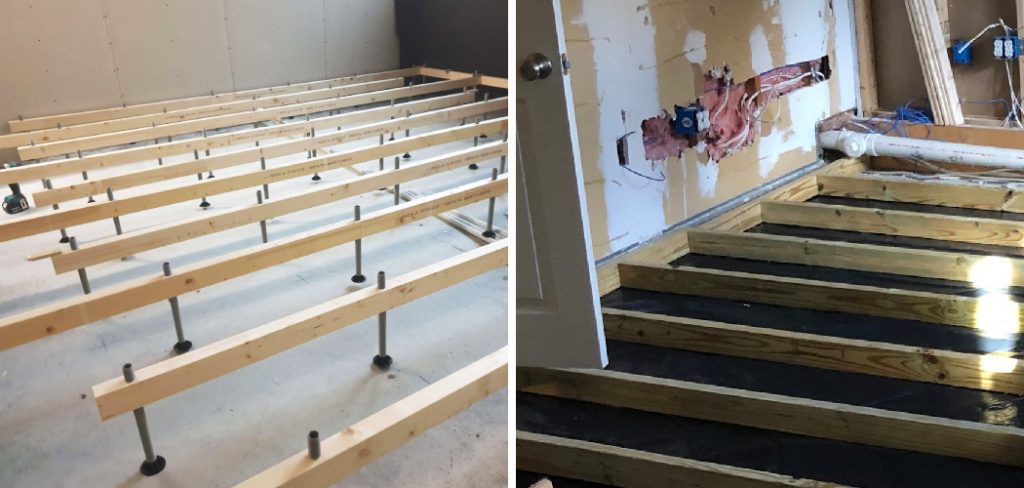
Using the pressure-treated lumber, build a frame for your raised floor according to your plan. Make sure to level the frame and secure it with screws. This will serve as the base for your raised floor.
Step 5: Lay the Flooring
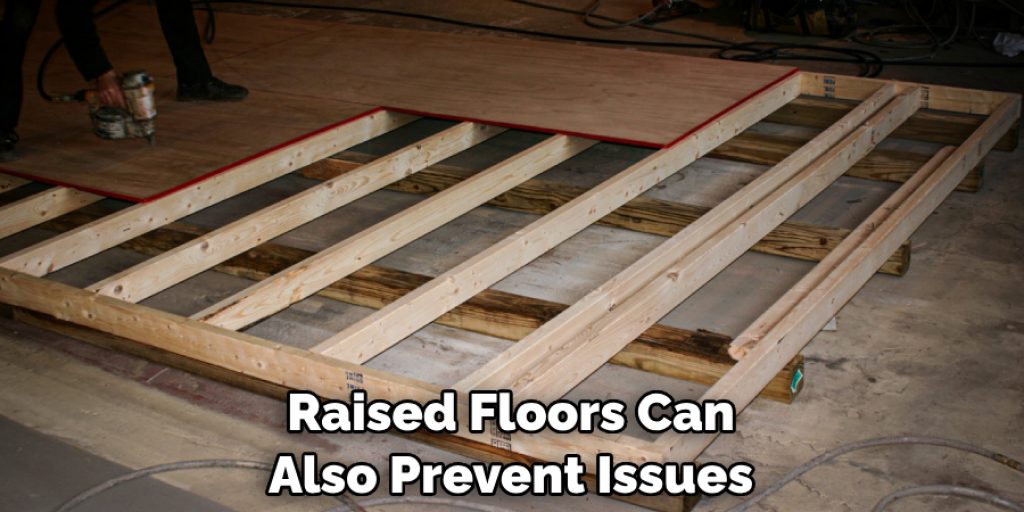
Once the frame is in place, lay down plywood on top of it and secure it with screws. You can also add additional layers of insulation if desired. This will create a sturdy and level surface for your raised floor.
Some Additional Tips to Build a Raised Floor in Basement
1 . Do Not Ignore Moisture
While building a raised floor in your basement, it is crucial to consider the moisture levels. Basements are prone to high humidity and water seepage, which can cause damage to your flooring materials. To avoid this, make sure you have proper insulation and waterproofing measures in place before starting the construction process.
2 . Choose the Right Flooring Materials
When it comes to building a raised floor in your basement, the right flooring materials can make all the difference. Consider using materials that are resistant to moisture and mold growth, such as vinyl, engineered wood or ceramic tile. These materials are also durable and easy to maintain.
3 . Plan for Proper Air Circulation
A raised floor can help with air circulation in your basement by allowing air to flow under the flooring. However, it is essential to have vents or openings in the floor to ensure proper ventilation. This will prevent musty odors and mold growth, keeping your basement clean and healthy.
4 . Use Quality Support Posts
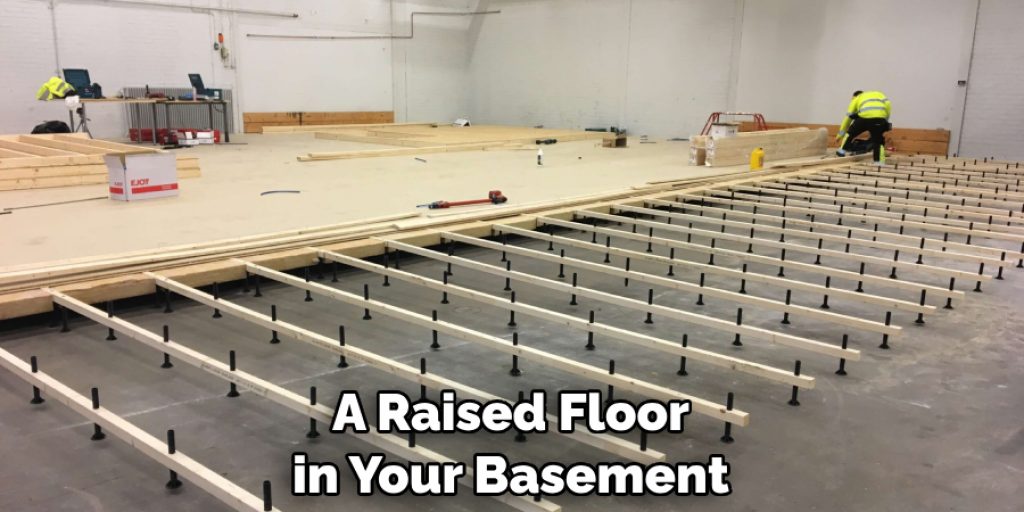
Support posts are an integral part of a raised floor in a basement. Make sure you use high-quality posts that are strong enough to support the weight of your flooring and any furniture or equipment. Additionally, ensure that they are properly anchored to the floor and ceiling for stability.
5 . Consider Hiring a Professional
Building a raised floor in your basement may seem like a simple task, but it can be challenging and time-consuming. If you are not confident in your DIY skills, consider hiring a professional contractor who has experience in building raised floors. They will ensure that the construction is done correctly and up to code.
Frequently Asked Questions
What Precautions Should I Take Before Building a Raised Floor in My Basement?
Building a raised floor in your basement is not as simple as it may seem. There are several factors that you need to consider before beginning the construction process. Some of the precautions you should take include: Checking the foundation. The first and most important step is to check the condition of your basement’s foundation.
If the foundation is not strong enough, it may not be able to support the weight of a raised floor. This can lead to serious structural issues in your home. It’s important to consult with a professional and get their opinion on whether or not your foundation is suitable for building a raised floor. Assessing potential moisture problems.
Basements are notorious for being damp and prone to moisture issues. Before building a raised floor, it’s essential to address any existing moisture problems and take necessary measures to prevent future ones. This can include sealing cracks in the foundation, installing a sump pump, or improving ventilation.
Can I Build a Raised Floor on My Own or Do I Need Professional Help?
Building a raised floor in your basement is not something that can be done without proper knowledge and expertise. While some people may have the skills to tackle this project, it’s always recommended to seek professional help. A contractor will have the necessary experience and tools to ensure that the raised floor is built correctly and safely. They can also provide guidance on the best materials to use and techniques for a successful construction.
What Materials Do I Need to Build a Raised Floor in My Basement?
The type of materials you’ll need will depend on the design and purpose of your raised floor. But some essential materials include pressure-treated lumber, plywood or OSB sheets, concrete blocks or support beams, screws, and nails. You may also need insulation, moisture barriers, and flooring material depending on your basement’s climate and intended use.
How Long Will It Take to Build a Raised Floor in My Basement?
The time it takes to build a raised floor in your basement will vary based on the size of your space and the complexity of the design. However, on average, it can take 2-3 days with a team of experienced professionals. Keep in mind that unexpected delays or issues may arise, but hiring professionals can ensure the project is completed efficiently and within a reasonable timeframe.
Are There Any Benefits to Building a Raised Floor in My Basement?
Yes, there are several benefits to building a raised floor in your basement. Some of them include: added insulation and warmth, improved moisture control, increased usable space, and better ventilation.
Raised floors can also prevent issues such as mold growth, flooding, and structural damage caused by direct contact with the cold ground. So whether you want to create a cozy living space or a functional storage area in your basement, building a raised floor can be a valuable investment for your home.
Conclusion
All in all, the best way to build a raised floor in your basement is to follow the step-by-step instructions on how to build a raised floor in basement discussed in this blog. Start by planning out your design and then prepare the materials you need.
From there, frame and place your beams, install the subfloor, and finish it up with flooring and baseboard trim—all while taking safety precautions with equipment and building procedures. With careful preparation, you’ll have a new raised floor for your basement that is easy to put in and can be enjoyed for years to come!


