
How to Build a Regulated Box Mod
There’s something about a regulated box mod that feels satisfying. Maybe it’s the fact that you can customize them to your heart’s content, or maybe it’s the knowledge that you’re vaping with a device that’s been specifically tailored to your needs. Building a regulated box mod is a great way to get exactly what you want out of your vaping experience.

Building a regulated box mod is actually not that difficult, and with our step-by-step guide, you’ll be able to put together a great device in no time. Just make sure that you have all of the necessary parts and tools before you get started. In any case, if you’re interested in building your own regulated box mod, this is the guide for you!
In this blog post, we’re going to show you how to build a regulated box mod. This is a great project for beginners, and it will allow you to personalize your vaping experience. We’ll walk you through each step of the process, from selecting your parts to wiring everything up correctly. So what are you waiting for? Let’s get started!
Things You Will Need
- A drill
- A soldering iron and solder
- Wire cutters
- Wire strippers
- Wires (we recommend using AWG 22 gauge)
- A switch (we recommend using a toggle switch)
- A box (we recommend using a plastic or aluminum box)
- Battery connector (we recommend using an XT60 connector)
- A voltmeter (this is optional, but it’s helpful to have)
Step by Step Process on How to Build a Regulated Box Mod
1. Select Your Parts:
The first step is to select all of the parts that you will need for your project. This includes things like your box, switch, battery connector, and wires. You can find all of these parts at your local hardware store or online.
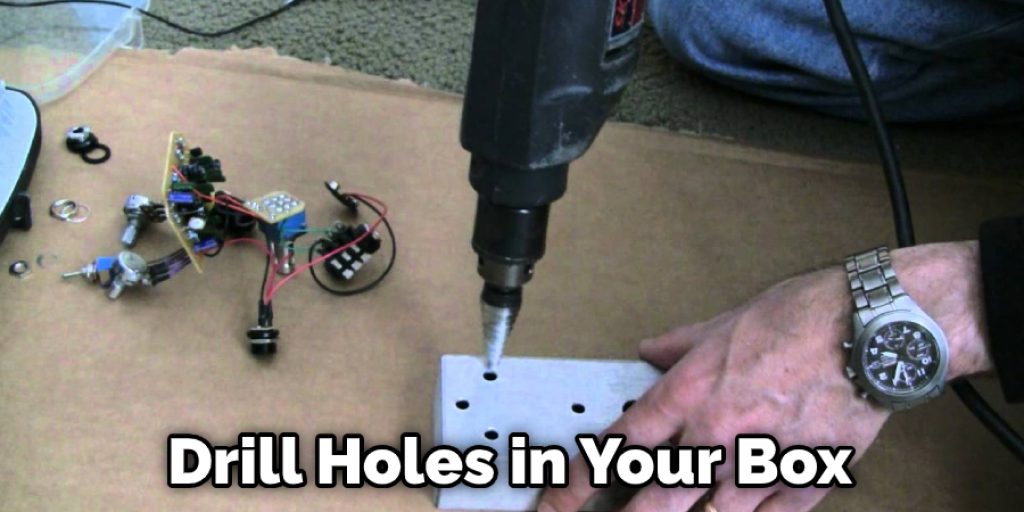
2. Drill Holes for Your Wires:
Once you have all of your parts, the next step is to drill holes in your box for the wires. Make sure that the holes you drill are big enough for the wires to fit through but not so big that they will be loose. Drill one hole for the positive wire and one hole for the negative wire.
3. Solder Your Wires:
Now it’s time to solder your wires. This is a pretty simple process, but if you’ve never soldered before, be sure to check out our tutorial on How to Solder. Basically, you’ll want to tin the wires (apply a small amount of solder to them, so they’re easier to work with), and then in the contact points on the switch and battery connector. Then, heat up your iron and touch it to both the wire and the contact point, and the solder should flow between them and create a nice, strong connection.
4. Attach Your Switch:
Now that your wires are all soldered, it’s time to attach your switch. Most switches will have two solder lugs on the back. One of these lugs will be for the “common” lead, and the other will be for the ” normally open” or “NO” lead. The common lead is usually the longer of the two, and it should go to the center lug of your switch. The NO lead is usually shorter, and it goes to the outer lug of the switch.
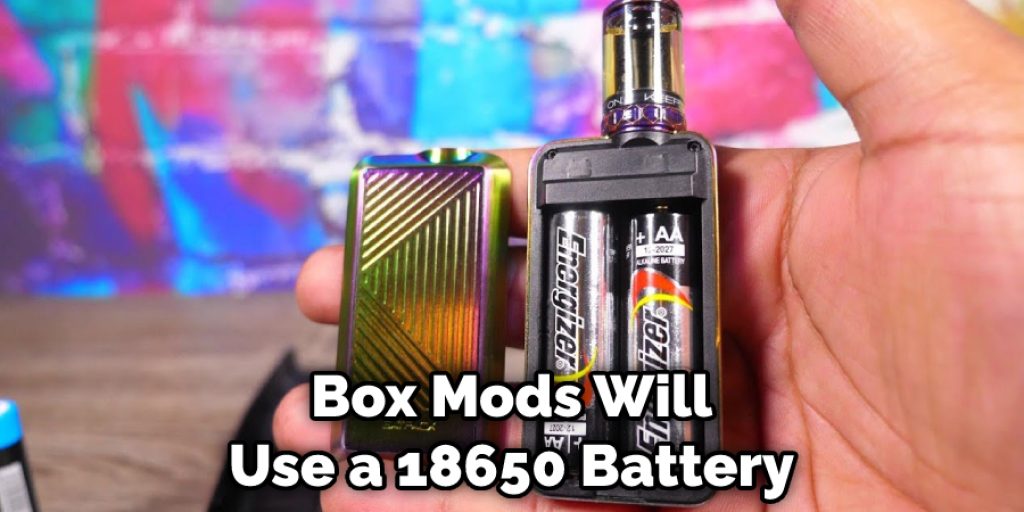
5. Attach Your Battery:
The final step is to attach your battery. Most box mods will use a 18650 battery, although some may use a 26650 battery. If you’re unsure which type of battery to use, consult your mod’s documentation. Once you’ve determined which type of battery to use, follow these steps to attach it to your mod:
- Remove the battery cap from your mod. This is usually done by unscrewing the cap.
- Insert the battery into the mod. Make sure that the positive end of the battery (marked with a + sign) is pointing up.
- Screw the battery cap back on.
- Your mod is now ready to use!
Keep in mind that you’ll need to charge your battery before using your mod. Most box mods have an on/off switch, so be sure to turn your mod off when you’re not using it. Otherwise, your battery will discharge and eventually need to be replaced.
6. Switch and Battery Connector:
Once your switch and battery connector are attached to the box, you can now move on to the next step, which is adding your chosen power source. For this part of the process, you will need to make sure that the wires reach from the battery connector to the switch. You can sell them in place or use heat shrink tubing to secure them.
7. Power Source:
The power source for your regulated box mod will be a critical component to consider. Many options exist, including 18650 batteries, 26650 batteries, and even Lipo batteries. Choose the option that best suits your needs in terms of size, power output, and safety.
8. Mosfet:
A MOSFET is an important safety component in a box mod. It acts as a switch to prevent too much current from flowing through the device and damaging it. Most box mods will have a built-in MOSFET, but you can also buy them separately and install them yourself.
9. Wiring it Up:
Now that you have all your parts, it’s time to start wiring up your regulated box mod! If you’re using a pre-made PCB, the process will be much simpler since everything will be labeled for you. However, if you’re making your own PCB or working with a bare board, there are a few things you’ll need to keep in mind.
The first thing you’ll need to do is solder your power switch to the positive and negative rails of your PCB. Make sure that the switch is positioned so that the “on” position is facing up, as this will make it easier to access when you’re using your mod.
Next, you’ll need to solder your battery contacts to the positive and negative rails of your PCB. If you’re using a spring-loaded contact, make sure that the “+” side is facing up to contact the positive terminal of your battery.
Once your power switch and battery contacts are in place, you can start soldering on your other components. Again, if you’re using a pre-made PCB, all of the holes will be labeled for you.

10. Attach Everything to the Box:
Now it’s time to start putting everything together. First, take your switch and battery connector and attach them to the box. You can use screws, rivets, or even just hot glue to do this. Just make sure that they’re secured and can’t move around.
Next, attach your PCB to the box. You can use screws, standoffs, or adhesive to do this. Once again, make sure that it’s securely attached and can’t move around.
Tips and Warnings on How to Build a Regulated Box Mod
Tips:
1. Do your research
it is important to know what you are getting into before you start building your own regulated box mod.
2. Choose the correct components
when you are building your own regulated box mod, you need to ensure that you are using the right components. If you use the wrong components, it could be dangerous.
3. Follow the instructions carefully
when you follow the instructions on building a regulated box mod, it is important to be careful and follow them correctly. If you make a mistake, it could result in a dangerous situation.
4. Test your mod before using it
After you have built your regulated box mod, it is important to test it before using it. This will ensure that everything is working correctly and safe to use.
Warnings:
- Do not attempt this build if you are not comfortable working with electrical components.
- Always consult an experienced professional for help when working with electrical components.
- Use proper safety equipment when working with electrical components.
- Do not use this box mod while driving or operating machinery.
Do Regulated Mods Explode?
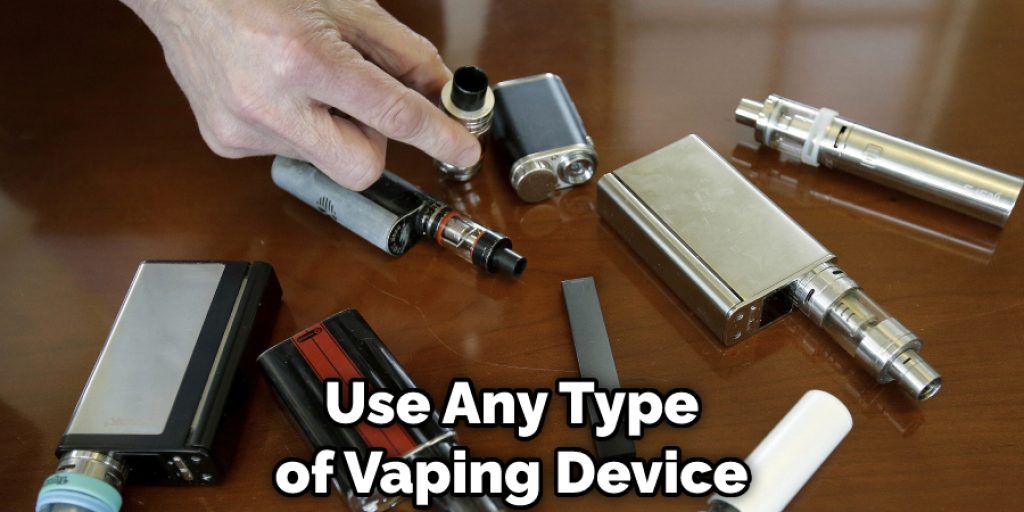
The short answer is no. Regulated mods do not explode. Most explosions are caused by user error, such as using an incorrect battery or building a faulty coil. However, even with proper care and maintenance, accidents can still happen. That’s why it’s important to understand the risks involved with using any type of vaping device and take precautions to avoid potential hazards.
Conclusion
In this blog post, we will teach you how to build a regulated box mod. This is a more advanced project and should not be attempted by beginners. However, if you have some experience with electronics and are comfortable working with small parts, then you’re ready to get started. We’ll be using a few simple tools and supplies that you may already have at home and some that you can purchase at your local hardware store.
With a bit of patience and attention to detail, you’ll be able to create a high-quality box mod that will serve you well for years to come. If you have any questions or need help with any part of this project, feel free to leave a comment below, and we’ll do our best to assist you. Thanks for reading!


