
How to Build a Roman Tub
Are you quite excited to learn about the process of how to build a Roman tub? If yes, then we must say this content is going to be turned out into a perfect guideline for you.
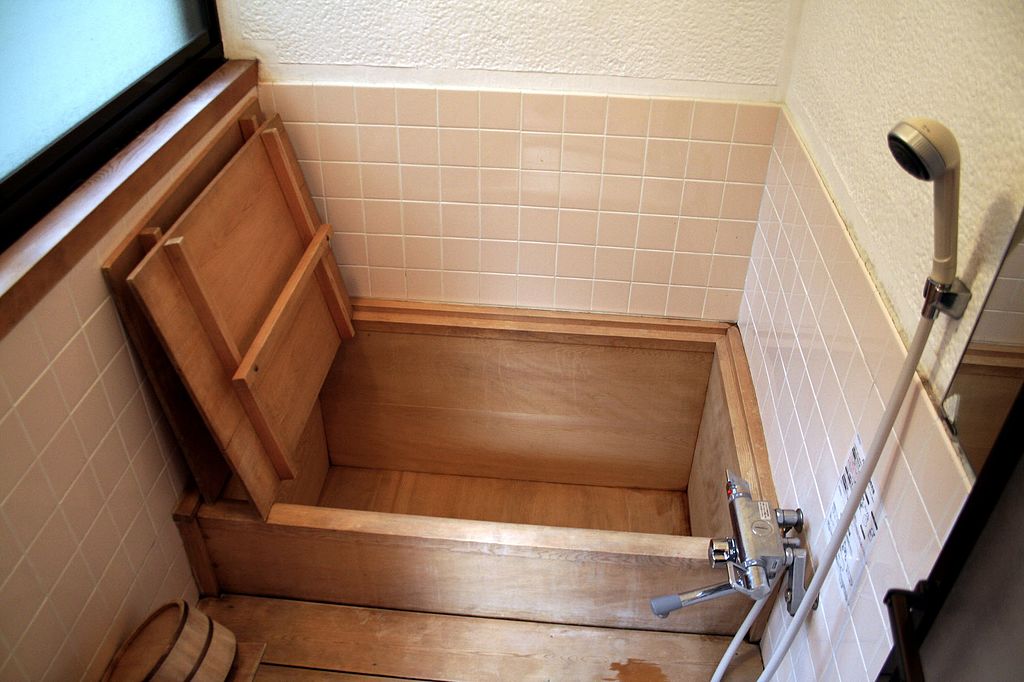
A roman bath isn’t always similar to a customary western-style bath in that it is a lot similarly and frequently extra significant. They may be often integrated with the ground, making going in and out of the bathtub simple.
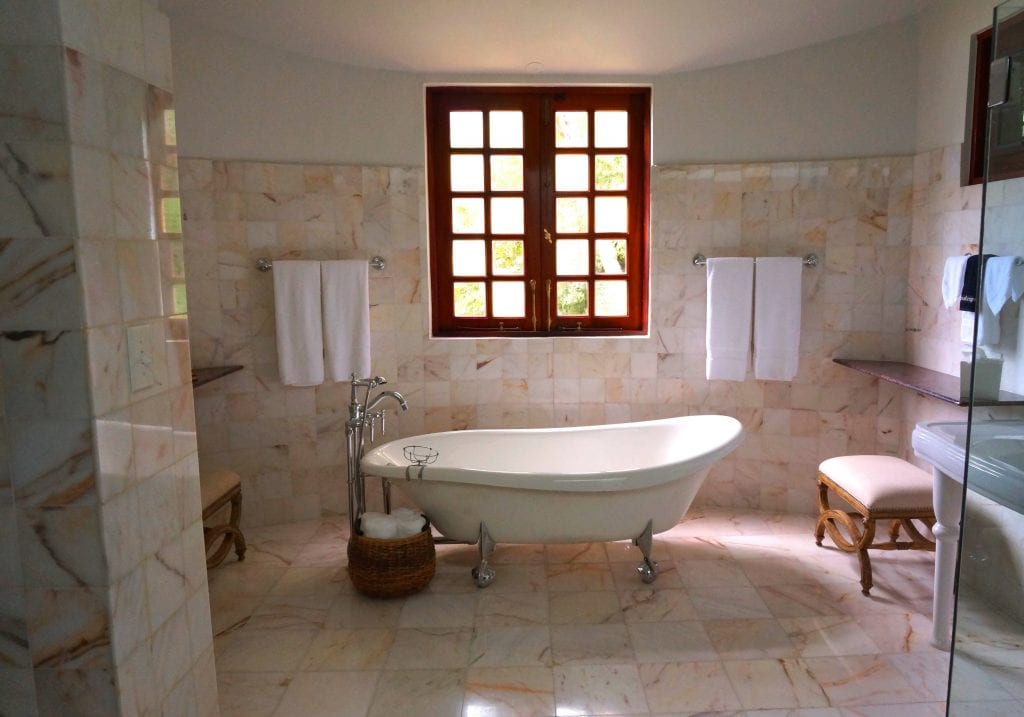
Roman tubs allow people to relax and enjoy themselves. With modern, western-style showers or tubs, it can be difficult for some people to sit and relax, as they may be smaller and shallow. Roman tubs allow tall people to enjoy a shower.
As expressed above, maximum Roman tubs are close to the floor, which makes them easy to use. The Romans were the first to do washing up artistry instead of a task. Through using a Roman tub, you could continue with the tradition.
The Process of How to Build a Roman Tub
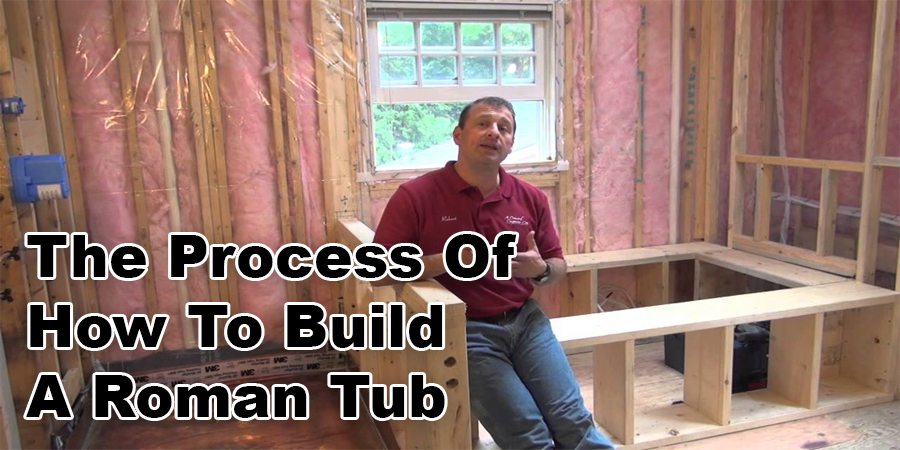
- You will need to build a frame for your tub using 2-by-4s. Join the wood using butt joints and at least three screws for each joint. The bottom spacing of the framing lumber should be 16 inches. Install side walls at right angles to the floor; however, angle the back of the tub, which is comfortable to lean against.
- It isn’t lovely inside the pipes for the channel and fixture. Introduce layers of 19/32-inch outside assessment water-proof pressed wood on the bath’s ground to provide little help—counterbalance joints at any rate 6 inches.
- Cut a 4.5-inch hole in the compressed wood wherein the channel will go. Dismantle the channel and lay the channel base within the gap, so the rib of the channel base rests on the pressed wood. Dissolvable weld the channel base to the channel pipe. Unfold the channel base establishing with pipe tape to protect materials from falling into the channel.
- Attach the backer board to the shower using screws meant for backer board. Cut and shape the backer board as closely as possible to make it easier to seal the shower. Spread the joints with glue and apply pressure tape.
- Follow Portland concrete/sand mortar mixture over the ground of the tub to slant towards the channel at 1/4 inch for each foot. The mortar bed needs to be flush with the pinnacle surface of the channel base.
The writer believes that the reader has learned how to build a Roman tub and that all of their questions have been answered.
So, if you can follow all the steps we mentioned in the article, we think you might be able to build a Roman tub successfully without needing any other guidelines. Let’s get started with the process!


