
How to Build a Soffit With Metal Track
Soffits are actually one kind of exterior or internal component of any building structure, that can be set in a horizontal and upright position. The significant role of the soffit is really needless to say for the protection of our house. Both the interior and exterior soffits have their own benefits. At the same time, the exterior one provides an additional barrier against the moistures of outside and keep the wall protected. As a result, your property wall will remain and secure from structural damage. Honestly, if your house doesn’t have any fascia and soffits, then surely you are risking the lifespan of your valuable property to the environmental elements. So, without wasting any time, you should start looking for how to build a soffit with metal track?
The soffits also enhance the structural beauty of your home and make it look more elegant. In fact, if you can build and install the metal soffits properly with the roof of your house, you will never have to worry about painting again. Anyway, there are several other beneficial aspects of soffits, and if I just explain it one by one, there will be ten pages more to read. So, without wasting any time, let’s see how to build a soffit with metal track?
Tools You Will Need
- 12-in trim nail punch
- Fascia folding tool
- Framing square
- 4-in-1 screwdriver
- Tin snips
- Utility knife
- Chalk line
- Hammer
- Circular saw
- Jigsaw
- Combination square
- Fascia folding tool
- Framing square
- plywood-cutting circular saw blade
- Pry bar
- Chalk line
- Circular saw
- Safety glasses
- Sawhorses
- Tape
- Tin snips
Materials
- Drip edges
- J-channel
- Soffit panels
- Fascia
- Trim nails (1 or ½ inches)
How to Build a Soffit With Metal Track
As you can see from the above list, I am going to use Aluminum for this project. Yes, you can use the metal-based on your preference, it’s completely up to you. But Aluminum offers a perfect look, and they take less time for the installation. However, now it’s time to dive into the main action. So, let’s get started.
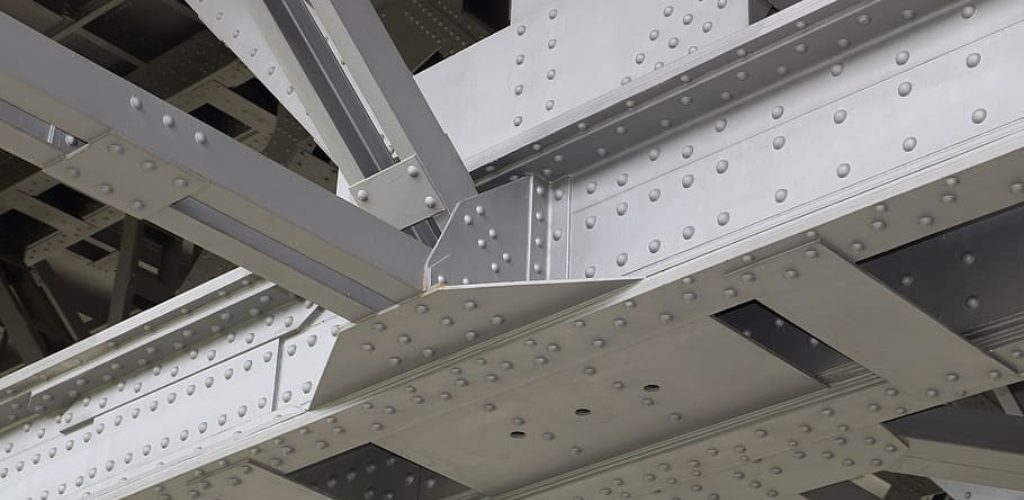
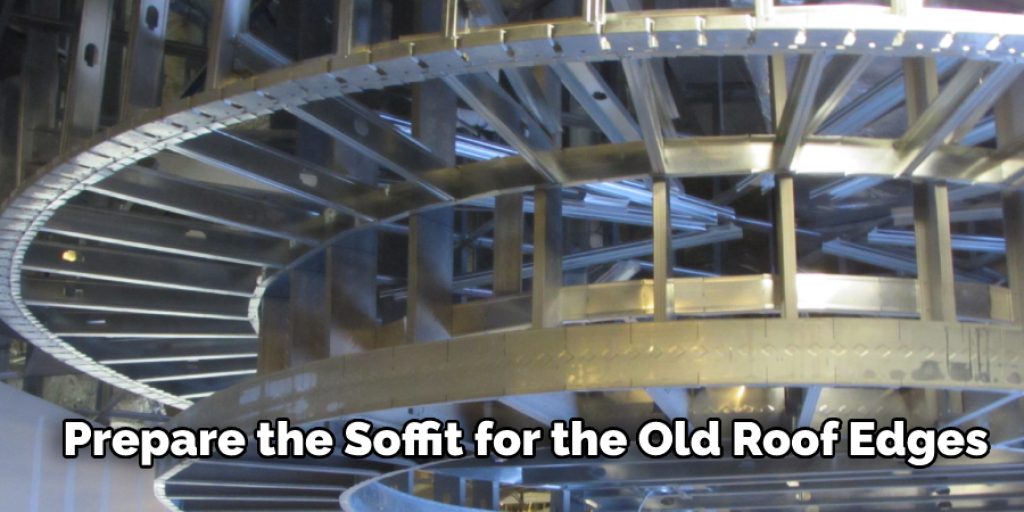
Step 1 – Prepare the Soffit for the Old Roof Edges
To begin, you must take out the old boards and rotted fascia (if there is any). Next, cut out extra venting areas for soffits where needed and then remove the current soffit grilles to allow more airflow.
For doing this, you have to start by taking the gutters off. Remember, if the color of these gutters does match with the new trim, then it can be reused. So, remove them carefully so that they can survive.
Most of the houses have pre-made soffit vents to bring the outside air and prevent the ice dams. It is recommended to remove the old vents if you have any. In this case, you should make one vent of 1 sq. foot. Within every 300 sq. ft. So, if the number of the vents in your ceiling is less, then consider yourself for adding some more. Even if it looks a bit ugly, don’t worry; by the end of this process, all of them will be covered up.
Step 2 – Installation of the Soffit Panels
In this case, you must attach the J channels with the current soffit frame. Simply nail it against the frame. At the corner, note the width of the corner boards and then cut the bottom according to that measurement. It will stretch the width of the next section past corner boards. After that, you must cut a 45-degree angle and attach the pieces. It will provide the corners with a mock miter look.
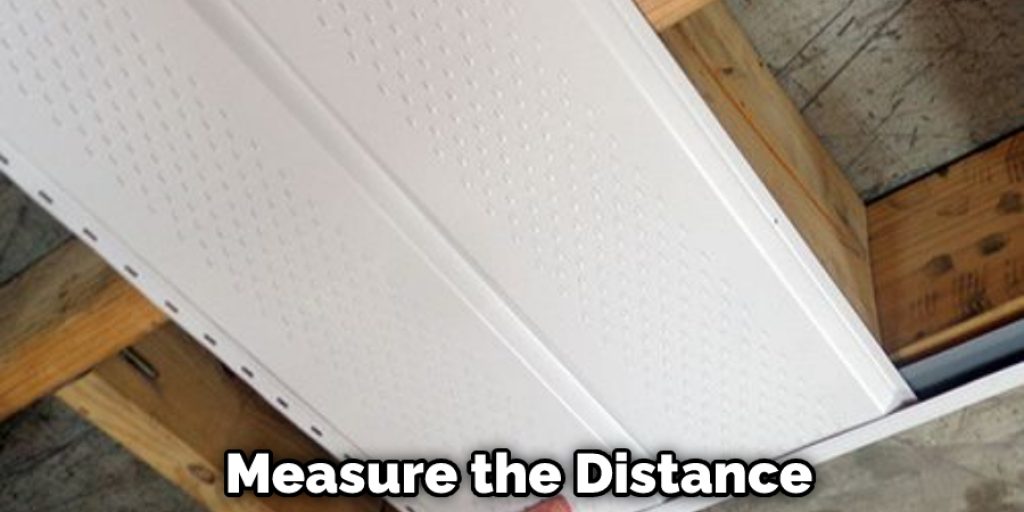
Step 3 – Cutting the Soffit Panels
You must measure the distance between the wooden soffit and the J channels at this step. Make sure to maintain the depth consistency of every soffit. Then cut the soffit panels with the measurement of ¼ inches or shorter. In this case, the cutting length should be according to the gaps between each soffit. If needed, you have to increase the dimension of the soffit panels.
Step 4 – Nail Up the Panels
Place the first panel against the wall in J-channel. It should go through the groove side in the direction of the construction. Turn the panels into a square using the carpenter’s square, and then nail the panels at the bottom of the fascia. In this case, you must use the 1- 1/2 inch nails into the soffit panels and the outer side of V-grooves.
Step 5 – Install and Join the Additional Panels
Attach the additional panels through the grooves of the old panels and move through the J-channel. This attachment should go through the sides of the structure that are next to it, merging tongues and grooves.
Step 6 – Cut Holes for the Lights
Your ceiling will definitely hold some lights, but when you are attaching the soffits, they will usually cover the electrical outlets. So, when you reach those places by placing them one by one, you should cut a hole in that respective aluminum panel to connect the lights after installation. For this, mark a circle where you will push the light through and then drive a screwdriver from the center of it. Once you have made the holes, you can now attach that panels. It will now give enough accessibility to attach the lighting extensions and flush the extension rings from the panel.
Conclusion
Repeat the above process for the rest of your ceiling, and thus you will get are new soffits with your ceiling. Hopefully, you have understood the above process and won’t have to ask anyone how to build a soffit with metal track again. If you are still confused, you can explain that through the comment section below.


