
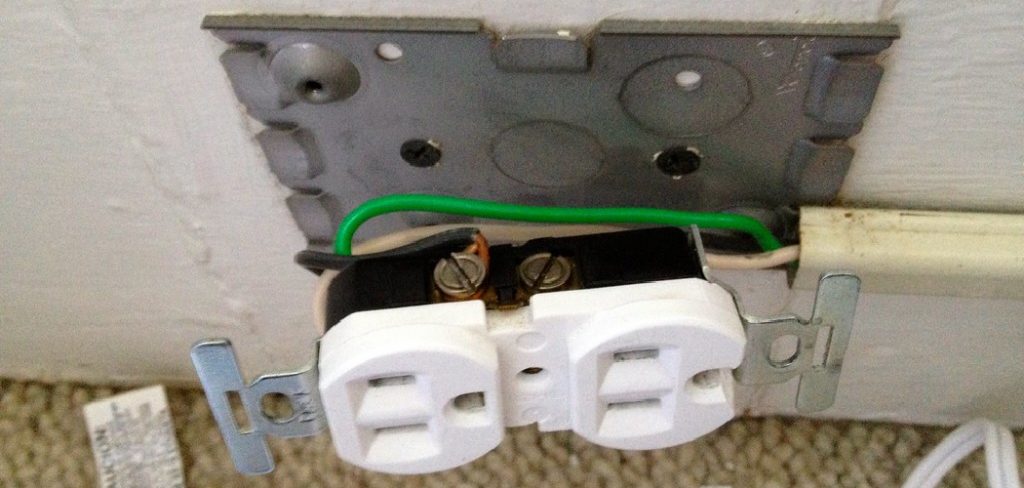
How to Repair Drywall around Electrical Outlet
Are you quite excited to learn about the process of how to repair drywall around electrical outlets? If yes, we would like to mention that the entire article will be the perfect solution for you.
In this article, we will provide all the necessary steps to repair drywall so that you can quickly understand the topic and apply the acquired knowledge in your practical work.
Drywall is the most commonly used material for internal walls. Although it is usually fragile, it is easy for a homeowner to repair.
The Process of How to Repair Drywall around Electrical Outlet
- Sand down the rims. Use a sanding wipe to sand away the free particles around the rims of the gouge. Run the sanding wipes the gouge itself to make an ugly floor that the joint compound applied to fill the mark, could have the choice to hold rapid to without any hassle.
- In order to fix a scratch in the wall, you need to follow the joint compound. This means taking a joint blade and slicing it sideways into the joint compound’s compartment. Then, you need to run the blade over the scratched region to smooth out the joint compound.
Turn the threshold at a ninety-degree angle to the divider and run it over the territory again to expel abundant compound. Make sure to evacuate the additional compound to ensure that the region would not have knocks once the substance dries.
Please take a look at the area it drains to determine whether or not the scratch has been filled. You can use the next coat of joint compound if it dries.
- Sand the zone. Utilize a wipe sander or another high-quality sander to tenderly blend the area with the encircling divider space after the joint compound has dried. You could likewise utilize a hosed wipe to clean the rims.
- Take action. Joint mixes are generally porous, so it is essential to make preparations territory before you paint it. Something else, the paint will appear to be unique from the encompassing zone. Utilize a groundwork that coordinates the paint shading.
If conceivable, utilize a similar one you initially used to paint the divider. Again, if you have paint that likewise goes about as groundwork, preparing first is not essential.
- Paint over the restoration. When the basis is dry, utilize a sensitive material to cowl up the vicinity with the divider paint. Paintings tenderly and use strokes like the strokes you used to paint the surrounding divider with the goal that the color will appear mixed after it has dried.

Final Thoughts
At the stage, we believe all your confusion about the topic of how to repair drywall around electrical outlets might have got its appropriate solution. If you can follow all the steps mentioned above accordingly, you can flawlessly execute the task even without requiring other’s help. Make sure one thing that you maintain all the safety measures. Then why are you still waiting to get started with the steps?


