
How to Build a Tattoo Machine Frame
When it comes to tattoos, there are a million ways to do them and just as many ways to create the machines that make them. If you’re looking for a way to step up your tattoo game or want to know more about the process, then this is the blog post for you.
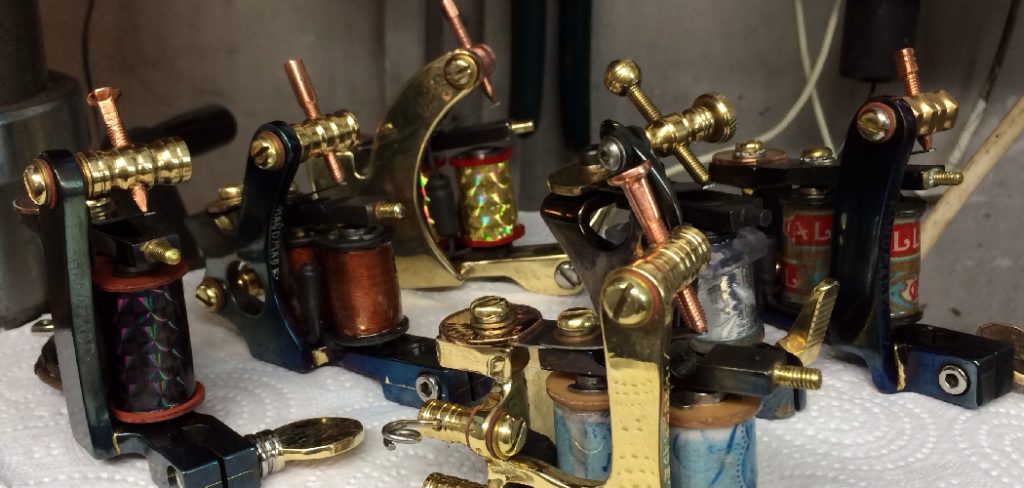
In today’s blog post, we’ll show you how to build a tattoo machine frame. This will save you some money in the long run, but it’ll also give you a chance to customize your machine exactly how you want it. So without further ado, let’s get started!
Why Should You Build a Tattoo Machine Frame
There are several reasons why you might want to build your tattoo machine frame. Perhaps you’re looking for a more affordable option than purchasing a machine outright. Maybe you’re a hobbyist who wants to learn more about the mechanics of tattooing. Or you could be a professional artist who wants to customize their equipment for specific purposes.
Regardless of your reasons, building your frame is a great way to gain control over the performance and capabilities of your machine. Of course, you will have more flexibility in terms of the design and construction, but you’ll also be able to fine-tune the settings to match your own needs and preferences.
What Things You’ll Need
- A quality steel frame
- Tattoo Machine Parts
- Basic tools, including a welder
- A drill
- A grinder
- Safety gear
Step by Step Process: How to Build a Tattoo Machine Frame
Step 1: Decide the Size.
The first thing you’ll need to do is decide on the size of your machine frame. This will be based on the steel frame size that you purchase.
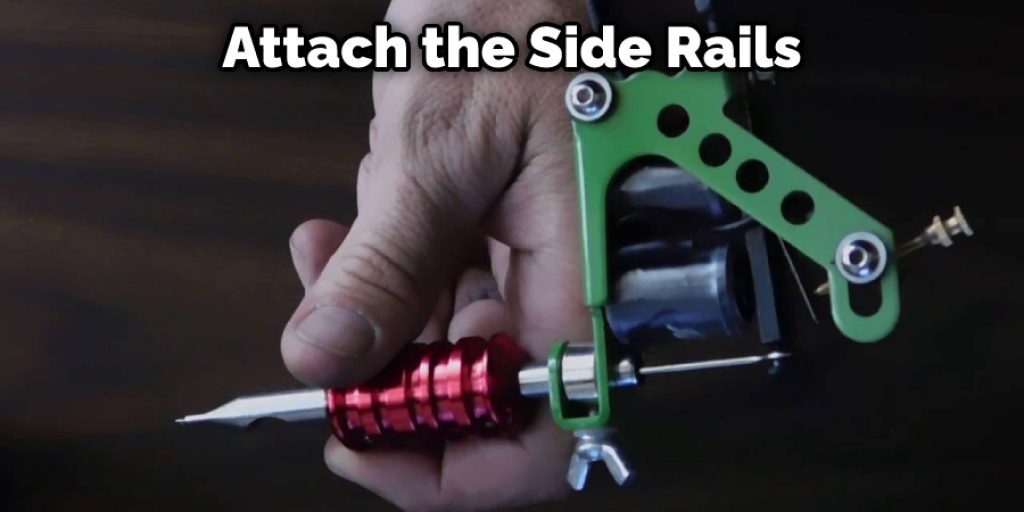
Step 2: Assemble the Frame.
Once you’ve decided on a size, it’s time to start assembling the frame. Begin by cutting all of the pieces to size using a chop saw or table saw. Next, drill pilot holes in the end rails and screw them. Ensure the screws are long enough to go through both the rail and the substrate. Next, attach the side rails using screws and glue. The rails should be flush with the top and bottom of the frame.
Step 3: Weld the Frame Together.
Now it’s time to weld the frame together. Begin by welding the end rails to the side rails. Next, weld the crossbar to the top and bottom rails. Finally, weld the armrests to the crossbar. When welding the frame together, be sure to use a strong weld. Also, make sure all of the welds are clean and no sharp edges. This will help ensure that your machine is safe and reliable.
Step 4: Cut the Steel.
The next step is to cut the steel to the desired size. Again, be sure to use quality steel and a good saw blade. When cutting the steel, keep all of the pieces in order and label them accordingly. This will make it easier to put the machine back together later.
Step 5: Drill the Holes.
Now it’s time to drill the holes for the tattoo machine parts. Begin by drilling a hole in the end rail for the power cord. Next, drill a hole in the crossbar for the armature bar. Finally, drill a hole in each armrest for the contact screws. When drilling the holes, make sure to use a drill bit that is the same size as the machine parts.
Step 6: Install the Tattoo Machine Parts.
Now it’s time to install the tattoo machine parts. Begin by drilling mounting holes in the top and bottom of the frame. Next, install the springs and the armature bar. Then, install the contact screws and the washers. Be sure to install the screws in the correct order. Finally, install the power cord and plug it in.
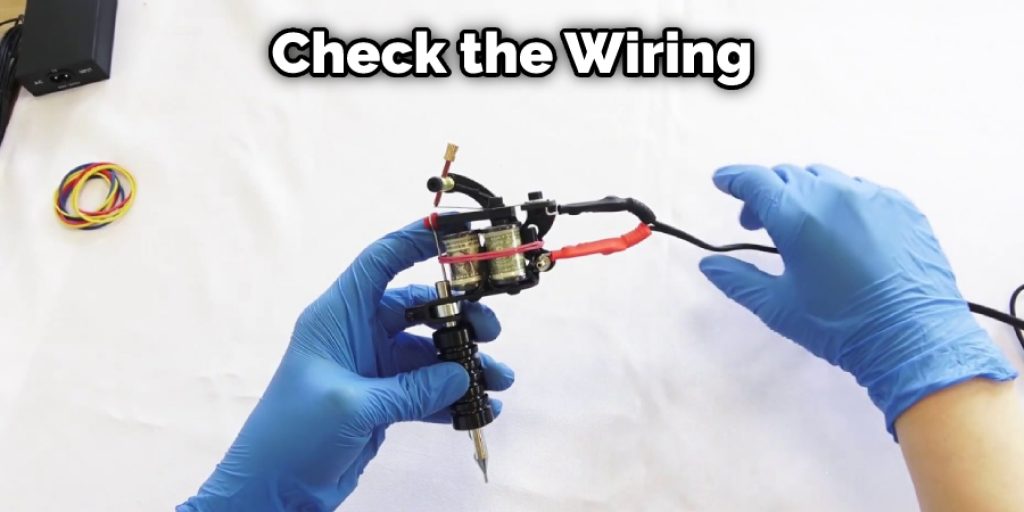
Step 7: Test the Machine.
Now it’s time to test the machine. First, plug it in and turn it on. The needle should move up and down when you touch the foot pedal. If it doesn’t, check the wiring and try again. If it still doesn’t work, there may be something wrong with the motor or the power supply.
If everything is working correctly, you’re ready to start tattooing! Experiment with different speeds and pressures to find what works best for you. Remember always to use new needles and tubes and to sterilize them between each use.
Tips to Maintain Your Tatoo Machine
1. It is important to keep your tattoo machine well-maintained. This means keeping the equipment clean and in good working order.
2. You should also oil the machine’s moving parts every time you use it. This will help keep it running smoothly.
3. If your machine starts to make noise or doesn’t seem to be working properly, take it apart and clean it. This may fix the problem.
4. If the machine still isn’t working correctly, you may need to replace some parts.
5. Always use caution when working with electricity. For example, never touch the electrical components of the machine while it is turned on.
6. Make sure you store your machine safely when it is not in use.
7. Follow the manufacturer’s instructions for cleaning and maintaining your tattoo machine.
What Angle Should You Hold a Tattoo Machine
This may seem like a silly question to some, but there is an optimal angle you should hold your tattoo machine at when working. This angle allows for the most efficient use of the machine and results in smoother lines and less fatigue on your hand.
The recommended angle is about 30 degrees from the vertical. You can adjust this slightly depending on the size and style of tattoo you are working on, but it is a good starting point. When adjusting your angle, keep your wrist in a straight line with your forearm – do not let it bend.
If you are experiencing fatigue while working, try adjusting your angle a bit until you find a position that feels more comfortable. Remember always to keep your wrist and forearm in a straight line, and don’t let the angle increase past 30 degrees.
How Much Does it Cost to Build a Tattoo Machine
Building a tattoo machine is a fun and rewarding project, but it can also be expensive. The cost of the materials needed to build a machine will vary depending on the quality of the components you choose. However, you can expect to spend around $100 – $200 on parts alone as a general rule. Of course, if you already have some of the required tools, your costs will be lower.
The frame is the essential part of the tattoo machine. It is responsible for transferring the movement of the motor to the needle, so it needs to be strong and durable. There are a few different ways to construct a frame, but the most common method is to use metal tubing. You will also need a motor, some wire, a switch, and other miscellaneous components.

Conclusion
That’s it! You have now completed the frame for your tattoo machine. Be sure to take some time to sand and polish all of the metal pieces until they are smooth. Once everything looks nice and shiny, it’s time to start assembling the machine itself.
In conclusion, building a tattoo machine frame is not as difficult as it may seem. With the right tools and some patience, you can have a sturdy and reliable frame. If you have any questions about the process of how to build a tattoo machine frame or would like some additional tips, please feel free to leave a comment below. Thanks for reading!
You Can Check It Out to: Use Tattoo Transfer Paper Without Machine


