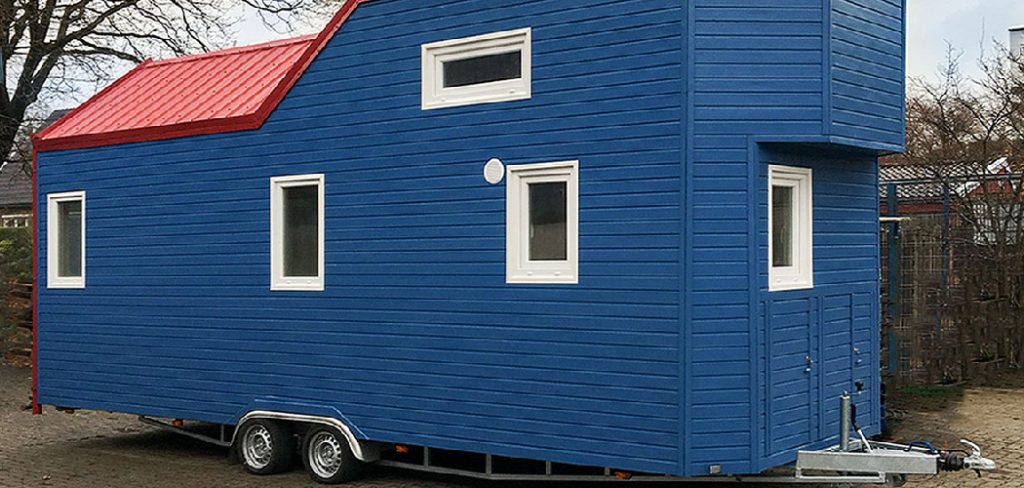
How to Build a Tiny House on Wheels
Are you looking to make a major lifestyle shift? Have you been considering downsizing and living in a tiny house on wheels? If so, you’ve come to the right place! Building your own tiny home offers incredible freedom: You can go anywhere and everywhere, set up your abode in minutes, and live sustainably.
This guide will walk you through all the steps of building a tiny self-sufficient house on wheels – from coming up with a plan and design, gathering materials and tools, putting together the various components (walls, roofing, etc.), to making it feel like home.
Whether this is an ambitious DIY project or one where you seek out professional help along the way – by the end of this post, we hope that you will have enough knowledge of how to build a tiny house on wheels. Let’s get started!
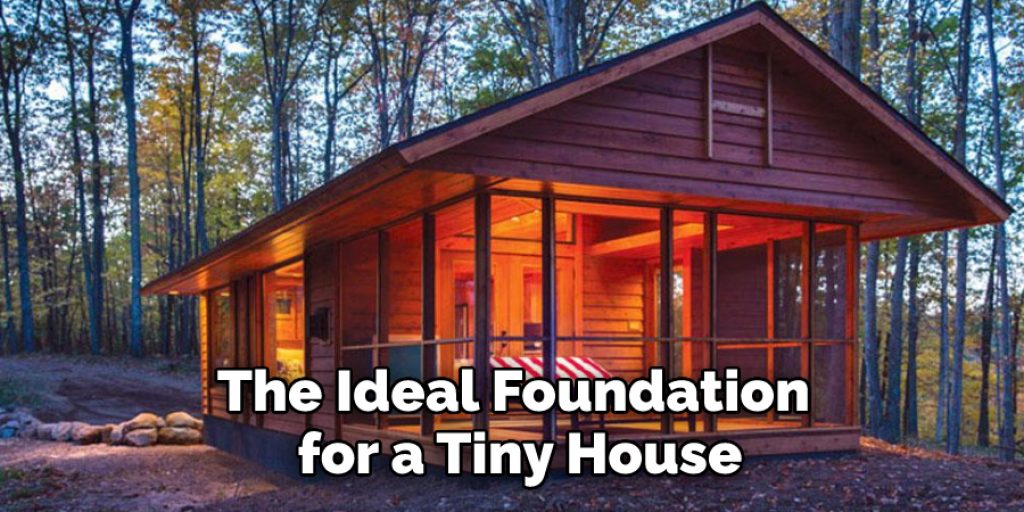
What Is the Best Foundation for a Tiny House?
The ideal foundation for a tiny house on wheels depends largely on the size of your house and how you plan to travel with it. The most common type of foundation used is a flatbed trailer, which can support a wide range of sizes and weights.
If you are working with a limited amount of space or need to transport your tiny home across rough terrain, you may want to opt for a full-sized trailer with axles. This type of foundation provides more mobility and stability, allowing your tiny home to travel on even the toughest of roads.
Another option is a pier foundation, which can be used for larger tiny homes. Piers are relatively easy to install and provide an extra layer of support for heavier structures. They also keep your tiny house off the ground so it can withstand strong winds or other natural disasters better than a flatbed or axle trailer would. A combination of both types of foundations can give you the best of both worlds: strength and mobility when needed.
No matter which type of foundation you choose, make sure that it is properly secured with anchors and that it meets all state, local, and national building codes. Properly installing the foundation is essential to ensure your tiny house on wheels remains safe and secure.
Once you have chosen and installed the ideal foundation for your tiny home, you can begin constructing the walls, roof, windows, and other features of your tiny house.
Building a tiny house on wheels can be an exciting project with endless possibilities. With some research and planning, anyone can turn their dream of living small into reality!
9 Methods How to Build a Tiny House on Wheels
1. Look for a Used Trailer
If you’re on a tight budget, one of the best ways to save money on your tiny house build is to look for a used trailer. You can often find good-quality trailers for a fraction of the price of a new one.
Just be sure to have it inspected by a professional before you purchase it to make sure it’s in good condition. If you’re not sure where to look, try searching online classifieds or checking with local trailer dealers. However, if you plan on towing your tiny house often, it’s probably best to invest in a new trailer with the appropriate components for safety.
2. Gather Your Tools and Materials
Before you start building your tiny house, be sure to gather all the tools and materials you’ll need. This will save you time and frustration later on. You’ll need things like saws, hammers, nails, screws, plywood, and insulation. If you’re not sure what you need, there are plenty of online resources and forums where you can ask for advice from experienced tiny house builders.
Additionally, you can find kits with all the essentials already included. Although it will cost more upfront, it can help simplify the process and save you time in the long run. Make sure to buy the highest quality materials you can afford, as they will last longer and produce a better outcome.
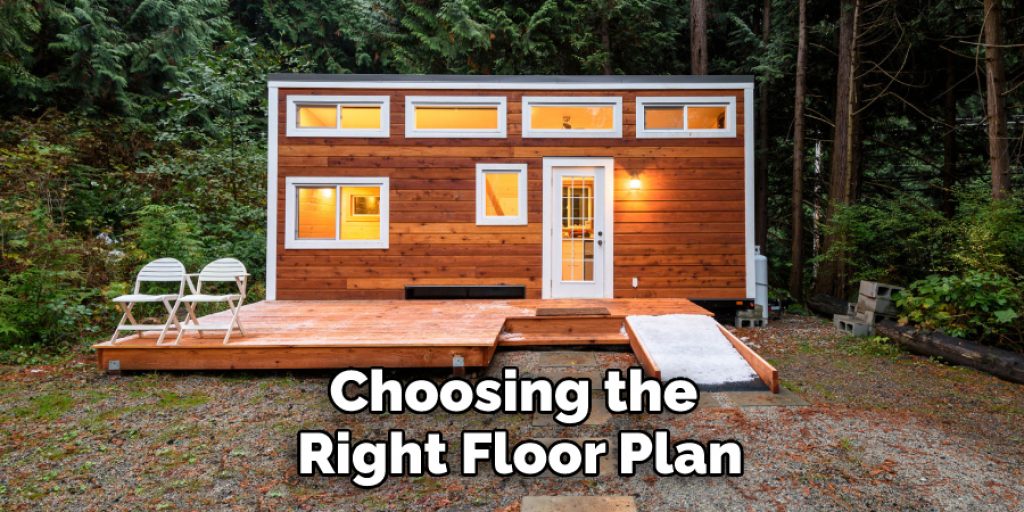
3. Choose Your Floor Plan
One of the most important steps in building your tiny house is choosing the right floor plan. There are dozens of different floor plans available, so take your time to find one that suits your needs and preferences. Consider things like how many people will be living in your tiny house, what kind of furniture you want to include, and how much storage space you need.
Once you have a floor plan in mind, consult an experienced contractor to make sure it can be built safely and securely. Keep in mind that building a tiny house on wheels requires special considerations, such as making sure the floor plan incorporates a towing hitch. If you plan on moving your tiny house frequently, also consider the importance of having a level floor for consistent and safe towing.
4. Cut Your lumber to Size
Once you have your floor plan finalized, it’s time to start cutting your lumber to size. This is an important step because it will determine how easy or difficult it is to assemble your tiny house later on. Be sure to measure twice and cut once to avoid any mistakes.
When cutting the lumber, you will need to determine where each wall and roof truss will be placed. Make sure you leave enough room for windows and doors, as well as any HVAC components. Once you have the measurements, use a saw to cut the lumber accordingly.
5. Assemble Your Walls
Now it’s time to start assembling your walls. This is typically done by attaching the bottom plates of your walls to the trailer using screws or nails. Once the bottom plates are secure, you can then start attaching the studs (vertical supports) to the plates using screws or nails. Be sure to use proper spacing between the studs so that your walls are strong and stable.
As you attach the top and bottom plates, keep in mind that you’ll need to cut out openings for any doors or windows you plan on installing. After the walls are complete, you’ll need to insulate them using either spray foam insulation or traditional fiberglass insulation. Next, attach your wall sheathing, such as plywood or OSB board. This will provide a solid base for any interior walls or siding that you may plan on installing.

6. Install Your Roof Trusses
Installing roof trusses is one of the more challenging aspects of building a tiny house, but it’s also one of the most important steps. The trusses support the roof and help to keep it from collapsing.
To install them, first, attach the bottom chords (horizontal supports) of the trusses to the top plates of your walls using screws or nails. Then, attach the top chords of the trusses to the rafters (sloped supports) using screws or nails.
7. Install Your Siding and Roofing
Once your roof trusses are installed, you can start installing your siding and roofing materials. This is usually done by attaching the siding panels to the studs using screws or nails. Then, install the roofing material (usually metal) over the top of the siding panels using screws or nails.
Be sure to follow any instructions provided with the materials you use for installation. If you’re using a prefabricated roof (like an RV roof), you can attach the roof directly to the trusses with screws or nails. You may also need to apply roof sealant around the edges of the roof.
8. Add Insulation
Adding insulation to your tiny home is an important step in keeping it comfortable all year round and saving energy costs in the long run. Insulation should be added between the studs of your walls and beneath your floor before you close up any part of your tiny house. The type of insulation you choose will depend on your budget, the climate in which you live, and your own personal preference.
Insulation helps to keep air from passing in and out of the house, making it more stable and comfortable all year round. Be sure to consult with a professional to determine how much and what type of insulation you should install in your tiny house for optimal results.
9. Add Electrical and Plumbing
Adding electrical and plumbing to your tiny home is a bigger job than most people realize, but it’s important for safety and convenience. You’ll want to hire a professional electrician or plumber to ensure that these systems are safe and functional.

The electrician will install wiring, outlets, and other components to power your home. The plumber will install the water lines that run from the main water source to the bathroom, kitchen, and other areas of the home.
Conclusion
Building a tiny house on wheels is a great way to downsize and simplify your life. The process can be daunting, but with careful planning and execution, you can build the home of your dreams.
With these tips in mind, you’ll be well on your way to building a beautiful, functional tiny house on wheels that will serve you well for years to come. Thanks for reading, and we hope this has given you some inspiration on how to build a tiny house on wheels!