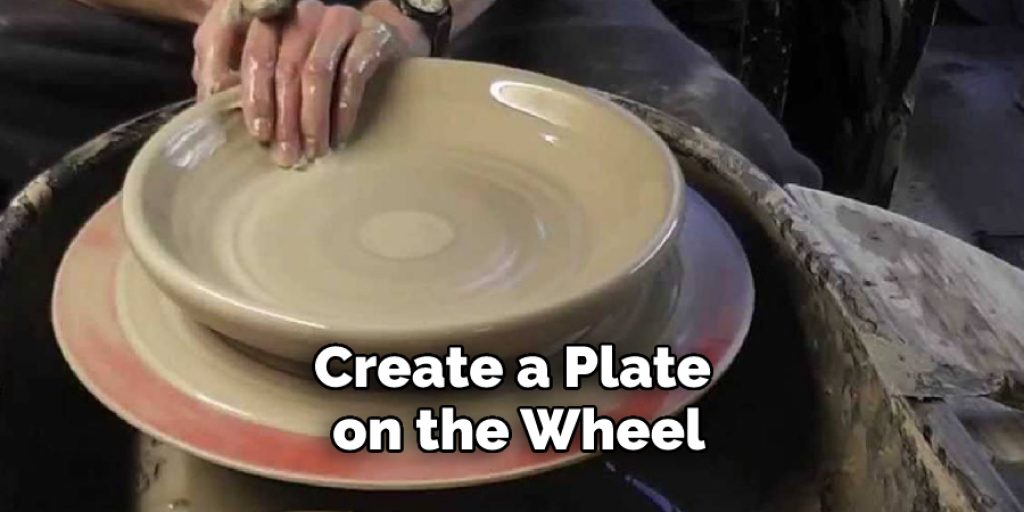
How to Throw a Plate on the Wheel
Ever seen a stunning ceramic plate and wanted to replicate it? Have you ever imagined the satisfaction of creating your own masterpiece, be it utensil, decor or something else entirely? Throwing clay on a wheel is one of the most satisfying and traditional ways to make pottery. With some patience and practice you too can master this ancient technique at home – all if takes is some basic materials and an understanding of the basics!
In this blog post we will show you how to throw a plate on the wheel in just four simple steps. Throwing a pot on the wheel is a core skill for any aspiring ceramist. It requires practice and determination, but when done correctly can create stunning pieces of art that are both functional and beautiful.
Whether you have some experience with clay wheel throwing or this is your first time, this blog post will guide you through the basics of the process to help you get started creating unique pottery pieces!
Why May You Want to Throw a Plate on the Wheel?
There are many reasons why a potter may want to throw a plate on the wheel. Such as:
1. To Add Variety
One of the main reasons you may want to throw a plate on the wheel is to add variety. You can create a wide range of sizes, shapes, textures and intricate designs that aren’t possible when hand building pots. Throwing plates can help you to explore different techniques and achieve unique effects.
2. To Create Functional Pieces
Another reason why potters choose to throw plates on the wheel is to create functional pieces. Plates can be used for serving food, and many potters like to glaze them with decorative patterns or colors that make them more attractive when set out on a dinner table.
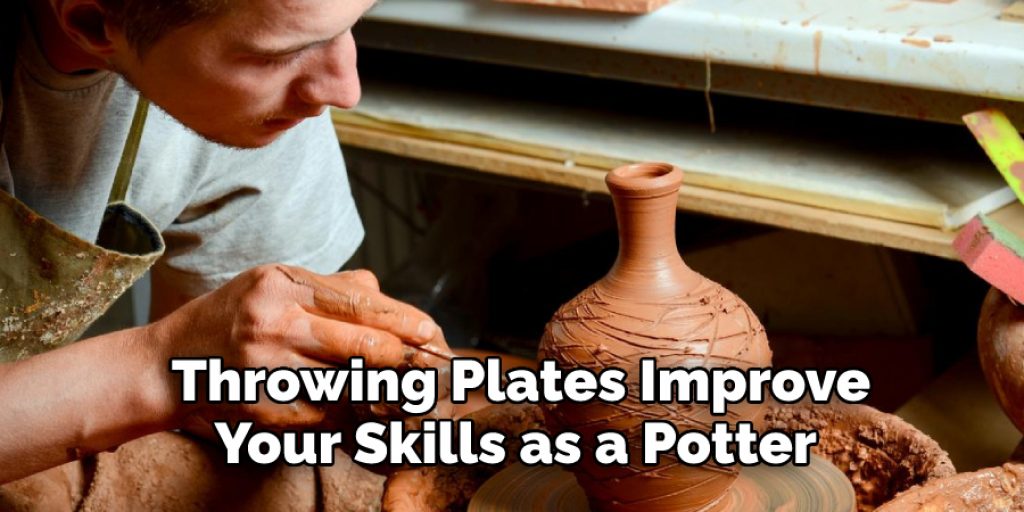
3. To Enhance Your Skills
Throwing plates can help you to improve your skills as a potter. You will gain a better understanding of how clay behaves and responds to different techniques, which can help you refine your technique over time.
Overall, throwing plates on the wheel provides an opportunity to create beautiful and functional pieces while developing and refining your skills as a potter. With practice, you’ll be able to create unique and intricate pieces that will surely impress your friends and family. So why not give it a shot? With the right guidance, throwing plates on the wheel can be an enjoyable experience that produces amazing results!
How to Throw a Plate on the Wheel in 6 Easy Steps
Step 1: Gather Materials
The very first step to throwing a plate on the wheel is to make sure you have all of the materials you need. You’ll need clay that can be wedged, a bucket for water, an armature (if necessary), two bats, and some sponges.
Step 2: Wedge the Clay
Once you have your materials ready, you’ll need to wedge the clay. Wedging is a kneading technique that helps remove air from the clay and ensures that it will be uniform in consistency when you start throwing.
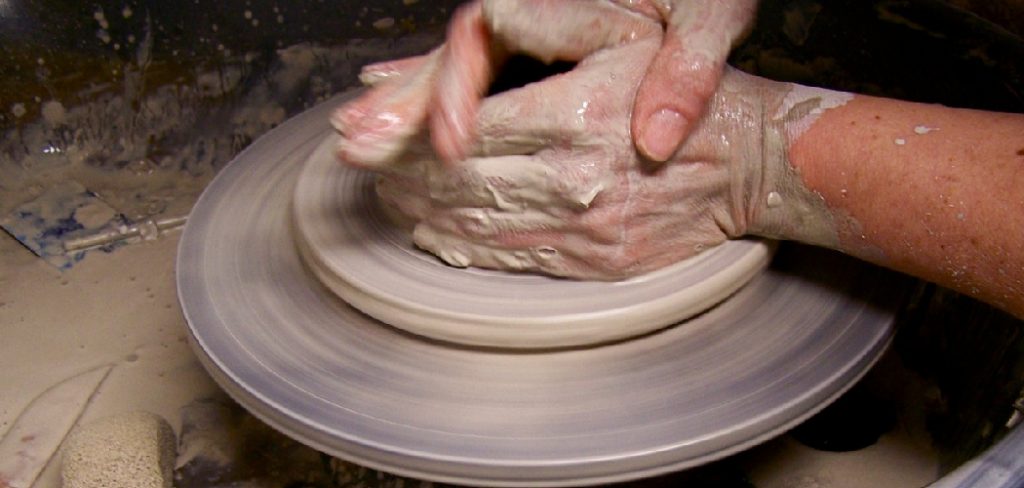
Step 3: Center the Clay on the Wheel
After wedging your clay, you’ll need to center it on the wheel. This can be tricky and takes practice, but with patience, you’ll get the hang of it. Also, make sure that you have enough clay to throw a plate.
Step 4: Open Up The Center
Once your clay is centered on the wheel, use both hands to start opening up the center by pushing down and out from the middle. This will help create a more even thickness throughout your plate.
Step 5: Pull Up The Walls
Once you have an even thickness in the center, use your hands to begin pulling up the walls of the plate. Move your hands around the circumference of the wheel as you pull up and outward to create a rim.
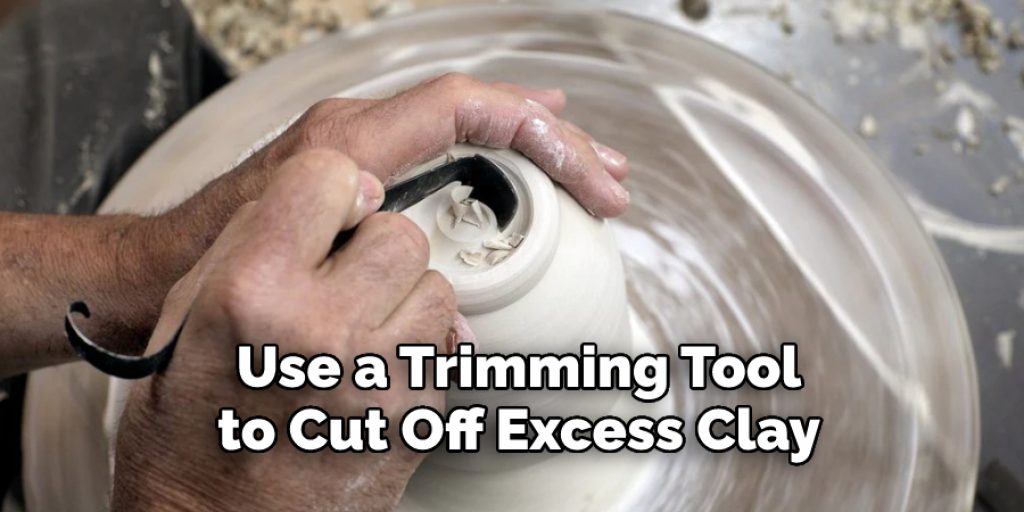
Step 6: Trim The Plate
The last step is to trim any excess clay off the plate’s bottom and sides. Use a sponge and water to moisten the bottom of your plate, then use a trimming tool to cut off any excess clay. You can also use this tool to add decorative touches if desired.
Once you have completed these steps, your plate is ready to be removed from the wheel and fired in a kiln. With a bit of practice, you’ll be throwing perfect plates in no time!
Some Tips to Throw a Plate on the Wheel
1. Use a Plate Profile Guide
This is very important for getting the correct shape of your plate. Take a picture or use the provided template to draw out the desired shape on a piece of paper and then attach it to the wheelhead. This will help you create an even thickness of clay on each side, which is key to making sure your plate doesn’t break when fired!
2. Cut off the Excess Clay
Once your plate is on the wheel, it’s important to trim away any excess clay from the edges and sides. This will help you keep a uniform shape and thickness for your plate. Make sure that you don’t cut too deep and take off too much material!
3. Evenly Spread Out the Clay
After you have cut off the excess clay, use your fingers to even out and spread the clay around the wheelhead. Make sure that it is an even thickness on both sides and that there are no thin spots or uneven edges. This will help ensure that your plate won’t break when fired!
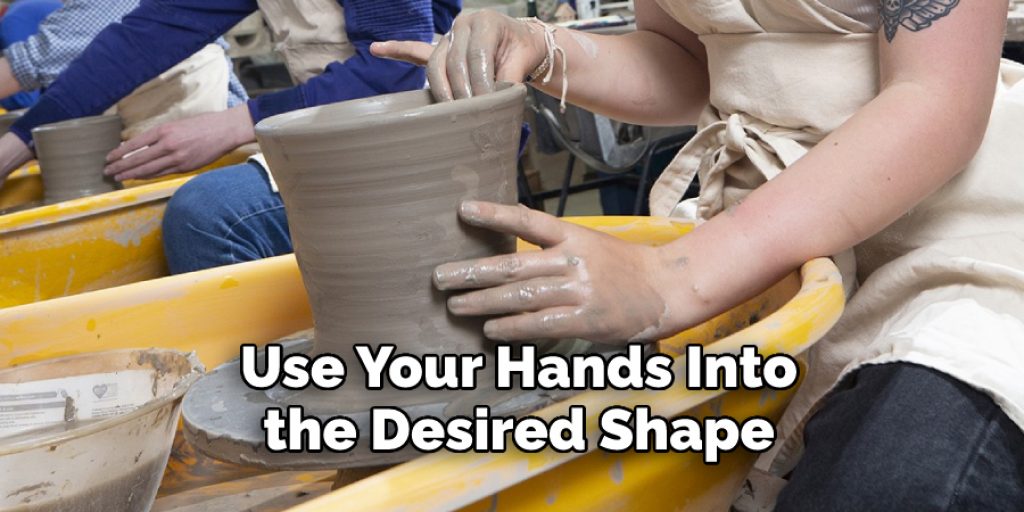
4. Use Your Hands to Shape the Plate
Once you have evenly spread out the clay, use your hands to shape it into the desired shape. Make sure that you are using a steady and even pressure to avoid any thin spots or uneven edges. This will help ensure that your plate is strong enough to survive the firing process!
Frequently Asked Questions
What Precautions Should I Take Before Throwing a Plate on the Wheel?
It is important to take all necessary safety precautions before attempting to throw any type of plate on the wheel. First, while working with the clay, you should cover your hands and arms with protective clothing such as padded gloves and long sleeves.
Additionally, wear safety glasses or goggles to protect your eyes from any flying particles. Finally, be sure to wear a dust mask while working with the clay to protect yourself from inhaling any airborne particles that may become airborne during the process.
What Kind of Clay Should I Use?
The type of clay you should use for throwing a plate on the wheel depends largely on the type of plate you create. For a basic plate, you can use a stoneware clay that is more durable and fired at higher temperatures. However, for plates with intricate designs or multiple layers of glaze, you may want to use porcelain clay because it can hold up better against extreme temperatures.
What Equipment Do I Need?
In order to create a plate on the wheel, you will need some basic equipment such as a potter’s wheel, a bucket of water, and some clay. Additionally, you may want to have some tools available such as trimming tools and ribbons for texturing the plate. Finally, you will need an area to work that is well-ventilated and away from any potential dust or debris.
What Is the Best Way to Prepare the Clay for Throwing on the Wheel?
Before you start throwing a plate on the wheel, you will need to prepare the clay. Start by wedging your clay, which means kneading it until all of its air bubbles are removed and the clay is solid. It is also important to condition your clay by adding a bit of water until it feels soft and pliable in your hands. Finally, you will want to center the clay on the wheel before you begin shaping it into a plate.
With these tips, you’ll be able to start throwing perfect plates on the wheel in no time! With a bit of practice and patience, you will soon be able to easily create stunning pieces of pottery. Good luck and happy throwing!
Conclusion
Now you know how to throw a plate on the wheel. It may take some practice and patience, but eventually, you will be able to craft beautiful plates for your own use. Have fun, and stay safe when throwing on the wheel! Good luck and happy crafting!
Throwing a plate on the wheel is incredibly complex, yet it can be highly rewarding if done correctly. With a few simple and helpful tips, you will be able to create beautiful plates for your friends, family, and yourself. Just remember that a ceramist must respect the throwing process to ensure the balance and symmetry of their pieces. It’s important to take your time with each step to gain perfect control over the clay while on the wheel.
Angela Ervin
Angela is the executive editor of DIY quickly. She began her career as an interior designer before applying her strategic and creative passion to lifestyle and home. She has close to 15 years of experience in creative writing and online content strategy for housekeeping, home decorations as well as other niche efforts. She loves her job and has the privilege of working with an extraordinary team. She lives with her husband, two sons, and daughter in Petersburg. When she's not busy working she spent time with her family.