
How to Build Dresser
Are you looking for a dresser that is unique and stylish? Then, why not build one yourself? With some basic carpentry skills and a few supplies, you can create a dresser perfect for your home. In this tutorial, we will show you how to build dresser from scratch.
We will provide step-by-step instructions on how to assemble the pieces, as well as tips on how to make the finished product look polished and professional. So get out of your toolbox, and let’s get started!
What Is a Dresser?
A dresser is a household item that is used to store clothes. It is typically rectangular and has several drawers that can be opened to access the clothing inside. Dressers come in various sizes and styles, making them versatile pieces of furniture for any home.
Whether you are looking for a traditional dresser to store your clothes or something more contemporary, there is sure to be a style that suits your needs. Take a look at some of the different types of dressers available and find one that is perfect for your home!
Why Should You Build a Dresser?
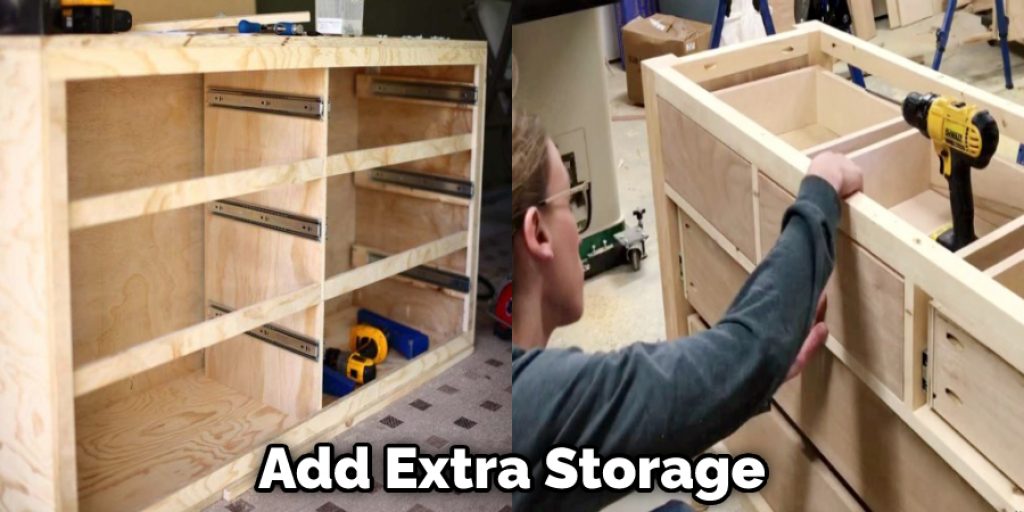
A dresser is a piece of furniture with multiple drawers for storing clothes, linens, or other items. Dressers come in various sizes, shapes, and styles, making them a versatile storage solution for any room. Here are four reasons why you should build a dresser:
- A dresser can provide additional storage space for your home.
- A dresser can be used to store out-of-season clothing or extra bedding.
- A dresser can be repurposed as a changing table or a temporary nightstand.
- A dresser can be an excellent DIY project for anyone with basic woodworking skills.
Building a dresser is a great way to add extra storage to your home. With the right plans and materials, it’s also an achievable DIY project for many people. Building a dresser is a great option whether you’re looking for additional bedroom furniture or a unique piece for another room.
How to Build Dresser Step by Step Guide
Step 1: Find the Right Plans
The first step to building your own dresser is finding the right plans. There are plenty of dresser plans available online, in magazines, and even at your local home improvement store. Once you’ve found a plan you like, make sure to have a clear understanding of all the steps involved in the build.
Step 2: Gather the Necessary Materials
After you have your plans, it’s time to gather all the necessary materials. This dresser will need a variety of boards, screws, nails, and other hardware. Make sure to have everything on hand before you start the build.
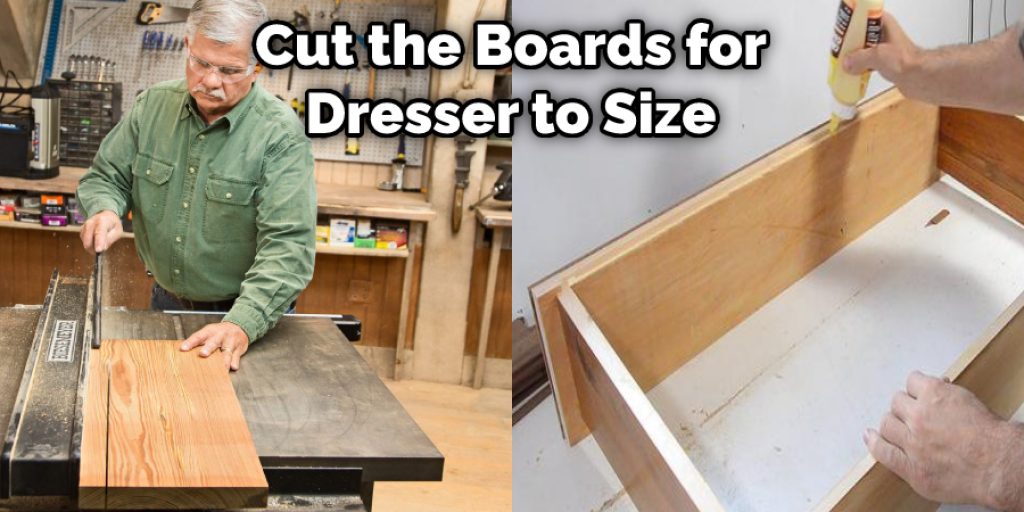
Step 3: Cut the Boards to Size
Using your plans as a guide, cut the boards for your dresser to size. For this project, you’ll need (4) 2x4s for the sides, (6) 1x4s for the front and back, and (3) 1x6s for the drawer fronts. You can have your lumber cut at the hardware store when you purchase it to save time.
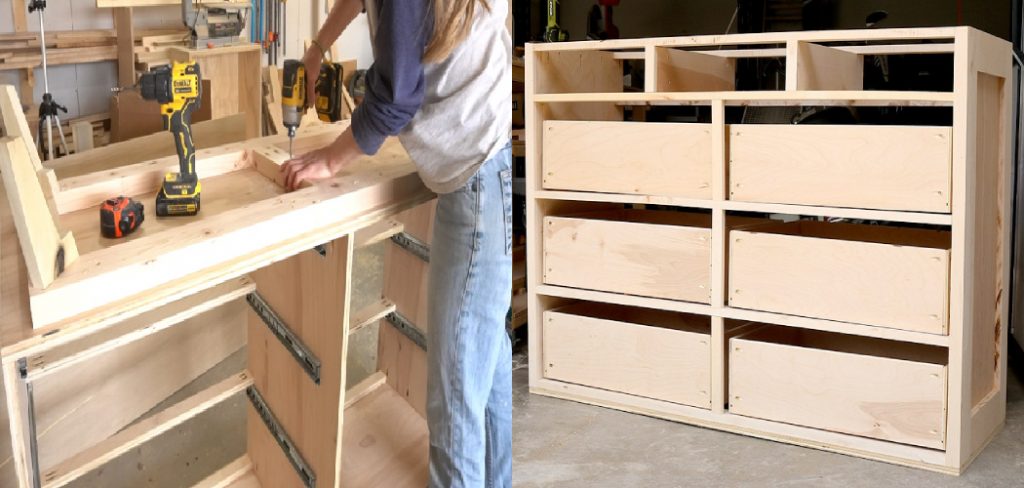
Step 4: Assemble the Sides
With the boards cut to size, it’s time to start assembling the dresser. Begin by attaching the two 2x4s for each side to the 1×4 back using screws and nails. Then, add the 1×4 front piece. Repeat this process for both sides of the dresser.
Step 5: Attach the Drawer Fronts
Next, attach the 1×6 drawer fronts to the sides of the dresser. Make sure that the drawer fronts are flush with the sides of the dresser and that they’re level. Once they’re in place, add the handles or pulls of your choice.
Step 6: Add the Drawers
The next step is to add the drawers. For this dresser, you’ll need (3) 22″x14″x4″ drawer boxes. First, cut the plywood for the drawer bottoms and attach them using screws. Then, slide the drawer boxes into place and add the handles or pulls.
Step 7: Paint or Stain the Dresser(Optional):
Once the dresser is fully assembled, you can paint or stain it to match your home’s decor. If you choose to paint, make sure to sand the dresser down first and then apply a primer before painting. Then, simply stain the dresser with your desired color for a natural look.
Step 8: Enjoy Your New Dresser:
After your paint or stain has dried, you can now enjoy your new dresser! Add clothes, linens, or other items to the drawers and use them as storage in any room of your home. Building a dresser is a great way to add extra storage and style to your home. With the right plans and materials, it’s also an achievable DIY project for many people.
That’s it! You’ve now learned how to build dresser. So get started on your own project today and enjoy the extra storage space in your home.
What Type of Wood Is Best for A Dresser?
There are many different types of wood that can be used to make a dresser, but not all of them are equal in terms of quality. You should always choose hardwood like oak or maple for the best results. These woods are much more durable than softwoods like pine and will age better over time.
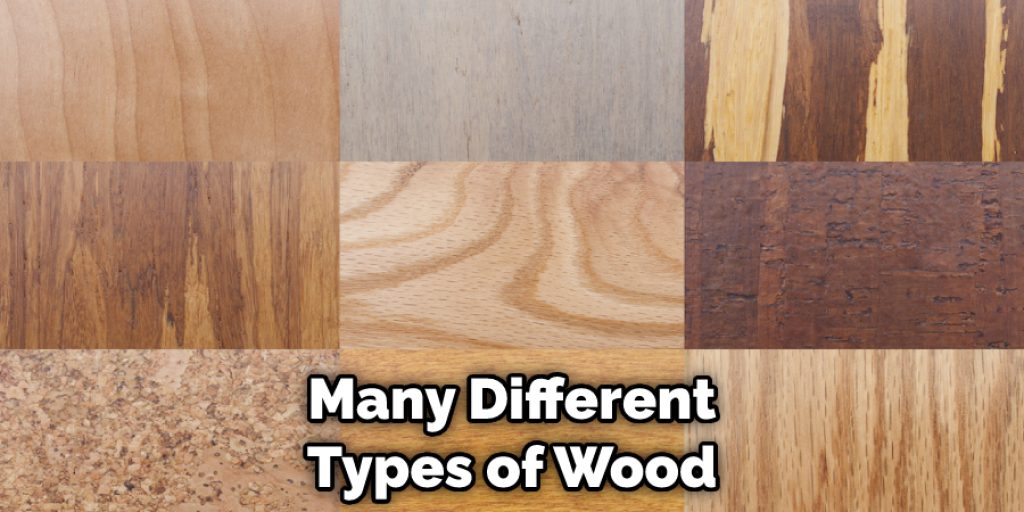
In addition, hardwoods are less likely to warp or crack, making them a better investment in the long run. Of course, hardwoods can be more expensive than softwoods, but they will last longer and look better as they age. Hardwood is the way to go if you want a dresser that will stand the test of time.
How Do I Make the Top of A Dresser Look Best?
You have a beautiful dresser, but the top is cluttered and dusty. You want to make the top of the dresser look nicer, but you’re not sure how. Here are some tips on making the top of a dresser look its best.
Start by decluttering the top of the dresser. Remove anything that you don’t use or need daily. If you have items that you only use occasionally, consider storing them in a different location.
Next, give the dresser top a good dusting. Be sure to get in all the nooks and crannies. If you have time, you can also polish the wood to give it a fresh shine.
Once the surface is clean, you can start to style the dresser top. First, choose a few pieces that complement each other and create a pleasing display. For example, you might choose to arrange a vase of flowers, a few candles, and a frame with a special photo. Just be sure not to go overboard – less is more when dressing up a dresser top!
By following these simple tips, you can make even the most ordinary dresser look chic and stylish. So go ahead and try it – your dresser will thank you for it! Keep reading for more information about how to build dresser.
How Do I Build a Dresser with Feet?
Building a dresser with feet is a simple process that anyone can do with a little time and effort. The first step is to cut the lumber to size. You will need four pieces for the sides, two for the top and bottom, and one for the back.
Once the lumber is cut to size, use a drill to make pilot holes for the screws. Next, attach the sides to the bottom piece using wood screws. Be sure to countersink the screws so that they are flush with the surface of the wood. Repeat this process for the top piece.

Finally, attach the back piece using finishing nails. Once the dresser is assembled, add your choice of feet. Bracket feet are a popular option, but you can also use bun feet or furniture casters. With a little imagination, your dresser can be as unique as you are.
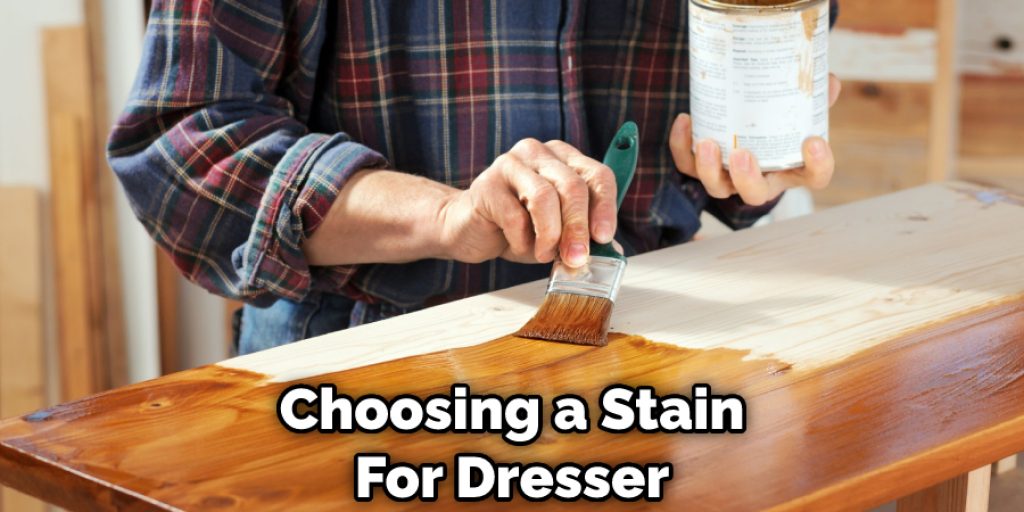
What Type of Stain Should I Use on My Dresser?
When choosing a stain for your dresser, it is important to consider the type of wood you are working with. For example, pine is a soft wood that is relatively easy to stain, while oak is a hardwood that can be more difficult to work with. In general, it is best to choose a stain specifically designed for the type of wood you are using.
Once you have selected the appropriate stain, you must decide on the color. You can choose a clear or light-colored stain if you want a natural look. You can opt for a dark-colored stain if you want something more dramatic. Keep in mind that it is always best to test the stain on a small dresser area before applying it to the entire piece.
This will help you understand how the color will look and allow you to make any adjustments if necessary. With a little time and effort, you can easily find the perfect stain for your dresser.
How to Measure for A Dresser?
To ensure you’re choosing a dresser that will fit your space and your needs, it’s important to take accurate measurements. Here’s a step-by-step guide to measuring for a dresser:
- Start by measuring the width of the space where you plan to put the dresser. This will give you an idea of how big (or small) of a dresser you can accommodate.
- Next, measure the height of the space. You’ll want to make sure that the dresser you choose is not too tall or too short for the area.
- Once you have those measurements, you can look at dressers that will fit your space. Again, please pay attention to the dimensions listed for each dresser, and compare them to the measurements you took.
- Finally, consider what you’ll be using the dresser for. If you plan on storing lots of clothes or other items, make sure to choose a dresser with plenty of storage space. Conversely, if you only need a few drawers, you can opt for a smaller dresser.
By following these simple steps, you can be confident that you’re choosing a dresser that will fit your needs and your space.
How Do I Attach the Drawer Slides to A Dresser?
In order to properly attach drawer slides to a dresser, you will need first to measure the width of the opening in the dresser. Once you have this measurement, you must purchase drawer slides slightly wider than the opening.
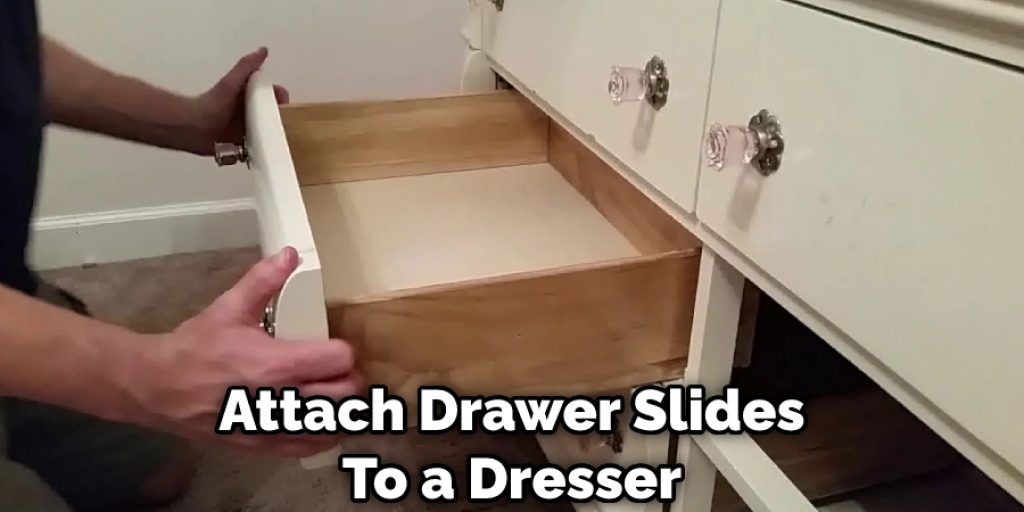
Next, you will need to determine the height of the drawer slides. The most important thing to remember when doing this is that the slides should be level with one another. After you have determined the height of the drawer slides, you will need to attach them to the dresser using screws.
Ensure the screws are long enough to go through the dresser and the drawer slide. Finally, you will need to place the drawers onto the slides and ensure they are level.
What Thickness Should a Drawer Bottom Be?
When deciding on the thickness of your drawer bottom, there are a few things to keep in mind. The first is the weight of the contents going into the drawer. If you plan on storing heavier items, you will want to use a thicker material for the bottom.
The second thing to consider is how often the drawer will be used. If it is opened and closed frequently, a thicker bottom will help prevent wear and tear.
As a general rule of thumb, most drawer bottoms should be between 1/4 inch and 3/8 inch thick. However, it is always best to avoid caution and use thicker material if you are unsure. This will help ensure that your drawer lasts for many years.
Frequently Asked Question
How Much Does It Cost to Build a Dresser?
The cost to build a dresser can vary depending on the materials you use and the complexity of the design. You can generally expect to spend anywhere from $50 to $200 on materials, depending on the size and features of the dresser. If you’re handy with tools and have some experience in woodworking, you could probably build a dresser for less than it would cost to buy one.
How Long Does It Take to Build a Dresser?
Building a dresser generally takes around four to six hours, depending on the complexity of the design. The most important part of the process is taking accurate measurements and planning the construction sequence.
What Are Most Cheap Dressers Made Of?
Most people would answer “plywood” when asked this question. Dressers are typically made of different types of wood, but the cheapest option is usually plywood. It is an engineered wood made up of several thin layers of wood glued together.
You Can Check It Out to Repair Dresser Drawers
Conclusion
So there you have it! Your complete guide to building a dresser. We hope you found this tutorial helpful and that you can use these instructions to create your own beautiful piece of furniture. Thanks for reading our post about how to build dresser. What do you think? Will you give this project a try? Let us know in the comments below!


