
How to Use a Hole Saw Without Pilot Bit
Introduction
Using a hole-saw without a pilot bit requires some techniques the users should learn. These techniques will help you to have a good hold over woodworking and carpentry. For our readers’ betterment, we have marked out some steps that will allow them to properly use this machine without a pilot bit. These steps are explained below.
8 Advantages of Using Hole Saw Without Pilot Bit:
- Hole saws are a common method of cutting holes in drywall.
- Drill bits can be used instead of a hole saw with a pilot bit for the same purpose if the correct size is available.
- A pilot drill bit can damage surfaces when placed into a wall or ceiling and then removed, which causes chipping and cracking.
- It is easy to accidentally place the pilot drill bit too far into drywall, creating a larger hole than intended.
- A pilot drill bit can be difficult to keep in line if it starts to go off course or wobble during use.
- It is easier for someone who is not an expert at using a drill or some other tool to make a clean cut with a hole saw without a pilot bit.
- The easiest way to use a hole saw is not to have it create an additional, unnecessary part that can get in the way of people trying to do their work correctly and safely.
- The more one uses a drill, the better they will get at it.
Procedure: How to Use a Hole Saw Without Pilot Bit
Step One: Gather All Materials
For this process, you will need some instruments that will help you throughout all the steps. A one-sixteenth hex head wrench is important for removing the drill bit from the collet. Then you will need a guide plate, which will help you match the hole-saw. Besides keeping your wood steady, you will require two clamps. You can also use more clamps; it is dependent on your need. A cordless drill, which can be used freely, is also needed. Lastly, you will need some scrap wood of quarter inches.
Step Two: Unscrew the Collet to Detach the Bit Form
Now you have to start the primary process, and you have to unscrew the collet to detach the bit from the saw. You can do this using the Hench, it will quickly remove the bit from the collet, and afterward, you have to screw the collet back to the initial hole-saw. Now you have to use the guide plate and clamp it to the wood you want to drill. If there is a direct connection for the material, you can hold them securely with your hands, and the vibration should be adequately resisted.
Step Three: Turn on the Wood’s Surface
Now you have to place the drill slowly on the wood’s surface and then turn on the drill. You must give less rotatory speed at the beginning and let the drill get accustomed to the wood’s surface. Once the saw is inserted into the guide plate, you can increase the drill machine’s speed. Now you must keep drilling around the perimeter’s teeth to the hole and slowly apply pressure by your shoulder to the device. You have to stop once you have drilled about half inches.
Step Four: Check the Alignment of the Drill Machine
After drilling half inches, you must stop and then check the alignment of the drill machine. The machine should be vertical to the surface. Once the alignment is checked, you can start drilling again in the same previous manner. Now you have to stop once the hole is created, and you must clear the dust created due to drilling. If you have an object that might get damaged on the back of the surface while drilling, you must place a scrap of wood behind the drilling surface and then use your machine, and do not forget to stop after half inches of drilling.
Some Helpful Tips and Suggestions:
1. Make sure you have the right size hole saw for your project. Look at the diameter of the pilot bit, not the cutting edge. The pilot bit is what will screw into your drill.
2. Have a backup board behind the surface you are drilling to catch the piece being cut out or protect close surfaces that might be damaged if pieces fly off.
3. Apply liberal amounts of water or cutting oil to the pilot bit (which should be included with your kit) and work the surface using a hand drill to keep pieces cool, reduce friction, and prolong the life of your hole saw.
4. Wear proper safety equipment, gloves, glasses, ear protection, etc.
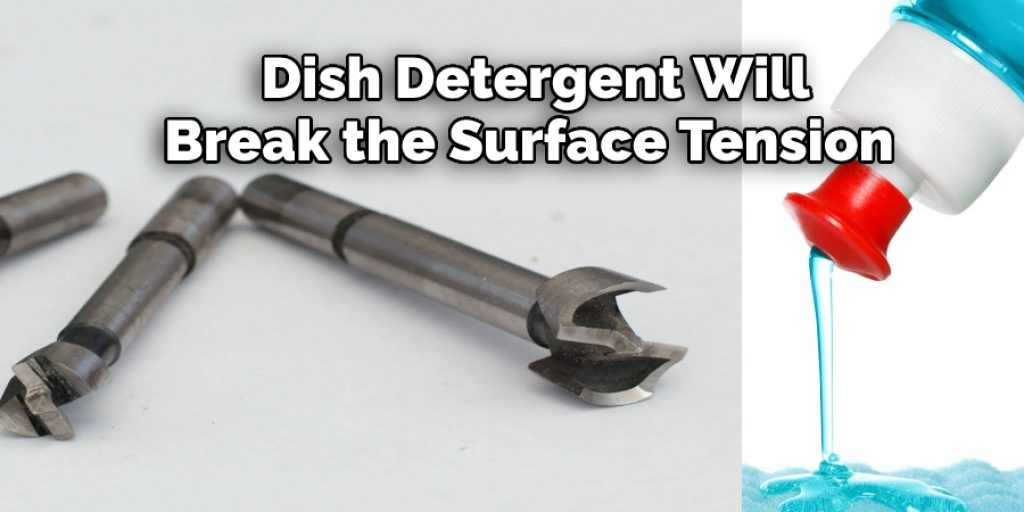
5. If you are drilling metal or other hard surfaces, use a drop of dish detergent to break the surface tension of the water so it will flow better around the bit.
6. Be sure to drill as slowly as possible without stalling or overheating the pilot bit.
7. At first, slow down even more as the pilot bit gets close to reaching your starting point so that it does not catch and kick back on you.
Safety Precautions and Warnings:
1. Always wear safety goggles to avoid any objects from flying up and hitting you in the eye.
2. Make sure to use a sharp hole saw blade to avoid slippage when cutting, which could cause injury to yourself or others.
3. Like using a drill, have something secure to hold your workpiece down, so it doesn’t fly up with the saw as you drill.
4. Always check the depth of your saw when starting. Knowing how far you are cutting to finish or stop where needed is important.
5. This is not an exact science, and you should practice first if unsure how to use a hole saw without a pilot bit.
6. Wear protective clothing such as long sleeves and shoes while working with tools and materials that may be sharp or hazardous to your health.
When Should You Use Hole Saw Without Pilot Bit?
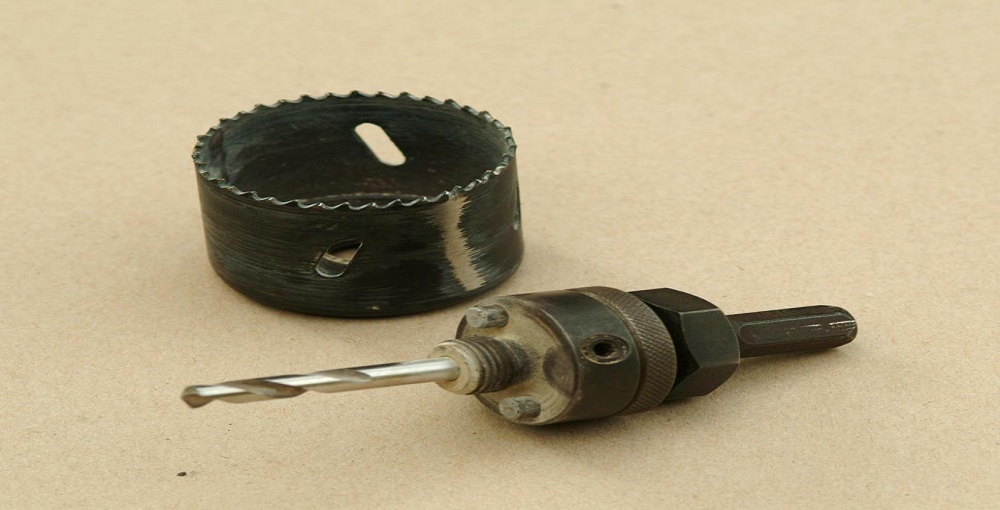
A hole saw is used with a drill to make clean, round holes in different materials. These holes are typically used for plumbing and electrical applications where the use of a spade bit will not work. The most common diameters made by hole saws are 1/2 inch, 3/4 inch, and 1 inch.
The pilot drill bit is the part that fits into the center of a hole saw. The pilot drill bit centers your hole saw in whatever material you are drilling so the blade can cut out a nice circle, allowing easy removal of your saw blade. Without this feature, your hole saw might wobble all over the place and give you an inaccurate cut.
Can You Use a Hole Saw With Any Drill?
Many circular saws, such as hole saws and spade bits, come with a pilot bit so you can start the tool without worrying about lining up your drill straight. However, if the pilot bit breaks or you lose it, there is still hope to use that hole saw and get perfectly round holes in any piece of wood.

To continue drilling your hole saw, put on safety glasses and clamp or hold your wood securely, so it does not move. Then, make sure the tilt of your drill is at an angle that will allow the saw to grab onto the wood. If you are drilling into a vertical piece of wood, ensure your drill is filled with oil before starting it up so there is no smoke when cutting through the metal.
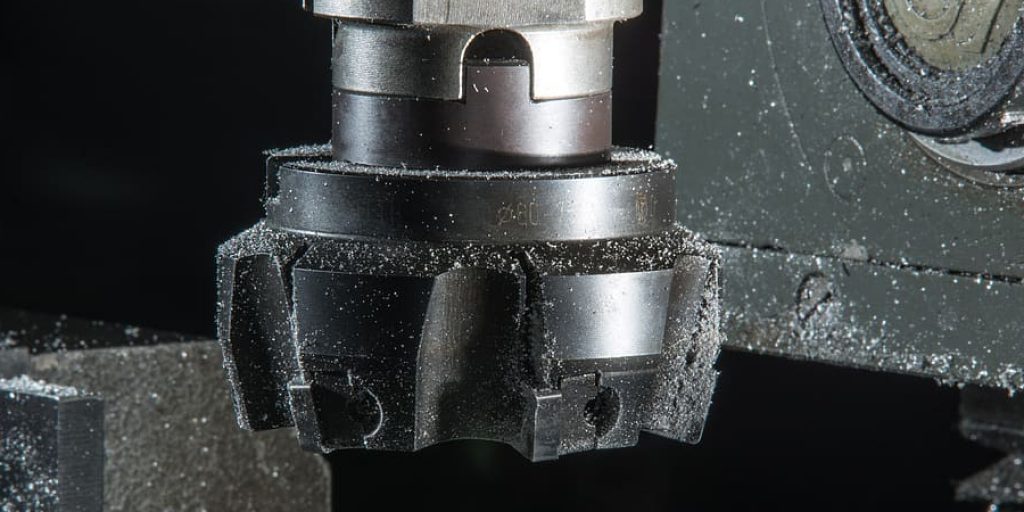
How to Attach a Hole Saw to a Drill?
Attaching a hole saw to a drill is a relatively straightforward process.
First, assemble the components you need: the hole saw, a drill bit, and an adjustable wrench. The size of these components depends on the size of the hole that you need to cut.
Then, Insert the drill bit into the hole saw and tighten it with the adjustable wrench until it is firmly attached. Make sure to insert it all the way until it is tight.
Next, attach your drill to the hole saw. Once attached, switch on your drill and let it run for about ten seconds at low speed in order to lubricate the interior parts of the hole saw.
Finally, increase speed according to your needs and begin drilling away! Be sure not to apply excess pressure and take regular breaks as needed.
Frequently Asked Questions
Can You Drill Without a Pilot Hole?
No, you cannot drill without a pilot hole. A pilot hole is a hole that is drilled to accurately position the bit in the borehole so that it does not damage the surrounding soil or rock.
What Do You Use to Make a Pilot Hole?
A pilot hole is a hole that is drilled into the ground to allow a water or gas line to be installed. It is also used to test the depth of the soil before starting construction.
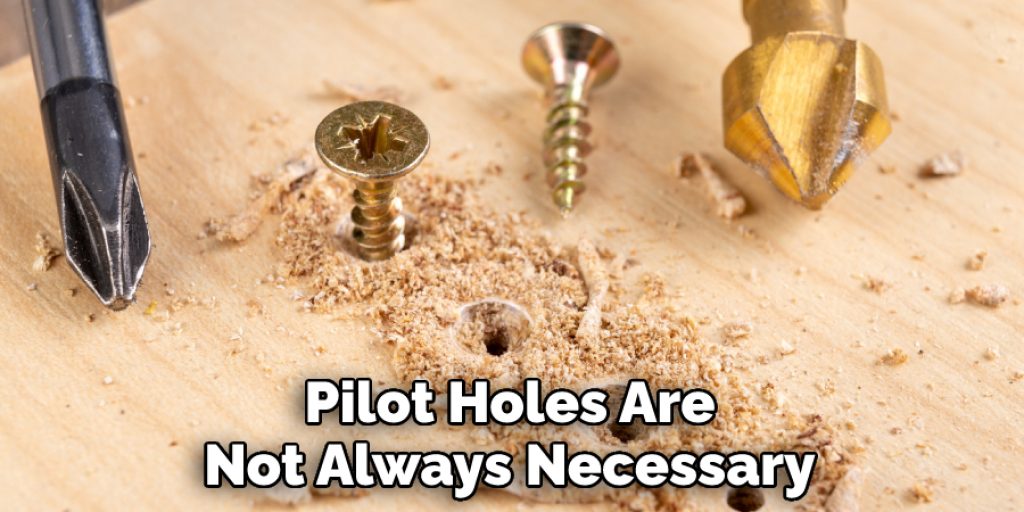
Do Construction Screws Need Pilot Holes?
There is no definitive answer to this question as it depends on the type of construction screws you are using and the specific application. However, pilot holes are not always necessary for construction screws because they can easily be driven into the substrate without them.
What Is the Purpose of a Pilot Hole?
A pilot hole is a hole drilled into the ground to determine the depth and size of the subsequent hole. It is also used to mark the location of underground utilities, such as water lines or gas lines.
The purpose of a pilot hole is to ensure that the subsequent hole will be placed in the correct location and that it will not damage any other property or disturb any archaeological remains.
Conclusion
In conclusion, we would like to state that the process we have mentioned here will help use the hole-saw. More precisely, beginners can make fair use of this technique. The DIY enthusiasts will surely be benefitted from this. Thank you for your precious time. Happy crafting and have a nice day!!
You may read also –


