How to Build Masonry Fireplace
Are you looking to create a cozy, inviting atmosphere in your home? A masonry fireplace is the perfect addition for just that reason! Not only are they beautiful design elements, but they also help keep your house warm during chilly winter months. Building and installing a masonry fireplace can be an intimidating task—it’s not something that can be thrown together in a couple of hours—but with careful planning and know-how, it is doable.
If you’re ready to tackle this project, here are the steps you must take. Just ensure you follow all safety instructions when working with materials like cement or stone.
In this blog post, we will walk through all the steps necessary how to build masonry fireplace from start to finish. Keep reading if you want to learn more about the process!
What Will You Need?
- Masonry blocks
- Mortar mix
- Tools (trowel, hammer, level)
- Fireplace insert or gas log set
Once you have all of the necessary materials, it’s time to get started!
10 Easy Steps on How to Build Masonry Fireplace
Step 1: Create The Foundation
First, you’ll need to lay down the foundation for your fireplace. This can be done using a concrete slab or brick pavers, whichever you prefer. Level the slab or pavers before you move on to the next step.
Step 2: Lay The First Course
The first course of blocks should be laid around the perimeter of your foundation. You’ll want to ensure each block is level and securely placed in the mortar mix, so take your time when doing this step. If you need to check if a block is level, use a leveler tool.
Step 3: Continue To Build Up The Walls
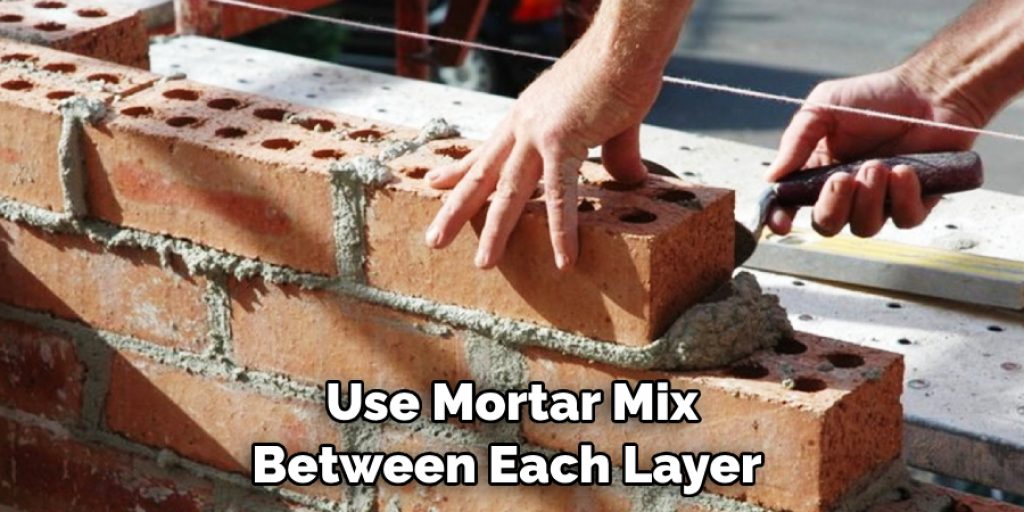
Once the first course of blocks is laid, you’ll begin to build up the walls of your fireplace. Use mortar mix between each layer, and check for levelness as you go. Each wall should be three courses high.
Step 4: Install the Fireplace Insert
The next step in learning how to build a masonry fireplace involves the placement of the fireplace insert or gas log set. Position it directly in the center of the masonry structure. It should be snug against the rear wall but do not force it into place. Once you’ve ensured the correct positioning, use mortar to secure the insert or gas log set. Remember to make sure it’s level before continuing with the process.
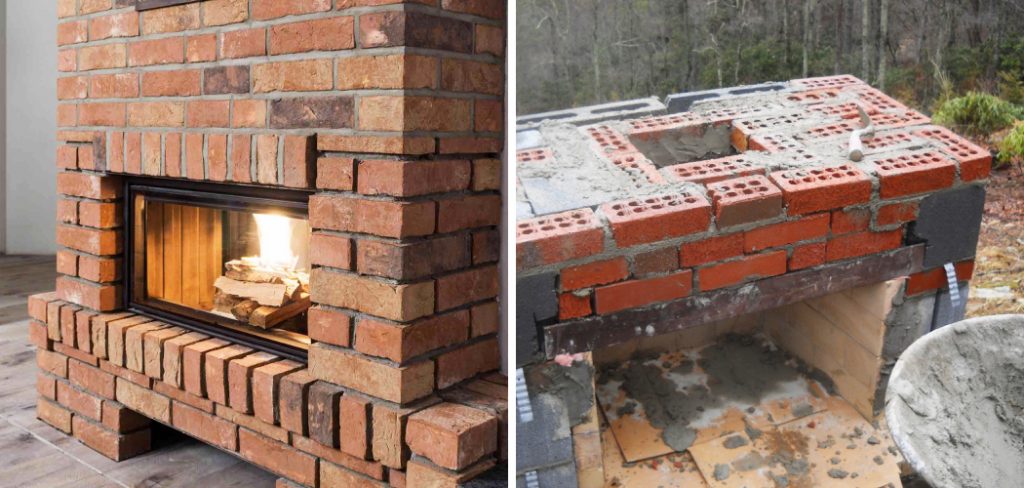
Step 5: Construct The Firebox
Building the firebox is crucial in the process of how to build a masonry fireplace. It’s the part where the fire will be housed. Start by laying bricks on the fireplace floor and then build up the walls, being very careful to leave a space for the opening of the firebox. This is where your fire will be visible from the room.
Use firebricks to build the inside of the firebox, as these bricks are made to withstand high temperatures. As always, ensure every brick is level and firmly embedded in the mortar.
Step 6: Build The Throat Of The Fireplace
After constructing the firebox, the next step in learning how to build a masonry fireplace is to create the throat of the fireplace. This is the part that will funnel smoke up into the chimney. It’s usually made of a special type of brick called firebrick. You must lay the firebricks in an inverted V shape to build the throat. This will help direct the smoke upwards. Use the level tool to ensure the bricks are properly aligned and securely placed in the mortar mix.
Step 7: Construct the Chimney
Learning how to build a masonry fireplace is only complete with the chimney. The chimney serves to vent the smoke from the fireplace to the outside. Begin by installing a chimney liner if you choose to use one. After this, start building the chimney with the masonry blocks, ensuring you follow the design’s specifications.
This process is repetitive, laying each course of blocks with a bed of mortar and checking each block’s level and alignment as you proceed. The chimney’s height should surpass the peak of your house by at least two feet to allow for proper venting.
Step 8: Create the Smoke Chamber
The smoke chamber is situated directly above the fireplace throat to compress the byproducts of combustion into a smaller, more manageable stream before they enter the chimney. To construct the smoke chamber, you must taper your firebrick inwards as you move up, forming a sort of inverted funnel shape.
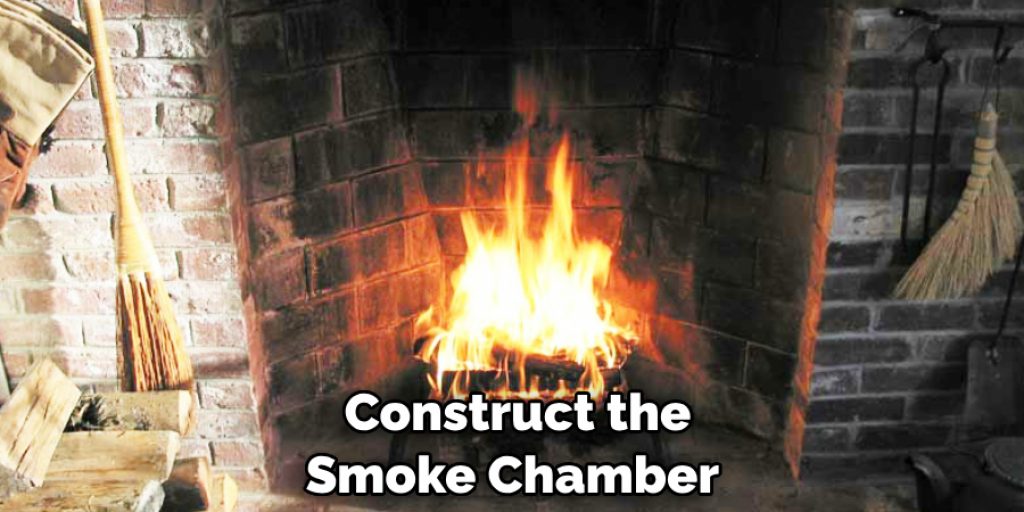
A good rule of thumb is to decrease the area of the smoke chamber by about 10% for every foot of height. Remember to maintain the inverted V shape to aid the flow direction and ensure the bricks are level and firmly placed in the mortar mix.
Step 9: Install the Chimney Cap
Once you’ve built the chimney to its necessary height, you must install a chimney cap. This is a crucial part of the process when learning how to build a masonry fireplace, as the chimney cap prevents rain, snow, and wildlife from entering the chimney while still allowing smoke and gases to escape.
Place the cap on top of the chimney and secure it with mortar. For added safety, you can also install a spark arrestor to prevent sparks from escaping and possibly starting a fire on your roof.
Step 10: Perform the Final Checks
Reviewing your work is The final step in building a masonry fireplace. Make sure the fireplace is structurally sound, all blocks are securely in place, and there are no gaps or cracks in the masonry. Remember to check the integrity of the chimney cap and ensure the throat, smoke chamber, and firebox are properly aligned.
Finally, give your fireplace ample time to dry before lighting a fire – typically 1-2 weeks. Once done, your new masonry fireplace is ready to be lit and enjoyed with family and friends!
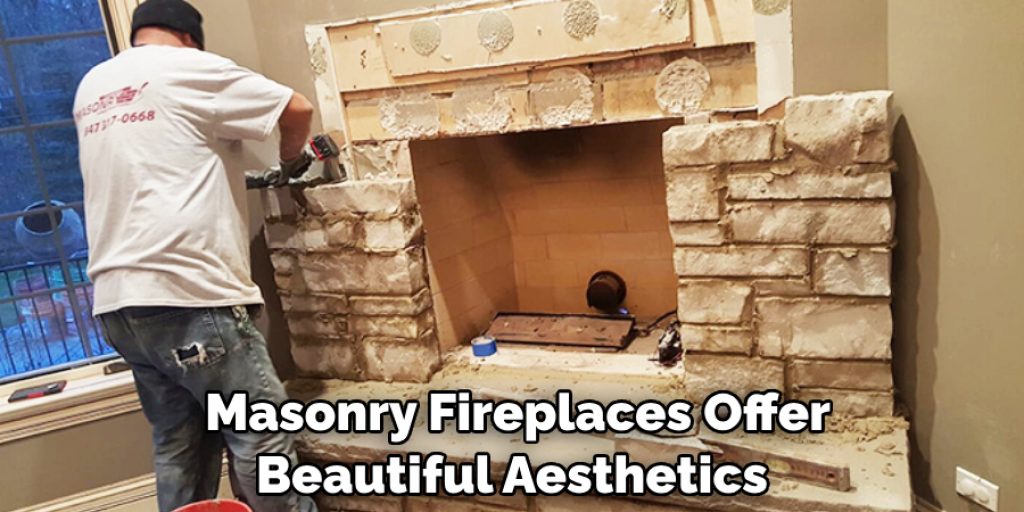
Following these ten easy steps, you’re ready to build your masonry fireplace from the ground up. Masonry fireplaces offer beautiful aesthetics and add character and warmth to any home!
5 Additional Tips and Tricks
- When building your masonry fireplace, make sure to use firebricks and mortar mixes that are specific to outdoor use. This will help prevent water damage to the structure in the long run.
- Before lighting your first fire, it’s important to have a professional chimney sweep inspect the integrity of your fireplace and chimney system.
- If you’re building a fireplace with an insert or gas log set, use the correct type of mortar mix designed to withstand high temperatures.
- When installing the chimney cap, ensure no gaps between it and the bricks surrounding it. This will help keep animals and debris out of your flue system.
- When installing the insert or gas log set, place a few pieces of fireproof material, such as vermiculite or brick pavers, around it to protect your flooring from any potential heat damage.
These additional tips and tricks will help you build a safe and long lasting masonry fireplace that will provide years of enjoyment for you and your family!
5 Things You Should Avoid
- Take your time building your masonry fireplace. Rushed work can lead to structural issues that may become dangerous over time.
- Avoid using regular bricks for construction as they are not designed to withstand high temperatures, and will start to break down quickly when exposed to extreme heat.
- Never use wet mortar mix as this could lead to issues with the integrity of the structure. Always be sure to use dry mortar mix when building your masonry fireplace.
- Remember to install a spark arrestor on top of your chimney cap, as this will help prevent any sparks from escaping, potentially starting a fire on your roof.
- Avoid using normal household tools for construction – make sure to only use tools that are specifically designed for masonry work. This will help you ensure the accuracy and integrity of your fireplace.
By avoiding these 5 common mistakes, your new masonry fireplace should stay in top condition for many years to come. Enjoy!
Conclusion
As you’ve seen throughout this blog post, how to build masonry fireplace can be a complex process, but it’s one that you can handle with some diligence and the right kind of knowledge. Even if you feel like tackling this project on your own is daunting, I urge you to take the time to learn more about the basics so that you can make an informed decision as to whether or not it’s something that makes sense for you.
Accessing the resources available online combined with guidance from experienced professionals can help ensure that your finished product is satisfying and beautiful. Putting in the effort before taking on the task will pay off in terms of time saved and money saved down the line.
So start now, and don’t be afraid to ask questions or do your research: it’s never too late to make sure your masonry fireplace is built correctly!