How to Cable Knit Without a Cable Needle
Cable knitting is a beautiful and intricate stitch that can be used to make all sorts of cozy winter wear. If you’re new to cable knitting, the prospect of using a cable needle may seem daunting. But don’t worry, you can cable knit without a cable needle! In this post, I’ll show you how to cable knit without a cable needle and give tips on when it’s best to use one. Keep reading to learn more.
What Causes Cable Knitting to Curl?
There are a few reasons why cable knitting may curl. First, if your cables are too tight, they will pull the fabric of your knitting and cause it to curl. Second, if you use a slippery yarn, it may not have enough friction to grip the needles and slide around, causing your cables to curl. Third, if you knit with a synthetic yarn, the fibers may not have enough “memory” to hold their shape and will, therefore, cause your cables to curl.
Additionally, if your knitting is too loose, it will also cause your cables to curl. Another reason your cables may be curling because you are not using a blocking method to set your stitches. Blocking is the process of wetting or steaming your finished knitting and then shaping it to the desired size and shape. This process relaxes the fibers of your knitting and allows the stitches to settle into place.
Without blocking, your cables may continue to curl. Lastly, it is also possible that your pattern is not written correctly, causing your cables to curl.
Why Would I Want to Cable Knit Without a Cable Needle?
There are a few reasons you may want to cable knit without a cable needle. First, it’s faster! If you’re working on a time-sensitive project, every second counts. Cabling without a cable needle will save you precious minutes. Second, it’s easier! Once you get the hang of it, cabling without a cable needle is actually simpler than using one. There are fewer steps and less chance for error.
Third, it’s more versatile! When you cable without a cable needle, you can use any type of needle – straight, double-pointed, or circular. This gives you more options for your project.
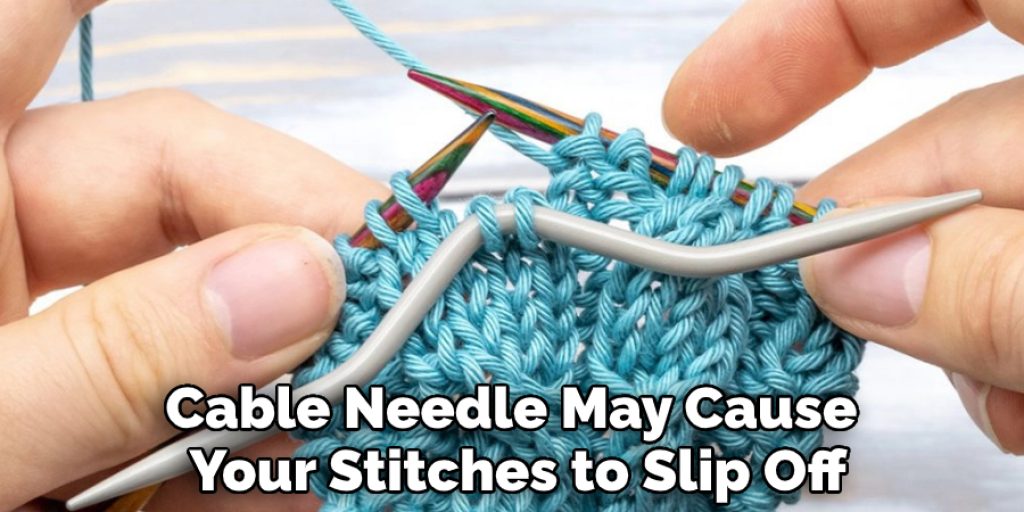
Additionally, cabling without a cable needle is great for small projects like hats, where a cable needle may be too large and unwieldy. Another reason to ditch the cable needle is if you’re working with a particularly slippery yarn – using a cable needle may cause your stitches to slip off. Lastly, some people prefer the look of cables made without a cable needle.
Step by Step How to Cable Knit Without a Cable Needle
1. Gather Supplies
The first step is to gather your supplies. You will need yarn, needles, and scissors. For yarn, you can use any fiber – wool, cotton, acrylic, etc. For needles, you can use straight, double-pointed, or circular needles. If you’re using circular needles, ensure they are long enough to accommodate your project. Next, gather a pair of scissors, and you’re ready to get started!
2. Make a Slip Knot
To start, you will need to make a slip knot. This will be the first stitch on your needle. This is because you need a “live” stitch (a stitch that is not bound off) to cable without a cable needle. To make a slip knot, start with a tail of yarn that is about 6 inches long. Make a loop, and then insert your needle through the loop. Next, wrap the yarn around the needle, and pull the yarn through the loop.
This will create a second loop. Next, insert your needle into the second loop and pull the yarn through. You now have one loop on your needle – this is your slip knot!
3. Knit a Foundation Row
Next, you will need to knit a foundation row. This will be the base of your cables. You can use any stitch you like – knit, purl, etc. For this example, we will use a knit stitch. To do this, first, insert your needle into the slip knot. Next, wrap the yarn around the needle (from back to front), and pull the yarn through the loop. You have now created your first stitch! Continue until you have the desired number of stitches on your needle. In this example, we will use ten stitches.
4. Make Your Cables
Now, it’s time to start cabling! For this example, we will make a 2/2 cable. This means that we will be crossing two stitches over two stitches. To do this, hold your work so that the needle with the stitches is in your left hand and the empty needle is in your right hand. Next, insert the right needle into the first two stitches on the left needle as if you were going to knit them.
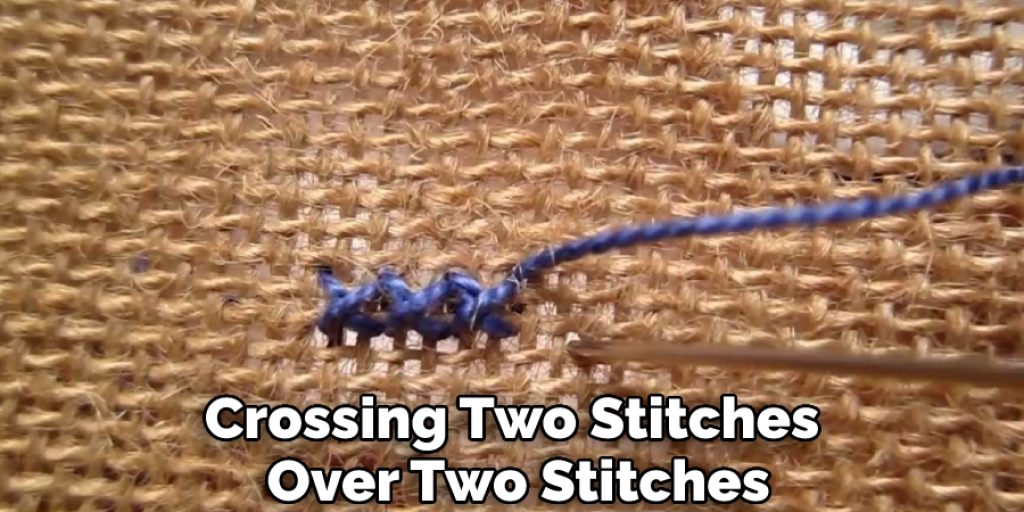
Next, without knitting these stitches, slide these two stitches over to the right needle. Now, insert the right needle into the next two stitches on the left needle as if you were going to knit them. Next, knit these two stitches. Finally, slide the two stitches that you had previously set aside back onto the left needle. You have now completed one cable crossing! Repeat this process until you have reached the end of your row.
5. Knit the Next Row
Once you have reached the end of your row, it’s time to knit the next row. For this row (and all even-numbered rows), you will knit each stitch as you come to it. In other words, insert your needle into the next stitch on the left-hand needle as if to knit, and then knit it. Repeat this process until you reach the end of the row. Avoid twisting your stitches as you work.
6. Purl the Next row
Now it’s time to purl the next row (and all odd-numbered rows). To purl, insert the right needle into the front of the next stitch on the left as if you were going to knit it. But instead of wrapping the yarn around the right needle, bring the yarn to the front of your work and purl it. Then slip the stitch off the left needle. Purl the next stitch, and continue purling until you reach the end of the row. You’ve now completed one whole row of knitting.
7. Draw the Yarn
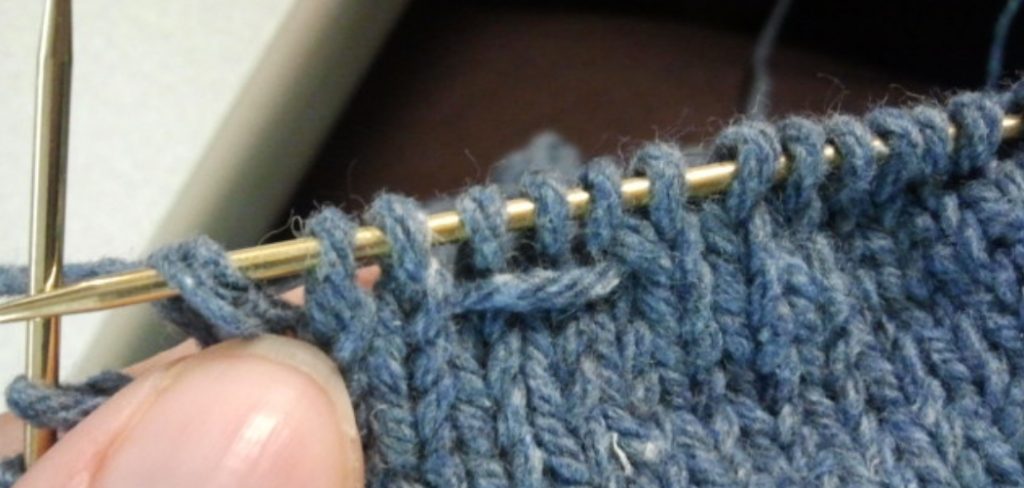
Once you have reached the end of the row, it’s time to draw the yarn through the stitches. This is because you need a “live” stitch (a stitch that is not bound off) to cable without a cable needle. To do this, cut the yarn, leaving a long tail. Next, use a tapestry needle to thread the tail through all of the stitches on your needles as if you were binding them off. Finally, pull the yarn tight and secure it with a knot. You have now cabled without a cable needle!

8. Repeat the Process
Now, repeat the process until your project is the desired length. When you are finished, bind off your stitches as usual. If you want to add a bit of extra interest to your project, try using different stitch patterns or needle sizes. And that’s all there is to it! With a little practice, you’ll be cabling without a cable needle in no time.
Tips and Warnings on How to Cable Knit Without a Cable Needle
Tips:
- If you are a beginner, it is best to use a cable needle.
- Practice makes perfect! The more you do it, the better you will become at cabling without a cable needle.
- Be careful not to drop any stitches when cabling without a cable needle.
- If you are working with multiple colors, be sure to use a different cable needle for each color.
- Use a yarn that is not too slippery, such as wool or acrylic. This will make it easier to work with and less likely to drop stitches.
Warnings:
- Do not use a metal cable needle, as it can be very slippery and difficult to work with.
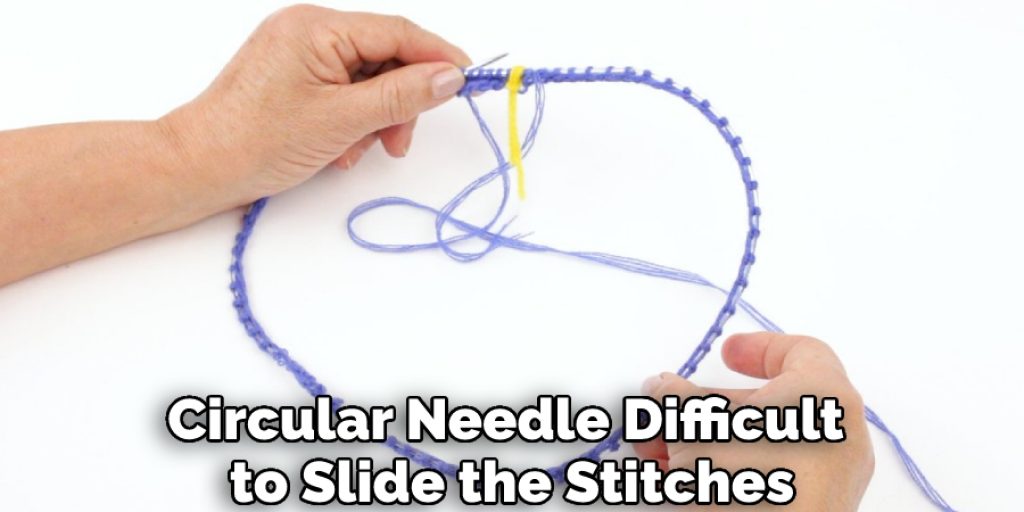
- Do not use a circular needle, as it can be difficult to slide the stitches over without losing your place.
- Do not use a double-pointed needle, as keeping the stitches from slipping off can be difficult.
- Take your time, and don’t get too frustrated if you make a mistake. Just rip it out and start again!
Conclusion
So there you have it! Now you know how to cable knit without a cable needle. Follow these simple steps, and you’ll be cabling like a pro in no time. With a little practice, you’ll be able to tackle any cable knitting project, no matter how complex. So get out your needles and give it a try! If you need more help, write a comment below we will try to help you as much as possible. Good luck!