
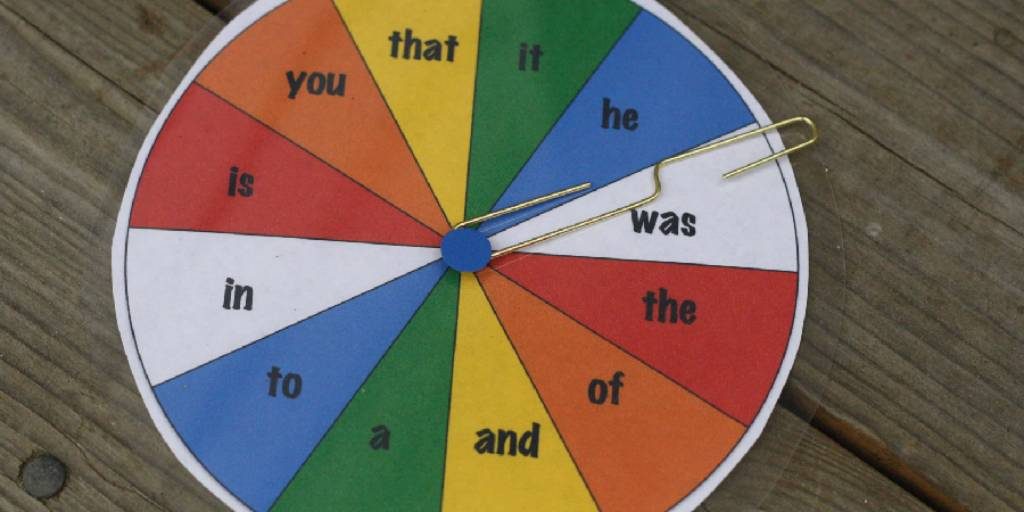
How to Make a Spinning Wheel Out of Cardboard
Have you ever wanted how to make a spinning wheel out of cardboard? This article will show you how! All you need is some cardboard, scissors, glue, and string. After reading this article, it will be easy for anyone to make their own gift or decoration.
There are many pictures on the internet that can help with the process. So if you’re looking for more information about making a spinning wheel out of cardboard, keep reading!
Summary: In this blog post, we learn how to make a spinning wheel out of cardboard. This is a fun and easy project that can be completed in just a few minutes. All you need is a cardboard box and some aluminum foil. First, cut a hole in the top of the cardboard box so that the spinning wheel can fit inside. Next, place the aluminum foil over the hole in the top of the cardboard box, so that it covers the entire surface. Finally, put the box upside down on a flat surface and turn it around until the aluminum foil is tightly wrapped around the spindle inside the cardboard box. Now your spinning wheel is ready to use!
Things You’ll Need:
- Cardboard
- Scissors
- Glue
- String
Step by Step Guide: How to Make a Spinning Wheel Out of Cardboard
Step 1: Draw the Spin Pattern on the Cardboard
First, you need to sketch a pattern onto your cardboard. The simplest way is to create two interlocking circles. Then, add lines radiating out from the circles for about an inch or more. Ensure that the lines are not too widely spaced apart. You can make them as long or short as you desire.
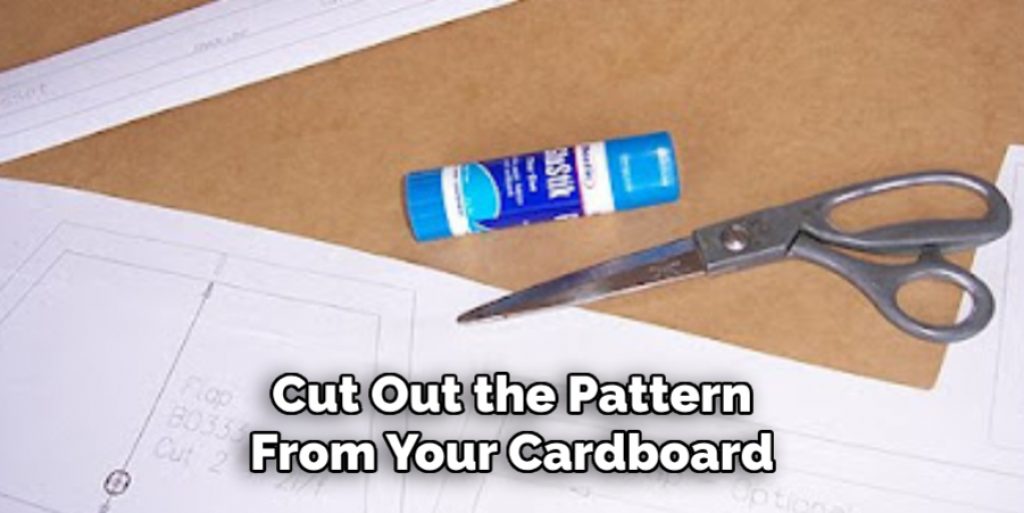
Step 2: Cut the Cardboard and Make Ridges
Cut out the pattern from your cardboard. Be careful not to cut yourself on the edges of the cardboard because they can be sharp. Once you have it cut out, use the ridges to connect them. This will make the spin pattern stay in place.
Step 3: Punch Holes on the Edges of the Cardboard
Next, you need to cut some holes along the edges of your cardboard for the string to tie around. It doesn’t matter what size hole you punch, just as long as you can tie a string around it and it’s not too tight or loose.
Step 4: Tie String Around the Holes and Tighten
Now that you have punched holes along the edges of your cardboard, it’s time to tie a string around them. First, put glue on the end of the string so it sticks to one side. Then, twirl it around until it makes a circle. Do this with all of the holes. Once they are all tied together, tighten them until they are all firm and hold together well.
Step 5: Make a Table or Stand to Support Your Spin Pattern
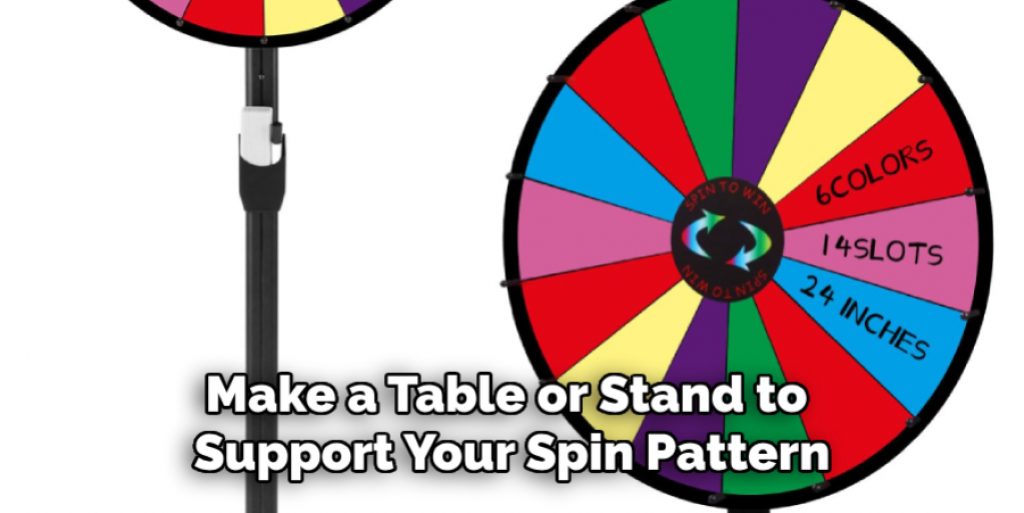
Finally, it would be best to make a stand for your spin pattern to sit on top of it. But, again, you can use almost anything as long as it’s stable and able to support your spin pattern. Using something that won’t cause damage or mess up your spin pattern and string is also a good idea.
Some Things to Consider:
1. The center of the wheel should be cut out in a circular shape, and then it is advisable to round off the corners so that they don’t create bumps.
2. It can be difficult to line up all of the cuts for maximum efficiency. If you plan on using your new homemade spinner, you may wish to skip ahead an extra step and use an additional piece of cardboard to create a separate base that will make it easier to align the pieces.
3. If you are using this spinner for your fidget spinner, be sure not to cut too deep when creating small holes for the bearings.
4. This homemade spinning wheel is rather large in scale, so it may not be the best option for smaller fingers.
5. Be creative! By adding your own unique spin to this device, you can make it your own and possibly even improve its function, for example, unity. For example, you can try cutting out a design in the center of the wheel or use it as a template for creating your own spinner from materials such as wood.
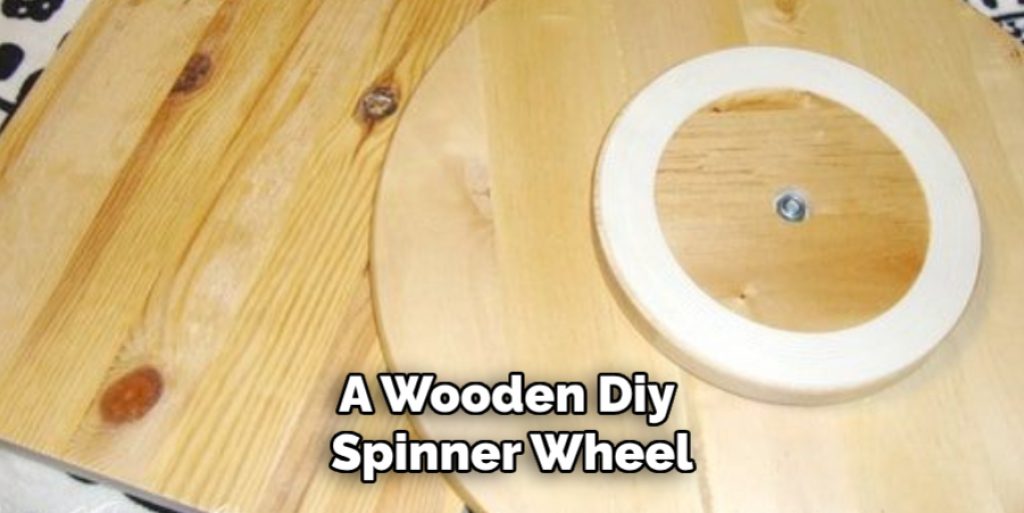
Making a Wooden DIY Spinner Wheel
To make a wooden DIY spinner wheel, you will need several materials, such as a plywood sheet, a lazy susan turntable, a metal rod, dowels, screws, and a hardboard. First, you need to draw a circle on the plywood sheet and cut it using a jigsaw. After that, attach the lazy susan turntable to the center of the circle using screws.
Once you have the base in place, cut the dowels into smaller pieces and attach them to the circle’s edge to divide it into segments. Using a protractor, mark each segment’s center and drill holes to insert the metal rod. Next, cut the hardboard into arrow shapes and paint them.
Once you have the arrows ready, insert them into the metal rod, and attach the rod to the base of the circle, ensuring that it spins freely. Lastly, label each segment with the desired actions or prizes using paint or markers, and your Spinner Wheel is ready for use.
Some Tips When Making a Spinning Wheel Out of Cardboard
Here are some tips when making a spinning wheel out of cardboard:
- Choose sturdy cardboard: Make sure the cardboard you use is sturdy enough to support the weight of the wheel and withstand constant spinning.
- Use a compass: A compass will help you create a perfect circle for the wheel. If you don’t have a compass, you can use a round object as a template.
- Divide the wheel: Divide the wheel into segments to create different options for the spinner. Use a ruler and pencil to make even markings around the wheel.
- Cut the segments: Use a sharp craft knife to cut the segments of the wheel. Take your time to ensure accurate cuts.
- Color the segments: Color the segments in different colors to help with identification and add some fun graphics or phrases to make it more exciting.
- Create a spindle: Create a spindle out of a pencil or dowel and attach it to the center of the wheel. Make sure it’s secure.
- Create a stand: Create a stand out of cardboard or use an existing box. Cut a small hole in the center of the base to allow the spindle to spin freely.
How Do You Make a Spinning Wheel With String?
It is straightforward to make a spinning wheel. You need a place where you can drill, scissors, and string first. Then, to make it work, you need a pencil or something roughly the size of a pencil. So first, find the cardboard center by folding it in half and finding where the creases cross. Then take your scissors and cut out one side of the middle circle just big enough for your pencil or stick to fit through.
Next, you need to put the pencil through the center and try to balance it. This spinning wheel isn’t going to go anywhere but just wobble its way across your desk, so don’t worry too much about balancing finely.
Once you’ve balanced the pencil, take the other end of the string and tie it to some stationary object or have someone hold it for you. Then try spinning the pencil so that there is enough tension on the string to keep it straight while still being loose enough to allow some give when you pull on one side of the string.
What are the Different Spin Patterns Used for?

The most common types of spin patterns are called “Turks Heads.” They are trendy to make because there are several ways you can change them. Another thing is that they have different uses, so you can pick whichever one you like. For example, one use is for decoration, and the other is to make a person/doll sit on it. They can also make an animal walk or run; it depends on how you set up the spinner itself.
It depends on how you put together your Turk’s Head pattern to what it will be capable of doing. For example, the more complex use of the Turks Head is making an entire tableau with it, where people can sit around and play cards or other games on the table; again, depending on how many times you go around the spinner.
Conclusion:
The cardboard spinning wheel is a fun and easy project that you can do with your kids. The benefits of this project are endless, not to mention it’s free! You will need cardboard boxes, scissors or a box cutter, a glue gun, felt (optional), and a marker. All you have to do now is cut the top off one box and line up two more on either side before cutting them down as well.
Cover the edges in glue for an extra secure bond. Place the first piece inside of another so they form a triangle shape; use tape if needed to keep everything together tightly while drying overnight to create stability for when it spins around wildly later on after adding string as its axle.
If you follow the steps laid out in this article, you should now know how to make a spinning wheel out of cardboard! Let us know if that was helpful.
You may also read – How to Make a Mummy Coffin Out of Cardboard


