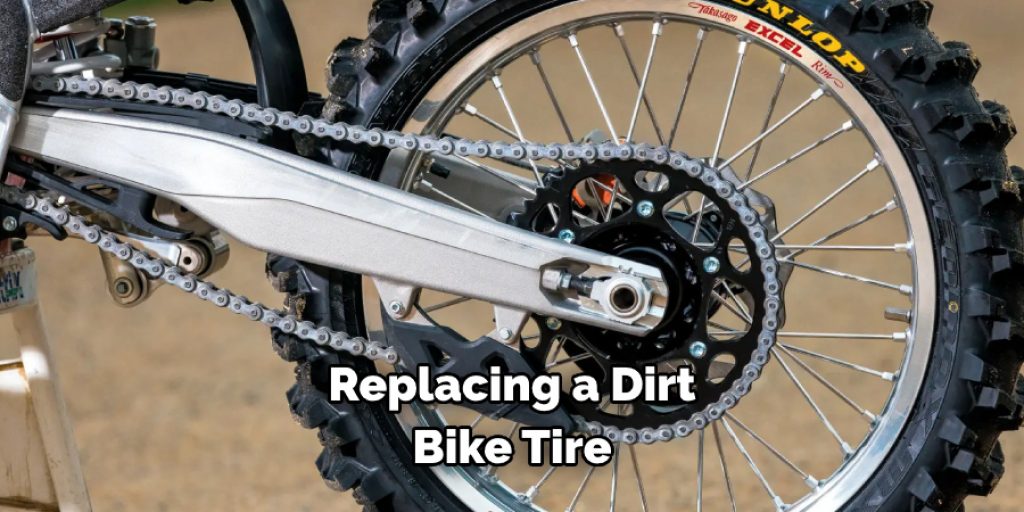
How to Change a Tire on a Dirt Bike
Do you feel a sense of dread every time you take your dirt bike out for a ride, worrying about what will happen if you have to change a tire mid-trip? If so, the good news is that learning how to do it correctly and safely isn’t as hard as it might seem.
In this blog post, we’ll provide step-by-step instructions on how to change a tire on a dirt bike quickly and efficiently, including useful tips and tricks from experienced riders. Every dirt bike enthusiast should understand the basics of changing tires — keep reading and find out why it’s an essential skill!
Tools and Materials You Will Need to Change a Tire on a Dirt Bike
- Bike jack
- Wheel wrench
- Tire lever
- Inner tube (if needed)
- Patch kit (if needed)
- Valve stem remover tool (optional but recommended)
Step-by-Step Guidelines on How to Change a Tire on a Dirt Bike
Step 1: Lift the Bike with a Jack
Carefully place your bike jack under the frame of your dirt bike and raise it until it is securely supporting the weight of your machine. Make sure you are using a quality bike jack that is designed to handle the load of a heavy-duty dirt bike — cheaper, lower-quality jacks may not be strong enough to do the job.
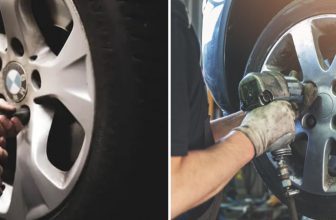
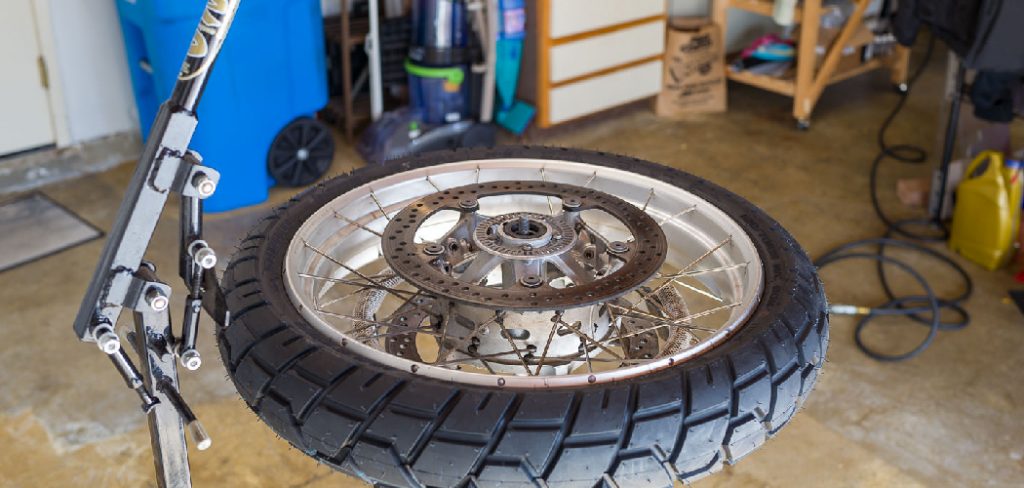
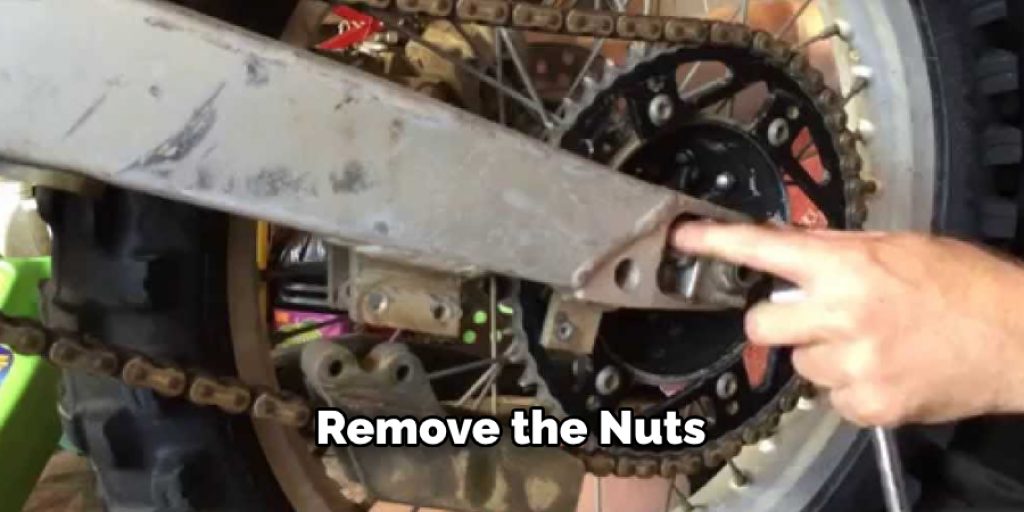
Step 2: Remove the Wheel
Using your wheel wrench, loosen and then remove the nuts that secure the wheel to the frame of your dirt bike. Keep in mind that you may need extra leverage to get these nuts off if they have been caked with mud or debris. Once the nuts are off, carefully remove the wheel and place it to the side.
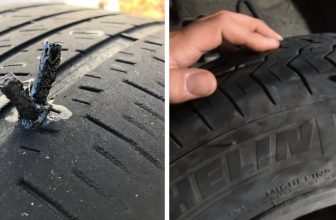
Step 3: Inspecting the Old Tire
Inspect your old tire for any signs of wear or damage that may have caused it to fail in the first place. Check for bulges, cracks, tears, punctures, and other common signs of deterioration. If you find any, make sure to fix them before proceeding with the tire change. While inspecting the old tire, you may also want to consider replacing the inner tube if it is worn or damaged.
Step 4: Prepare the New Tire
If you are using an inner tube for your new tire, make sure it is properly inflated and without any issues such as punctures. If not, deflate it and patch up any holes before re-inflating it to the correct pressure. If you are not using an inner tube, this step can be skipped. While preparing the new tire, you can also add a valve stem remover tool to make your life easier when it comes time to remove and replace the valve core.
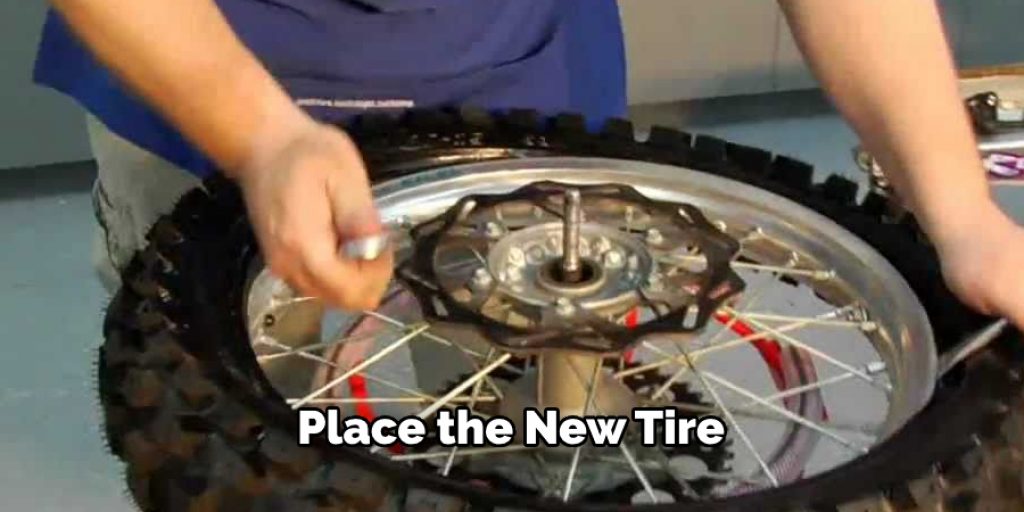
Step 5: Install the New Tire
Place the new tire onto the wheel of your dirt bike and carefully start to thread on the nuts that will secure it in place. Make sure they are tight but not too tight — you don’t want to risk stripping the threads. Once all of the nuts are in place, double-check that they are tightened correctly before proceeding.
Step 6: Lower the Bike
Carefully lower your bike off of the jack and onto the ground. Make sure it is balanced and secure before riding away on it. Lowering the jack should also cause your tire to be fully secured in position. Check it is properly seated and make any adjustments as needed.
Step 7: Check the Pressure
Before heading out on your dirt bike, check the pressure of both tires to ensure they are at the correct level for safety and performance. If necessary, adjust the pressure accordingly before riding away. Once you check the pressure, you are now ready to hit the trails!
Congratulations! You have successfully changed a tire on your dirt bike. Knowing how to do this will save you time and money in the future, as well as give you peace of mind when heading out for a ride. Now get out there and enjoy!
Additional Tips and Tricks to Change a Tire on a Dirt Bike:
1. Be sure to wear the appropriate safety gear when changing a tire on a dirt bike. This includes protective eyewear, gloves, and long sleeves or a jacket.
2. When you’re ready to start, be sure to position the bike so that it is level and secure on both sides. This will make it easier to access the tire and make sure that it is properly tightened when you’re finished.
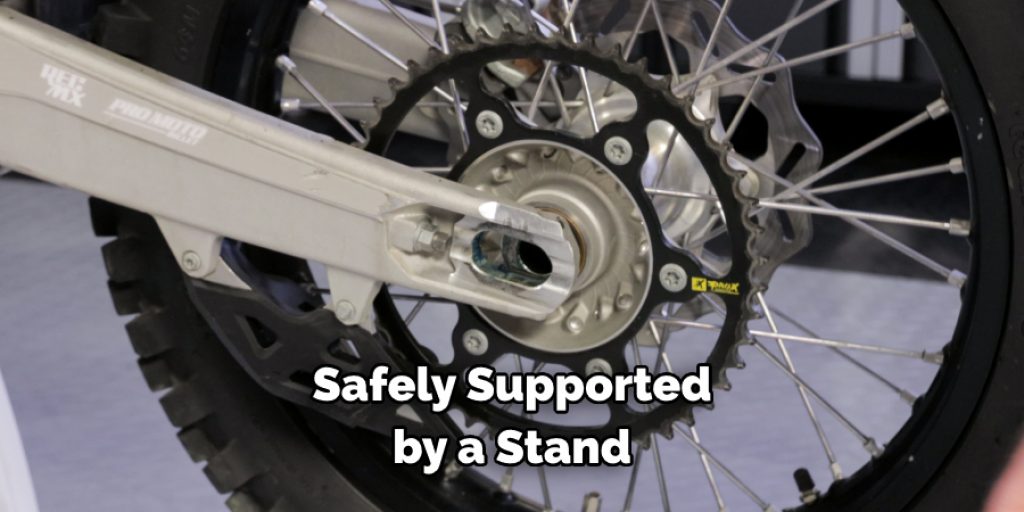
3. Before loosening any bolts, ensure that your dirt bike is safely supported by a stand so that it won’t tip over while you are working on it.
4. When removing or installing new tires, be sure to use a tire spoon or lever to help you pry the edges of the tire away from the rim. This will make it easier to get a good grip and minimize any damage to your bike parts.
5. If you need to adjust or replace spokes, be sure to use adequate caution when doing so as not to strip the threads on your bike’s rims.
6. When replacing your tire, be sure to use a torque wrench when tightening the bolts so that you don’t overtighten them and potentially damage your wheel or rim.
7. Finally, once the tire is firmly mounted and the bolts are tightened down properly, pump up the air and check for any leaks. If everything looks good, you’re ready to hit the trails!
Changing a tire on a dirt bike can be intimidating at first, but with a few tips and tricks, it doesn’t have to be so challenging. With a little patience and the right tools, you can get your bike back on the trails in no time. Good luck, and happy riding!
Things You Should Consider While Changing a Tire on a Dirt Bike
1. Have the Correct Tire Size:
Knowing the correct tire size for your dirt bike is essential before changing a tire. Not every dirt bike uses the same tire size, so it’s important to make sure you have the right one for your model. If you are not sure, take note of the tire size that’s currently installed and use it to purchase a new one.
2. Have the Necessary Tools:
In order to properly change a dirt bike tire, you will need certain tools such as a screwdriver, pliers, tire levers, and a valve stem tool. Having these tools handy is essential for ensuring that your tire change goes smoothly and safely. Before starting, make sure that you have all the necessary tools and equipment.
3. Remove the Wheel and Tire:
Once you have the correct tire size and necessary tools, start by removing the wheel from your dirt bike. You may need a screwdriver to remove certain screws that are holding the wheel in place. Then, slowly use tire levers to pry off the old tire from the wheel rim. While removing the tire, make sure that you are taking care not to damage the tube or rim.

4. Inspect the Tube:
Once you have removed the old tire, inspect the tube inside. Look to see if there are any tears or holes in the tube. If you find any damage, then it’s best to replace the tube with a new one before putting on a new tire. Inspecting the tube is an important step that should not be skipped.
5. Mount the New Tire:
Now it’s time to put on your new tire. Make sure that you evenly place the tire on the wheel, so that it is balanced when spinning. Then, use your hands and tire levers to secure the tire in place around the wheel rim. Finally, use a valve stem tool to make sure that the valve stem is secure and sealed properly.
6. Reinstall the Wheel:
After you’ve mounted your new tire, reinstall the wheel onto your dirt bike. Make sure that all screws are tight and secure before taking your dirt bike for a spin. If done correctly, you should be able to enjoy the new tire without any difficulties!
By following these steps carefully, you can successfully change the tire on your dirt bike and get back out on the track in no time. Just remember to always use the right tools and take your time when dealing with something as important as changing a tire. With the right knowledge and patience, you can be sure that your dirt bike is always in top condition and ready for any terrain!
Precautions Need to Follow for Changing a Tire on a Dirt Bike
It is very important to take the necessary precautions when changing a tire on a dirt bike. Some of these precautions include:
1. Make sure you have the appropriate tools for the job. Unscrewing bolts, removing and replacing tires, and tightening lug nuts requires specific specialty tools that will ensure accuracy and safety when performing the job.
2. Make sure you have the correct tire for your bike and model. Replacing a dirt bike tire with a different size or model can cause issues such as poor handling and reduced performance.
3. Be aware of any potential road hazards that could occur while riding on the new tire, such as debris, potholes, and other obstacles.
4. Wear the appropriate safety gear while performing the job. This includes gloves, eye protection, and a helmet in order to protect yourself from any potential accidents that could occur during the process of changing the tire.
5. Always remember to check your tire pressure before riding on the new tire by using an accurate tire pressure gauge. Having the correct air pressure in your tires is essential for optimal performance, handling, and safety.
6. After replacing the tire, slowly ride around a flat area to test it out and make sure everything is working properly before taking it on more challenging terrain.
By following these precautions and guidelines, you can be sure that changing your tire on a dirt bike will be a safe and successful process.
Conclusion
Knowing how to change a tire on a dirt bike is an important skill, and the process can be broken down into seven simple steps. Not only can you take excellent care of your dirt bike by learning how to complete this task with ease, but you’ll also be able to get back on the trail quickly in the event of an unexpected blowout.
Make sure to check your tire pressure before each ride, dispose of any faulty tubes appropriately, and remember to tighten all nuts securely for maximum safety and traction. With a bit of instruction and practice, changing a tire on your dirt bike will soon become second nature. Until then, keep these instructions handy so that you always have the support you need out on the trails!
Louis Wein
Louis has always been fascinated by cars. He loves the way they look, the sound of the engine, and how they make him feel when he's driving. He is always keen to learn more about different mechanics of cars and how the engine contributes to other aspects of the car. As an automotive technician with over 10 years of experience, he knew how they worked and loved taking them apart to see how they went back together. He was especially interested in the mechanics of combustion engines and loved finding ways to make them more efficient. He loves to work on cars and help people keep their vehicles running smoothly. As a senior editor, he enjoys contributing to Diy quickly because it allows him to share his knowledge and expertise with others.