How to Change a Tire on a Trailer
Do you own or operate a trailer? If so, at some point in time, you may need to change a tire on that trailer. Changing tires can be daunting and even dangerous if done incorrectly. Fortunately, it doesn’t have to be! In this blog post, we’ll go through the steps of changing a tire on your trailer in order to provide information and advice on how to change a tire on a trailer both safely and effectively.
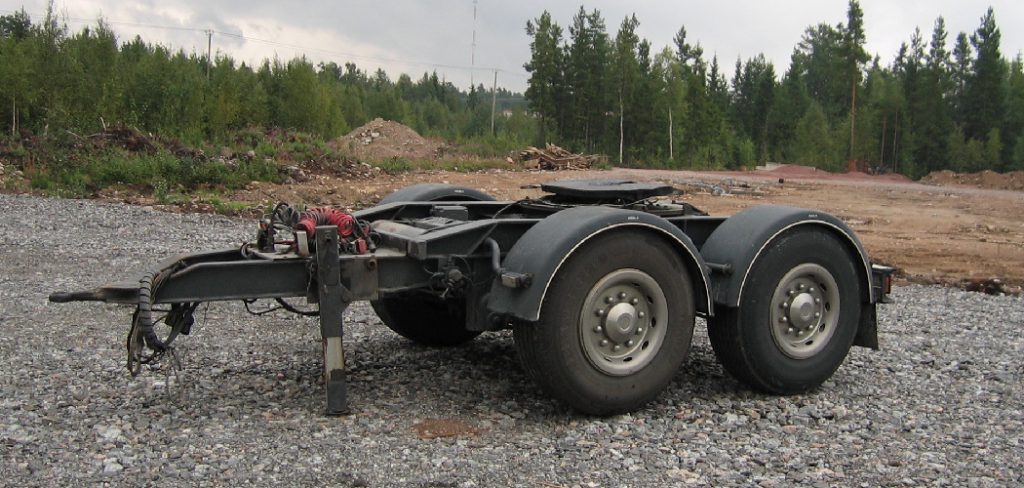
Read on for all the details related to the process, including obtaining safety gear, properly jacking up your trailer, removing lug nuts, and other tips related to swapping out your flat tire with another one.
Can I Replace Just One Trailer Tire?
It is strongly recommended that you change all four tires on your trailer at the same time. If you need to replace only one tire due to a puncture or wear, ensure that it matches the other three in terms of size, construction, and load rating. A mismatched tire will cause handling problems as well as excessive wear to the new tire and the other three, leading to premature failure and a higher overall cost. If you do decide to replace only one tire, be sure to check the air pressure of all four tires regularly, as mismatched tires may have different ideal inflation levels.
It’s also important to note that trailer tires are designed differently than regular car or truck tires and must bear the load of your trailer. Never substitute a tire from a passenger car or light truck for one on your trailer, as it may not be rated to handle the weight and could fail without warning, causing serious injury or property damage.
For optimal performance, always use tires that are rated for the type of vehicle you’re driving and for the weight of your trailer. Following these tips will help ensure that you get the most life out of your tires and keep you safe on the road.
10 Methods How to Change a Tire on a Trailer
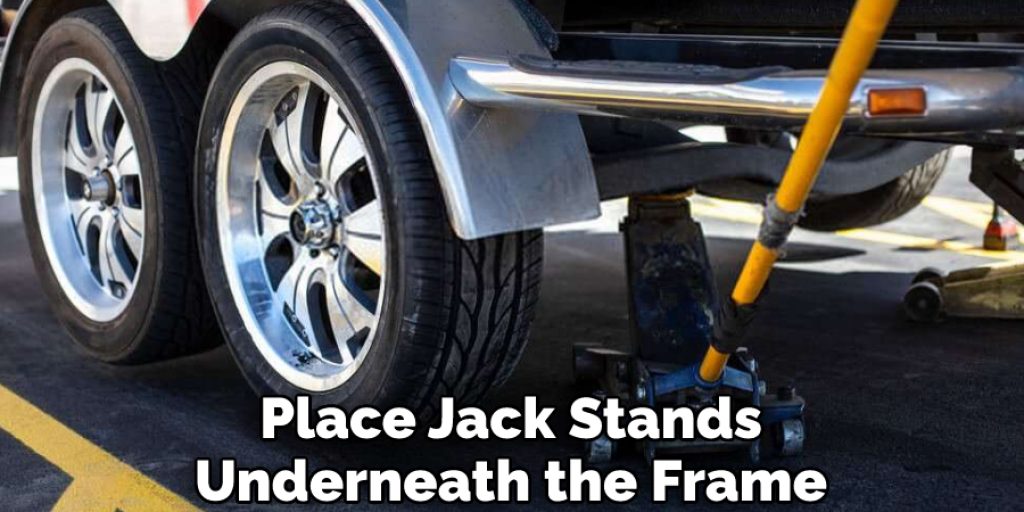
1. Jack up the Trailer
The first step is to jack up the trailer so that the tire is off the ground. This will make it easier to remove the old tire and install the new one. Make sure to use a jack that is rated for the weight of your trailer. Securely place jack stands underneath the frame of the trailer before you start working on the tire. If your trailer is equipped with brakes, make sure to set the parking brake before jacking up.
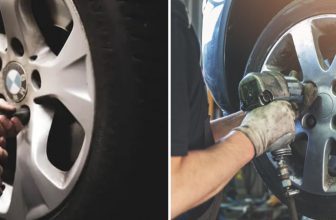
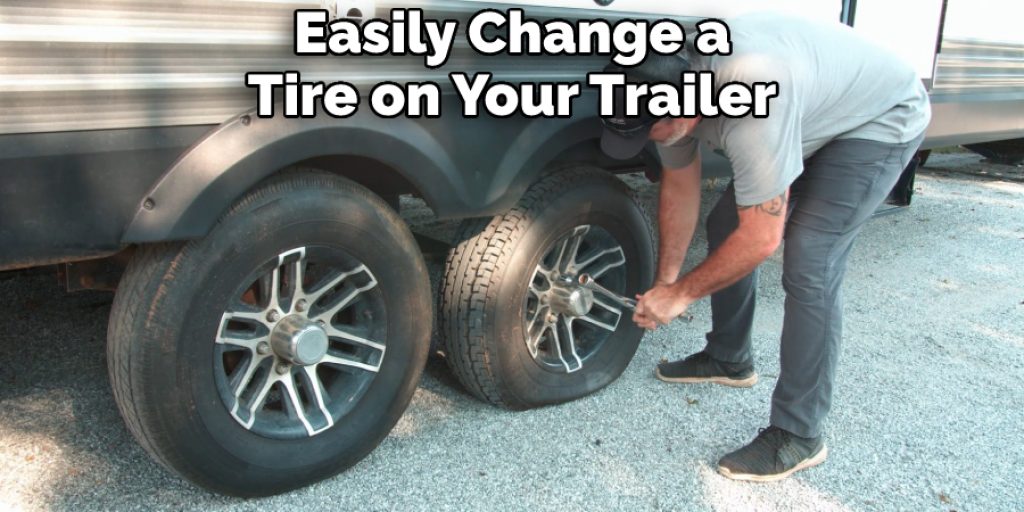
2. Remove the Old Tire
Once the trailer is jacked up, you can remove the old tire. To do this, you will need to remove the lug nuts that are holding the tire in place. Once the lug nuts are removed, you can pull the old tire off of the wheel. If you have difficulty removing the old tire, you may need to use a tire iron or other tool to help pry it off of the wheel. Make sure to take note of how the tire was mounted on the wheel so you can mount the new one in the same way.
3. Inspect the Wheel
Before you install the new tire, you should inspect the wheel to make sure there is no damage. If there is any damage, you will need to repair it before proceeding. If the wheel is in good condition, you can continue with the next step. Although it is not required, you may want to clean the wheel to remove any dirt or debris before installing the new tire. While you are inspecting the wheel, make sure that all of the nuts and bolts are properly tightened.
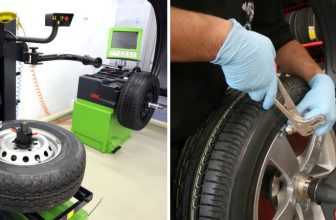
4. Install the New Tire
Once the wheel is inspected and repaired, if necessary, you can install the new tire. To do this, simply line up the new tire with the wheel and push it into place. Then, replace the lug nuts and tighten them down to secure the new tire. Make sure that all of the lug nuts are correctly tightened, as a loose tire can cause potential hazards. Once the new tire is secured to the wheel, lower the jack and take it away from the trailer. Then, drive your trailer to a service station or garage for any additional maintenance that may be necessary.
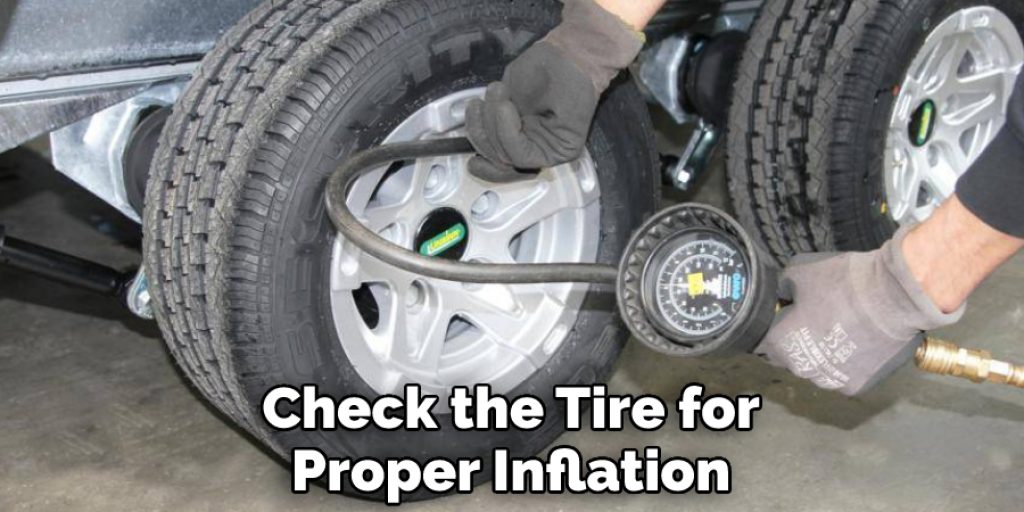
5. Lower the Trailer
Once the new tire is installed, you can lower the trailer back down to the ground. It is important to make sure that the trailer’s tongue is properly balanced and firmly supported. Also, make sure to check the tire for proper inflation before driving. When you have finished, you should store the spare tire in a secure place. Always remember to check your trailer’s tires before taking any trips, and be sure to follow the manufacturer’s instructions for safe tire changing. With a bit of patience and effort, you can easily change a trailer tire with minimal fuss.
6. Repeat on the Other Side
If you have a dual-axle trailer, you will need to repeat these steps on the other side in order to change both tires. After you do this, it is important to balance the trailer by weighing each side on a scale. This will ensure that one tire does not have too much load and wear out faster than the other. If one side is heavier, you may need to add additional weight to the other side for balance. Make sure to check the tire pressure one last time before you hit the road, and enjoy your trip.
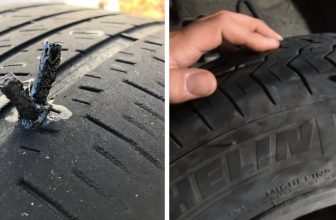
7. Check Air Pressure in Tires
After changing both tires, be sure to check the air pressure in both tires to ensure they are properly inflated. This is especially important because insufficiently inflated tires are more prone to blowouts, which may cause you to get stranded on the side of the road. Using a tire pressure gauge, check the pressure and add more air if needed. While you are checking the tire pressure, also check for any visible damage to the tires. If there is any significant damage, consider replacing the tires as soon as possible.
8. Test Drive Trailer
Once both tires are properly inflated, test drive your trailer to make sure everything is working correctly. Make sure you are driving on a flat, even surface, and be aware of any odd noises or vibrations that could indicate a problem. If everything is working properly, you can be confident that your tire change was successful.
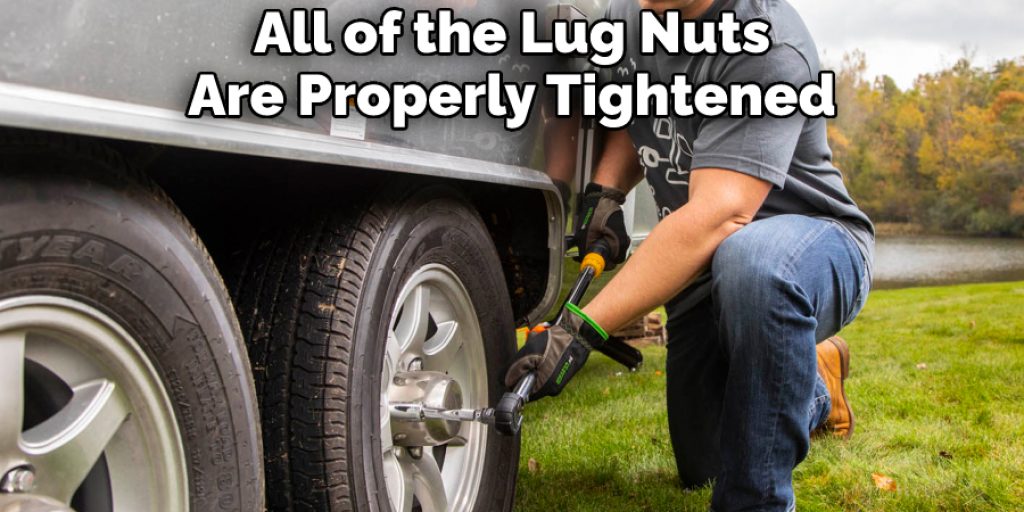
9. Park and Secure Trailer
When you are finished with the test drive, park and secure the trailer, make sure all of the lug nuts are properly tightened and that any additional items you may have used during tire changing (such as a jack or wrench) are stored away in a safe place. By following these simple steps, you can ensure that your trailer is safe to drive.
10. Store Spare Tire
Lastly, don’t forget to store away the spare tire in a secure place when you’re done. If you ever find yourself needing to change another tire on your trailer in the future, at least you’ll already have one ready to go! With proper maintenance and care for the tires of your trailer, you can avoid expensive breakdowns down the road. Enjoy your travels with peace of mind knowing that you are safely prepared.
Congratulations! You have successfully changed a tire on your trailer. Be sure to check the tires regularly and keep an eye out for any potential issues before they become serious problems. By following these steps, you will be able to keep your trailer in top condition and enjoy all of your travels with peace of mind.
What to Do if Tire Blows Out on Trailer?
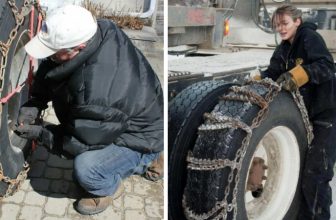
If you’re on the road and your trailer tire blows out, it can be a frightening and potentially dangerous situation. Although changing a trailer tire is similar to changing a regular car or van tire, there are some important things to consider when doing so. While you should always call for roadside assistance if you feel unsafe, here’s how to change a trailer tire if you find yourself in such an emergency situation.
Safety is your number one priority when it comes to changing a trailer tire in an emergency situation. Make sure that the vehicle is parked on an even surface, and activate all four-way hazard lights if you have them. If you don’t, place an emergency triangle behind the trailer to alert other drivers that something is wrong.
Conclusion
If you find yourself with a flat tire on your trailer, don’t panic! Changing a tire is not as difficult as it may seem. Just follow these simple steps, and you’ll be back on the road in no time. And remember, always practice safety first when working with tools and changing tires. With a little know-how, you can easily change a tire on your trailer all by yourself.
Now that you know how to change a tire on a trailer, you’ll be able to hit the open road without worry! Just remember these key points: make sure the jack is properly secured before lifting the trailer off the ground, use caution when loosening or tightening the lug nuts, and take care when lowering the trailer back down. With a little practice, changing a tire will be a breeze!
Louis Wein
Louis has always been fascinated by cars. He loves the way they look, the sound of the engine, and how they make him feel when he's driving. He is always keen to learn more about different mechanics of cars and how the engine contributes to other aspects of the car. As an automotive technician with over 10 years of experience, he knew how they worked and loved taking them apart to see how they went back together. He was especially interested in the mechanics of combustion engines and loved finding ways to make them more efficient. He loves to work on cars and help people keep their vehicles running smoothly. As a senior editor, he enjoys contributing to Diy quickly because it allows him to share his knowledge and expertise with others.