
How to Change Cutter Blade
If you’re one of those quilters who like to change the cutter blade on a regular basis, you know that it can be a pain to do. In this post, we’ll show you how to change cutter blade. We’ll also provide some tips on how to get the most out of your cutter blade. So, whether you’re a beginner or an experienced quilter, read on for some helpful information!
Many quilters are always looking for ways to improve their craft. One way to do this is by adjusting the cutter blade. This simple adjustment can make a big difference in the quality of your cuts.
If you’re a beginner, the process of changing the cutter blade may seem daunting. However, it’s actually quite simple. All you need is a screwdriver and a few minutes of time. Once you’ve changed the blade, you’ll be surprised at how much better your quilts look. It’s a small change that can make a big difference.
Why Do People Change Cutter Blade?
One of the main reasons people change cutter blades is because they want to improve the quality of their cuts. If you’re not satisfied with the way your quilts are looking, it might be time to switch to a new blade.
Another reason people change their blades is that they’re not getting the results they want. For example, if you’re cutting fabric for a quilt top, you might want to use a different blade than you would use for cutting batting.
There are a variety of cutter blades available on the market. Some are designed for specific tasks, while others are more general-purpose. Choosing the right blade will depend on your needs and preferences.

Types of Cutter Blade
1. Straight blade:
Straight blades are the most common type of cutter blade. They’re ideal for general-purpose cutting, such as cutting paper, cardboard, and light- to medium-duty fabrics.
2. Serrated blade:
Serrated blades have teeth that grip the material being cut, making them ideal for cutting bread, meat, and other tough or difficult-to-cut materials. To change a serrated blade, remove the old blade by unscrewing the blade guard. Next, insert the new blade into the blade guard and screw it in place. Finally, reattach the blade guard to the cutter body.
3. Rotary cutter blade:
Rotary cutter blades are extremely sharp. Be sure to handle them with care and keep them away from children and pets. When storing, make sure the blade is covered. Some brands of rotary cutter blades are only meant to be used with their specific brand of the handle. Others will fit a variety of brands. Be sure to check compatibility before purchasing blades.
7 Ways on How to Change Cutter Blade
1. Unscrewing the Old Cutter Blade.
The first step is to unscrew the old cutter blade. You will need a Phillips head screwdriver for this purpose. There are generally two screws that you need to remove in order to take out the old cutter blade. So first, locate the screws and unscrew them using the screwdriver.
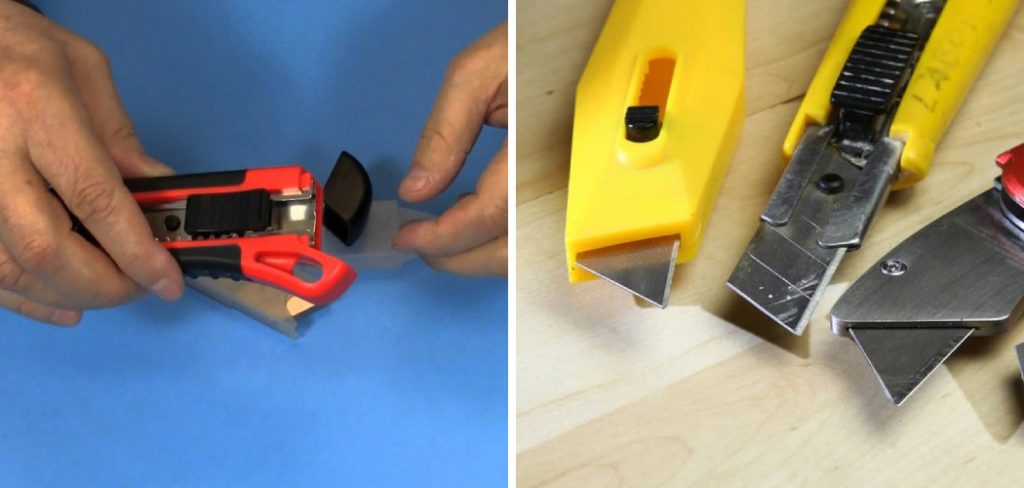
2. Prying Out the Old Cutter Blade.
Once the screws have been removed, you will need to pry out the old cutter blade. You can do this with a small screwdriver or a butter knife. Gently insert the tool between the blade and the housing and twist until the blade pops out. Old cutter blades can be sharp, so be careful not to cut yourself.
3. Inspecting the Housing.
Once the old cutter blade has been removed, take a look at the housing. If there is any damage, it will need to be replaced before a new cutter blade can be installed. First, remove the old housing by unscrewing the two screws that hold it in place. Next, take a look at the bottom of the housing. Again, if there is any damage to the threads, they will need to be replaced before installing a new housing.
4. Installing the New Housing.
If the housing is new, there will be no need to remove the old one. If it is not new, follow these steps to install it. First, remove any old screws or nails that are holding the housing in place. Then, carefully remove the old housing. Place the new housing in the same position as the old one. Secure the new housing in place with screws or nails.
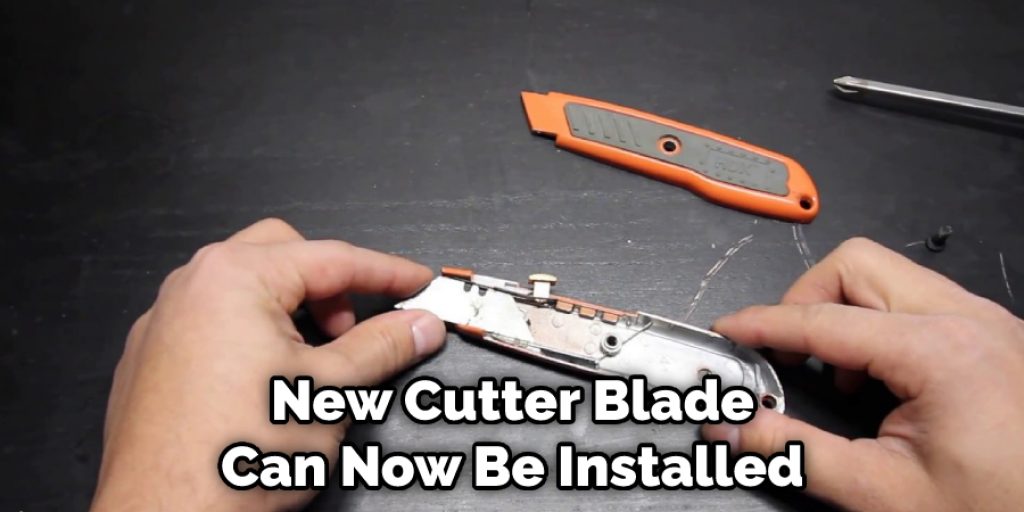
5. Installing the New Cutter Blade.
The new cutter blade can now be installed. First, align the new cutter blade with the housing. Next, insert the blade into the housing and twist it until it is tight. Finally, screw in the two screws that hold the blade in place.
6. Testing the New Cutter Blade.
To test the new cutter blade, put a piece of paper under the blade and try cutting it. If the blade cuts cleanly and evenly, it is ready to use. However, if the blade does not cut evenly or tears the paper, it will need to be sharpened or replaced.
7. Caring for the Cutter Blade.
Keep the cutter blade in good condition, and it is important to clean it regularly. Use a soft, dry cloth to wipe away any debris or dust that has accumulated on the blade. If the cutter blade becomes dull, you can use a sharpening stone to sharpen it.
It is also important to oil the cutter blade regularly. This will help to keep it in good condition and prevent it from rusting. You can use any type of oil, such as vegetable oil or mineral oil.
If you notice that the cutter blade is becoming damaged, it is important to replace it with a new one. Damaged cutter blades can be very dangerous and can cause serious injuries.
When you are finished using the cutter blade, it is important to store it in a safe place. It would be best if you never left the cutter blade out in the open where it can be damaged or stolen. Keeping the cutter blade away from children and pets is also important.
Tips and Warnings on How to Change Cutter Blade
Tips:
- Always use a new blade when beginning a project. This will ensure clean cuts and fewer issues.
- If the material is thick, multiple passes may be necessary to achieve a clean cut.
- Use a cutting guide or jig whenever possible to help keep the blade in place and produce straighter cuts.
- Be extra careful when working with more delicate materials. A sharp blade is more likely to cause damage.
- Keep your fingers away from the cutting area at all times.
Warnings:
- Always wear proper safety gear, including gloves and eye protection, when working with power tools.
- Be aware of the kickback hazard associated with cutting tools. Use caution and follow the manufacturer’s instructions when operating any cutting tool.
- Check that the cutting tool is properly secured and aligned before use.
Frequently Asked Questions
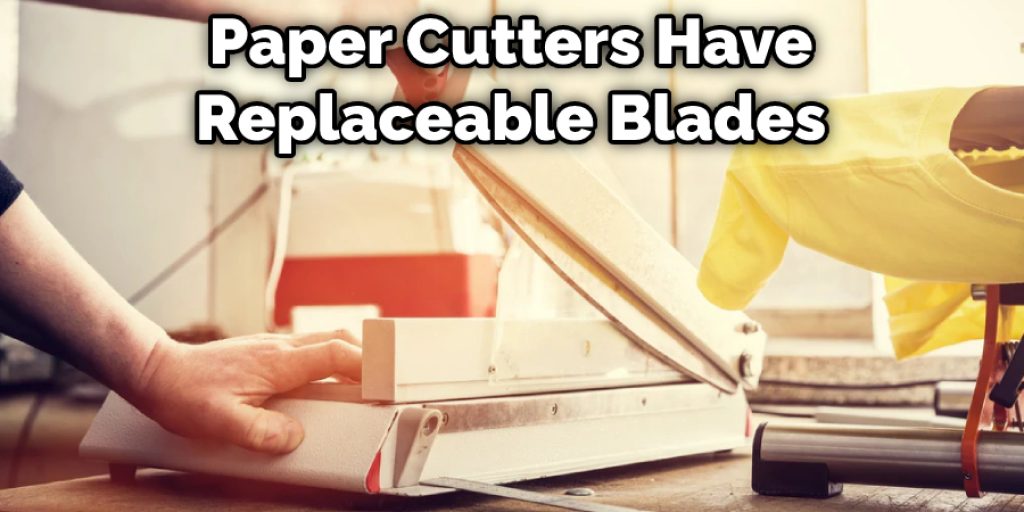
Can you replace the blades on a paper cutter?
Yes, most paper cutters have replaceable blades. To replace the blade on your cutter, first, remove the old blade by unscrewing the retaining screws. Next, insert the new blade into the cutter and secure it in place with the retaining screws. Finally, test the new blade by cutting a piece of paper. If it cuts cleanly, you’re all set!
If your paper cutter doesn’t have replaceable blades, you’ll need to buy a new cutter. However, many cutters come with blade kits that include replacement blades and screws. To replace the blades on these types of cutters, follow the instructions that come with the kit.
How Do You Put a Blade in a Paper Cutter?
Most paper cutters will have a clamp that you can loosen to remove the old blade. Some models might require a screwdriver to loosen the clamp. Then, you can insert the new blade into the slot and tighten the clamp again. If your paper cutter came with an Allen wrench, you might need to use that to secure the blade. Always be careful when handling blades, as they are very sharp.
Why Is My Cutter Blade Not Going Down?
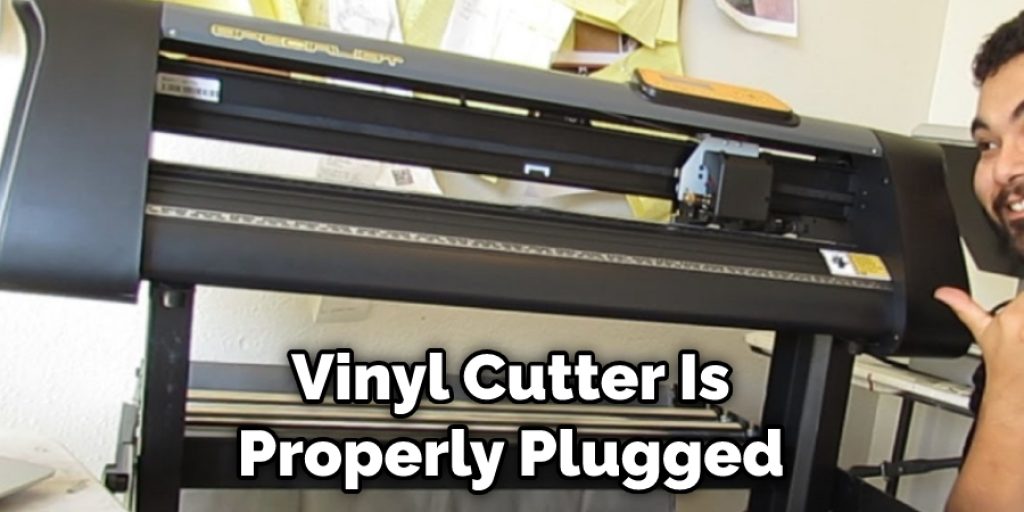
If the cutter blade on your vinyl cutter is not going down, it could be for several reasons. The most common reason is that the blade is dull and needs to be replaced. The blade holder is not tight enough. Check to make sure the knob on the back of the blade holder is tightened all the way.
If it is, try loosening it a bit and see if that helps. The blade could also be installed backward. Be sure to check the orientation of the blade before installing it. Finally, make sure the vinyl cutter is properly plugged into an electrical outlet.
Conclusion
In this article, we have discussed how to change cutter blade. While it may seem daunting at first, changing a cutter blade is a fairly simple process that can be done in just a few minutes. It is important to be careful when handling blades, as they are very sharp. When working with power tools, always wear proper safety gear, including gloves and eye protection.
Be sure to follow the manufacturer’s instructions when replacing the blade on your cutter. By following the steps outlined above, you should have no trouble swapping out your old blade for a new one and getting back to cutting like a pro. Have you ever changed a cutter blade? If so, what tips would you add to our guide? Let us know in the comments below.


