
How to Check Brake Lights by Yourself
Brake lights are an essential safety feature of any vehicle. They alert drivers behind you that you are slowing down or stopping. However, many drivers overlook the importance of their brake lights and only realize they are out when law enforcement officers pull them over. It’s vital to check your brake lights regularly to ensure they are functioning correctly. In this blog, we will discuss how to check brake lights by yourself.
Can You Check the Brake Lights by Yourself?
Driving is an important responsibility; safety should always be a top priority. The brake lights are one component of any car’s safety system that is often overlooked. Did you know that you can check your brake lights by yourself? It’s a simple process that can be done in just a few steps.
All you need to do is park your car near a wall or reflective surface, then press the brake pedal and observe if the lights light up. If the lights don’t light up, it’s time to replace them. Taking care of your brake lights can prevent accidents and ensure the safety of yourself and others on the road. So, why not take a few minutes to check your brake lights and give yourself the peace of mind you deserve?
Why Should You Check Brake Lights by Yourself?
When it comes to driving, safety should always be a top priority. That’s why ensuring your vehicle’s brake lights are functioning properly is important. While you could take your car to a mechanic or auto shop for this simple repair, checking your brake lights yourself can actually save you time and money.
It also gives you peace of mind knowing that you’re taking an active role in maintaining your vehicle’s safety. In addition, checking your brake lights is quick and relatively easy to do. So the next time you’re getting ready to hit the road, make sure to take a few minutes to check your brake lights yourself.
7 Steps to Follow on How to Check Brake Lights by Yourself
Step 1: Turn on Your Vehicle
Start by turning on your vehicle and applying the brakes. This action will indicate if the brake lights are working or not. If the brake lights are not functioning, check to see if the brake light fuse is blown. Consult your vehicle manual to locate your fuse box. Check the fuse box to find the brake light fuse and replace it if it’s blown.
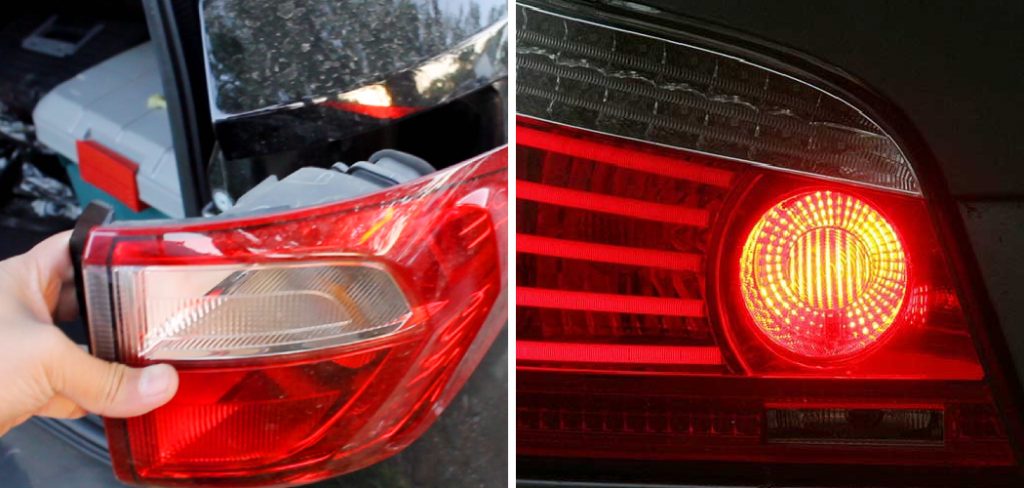
Step 2: Inspect the Brake Light Bulbs
If the brake light fuse is not the problem, the second step is inspecting the bulbs. Examine the bulbs for any signs of damage, such as cracks or breakages. If a bulb needs replacing, consult your vehicle manual to determine the bulb’s type and buy a replacement from your local auto parts store. Replace the damaged bulb with the new one by following the manual’s instructions.
Step 3: Test the Brake Light Switch
The brake light switch is an essential component that signals the brake lights to come on when you press the brake pedal. The brake lights may not come on if the switch is damaged or out of alignment. Locate the switch near the brake pedal to test the brake light switch. Inspect to see if it moves freely or looks damaged. Press down on the brake pedal slowly.
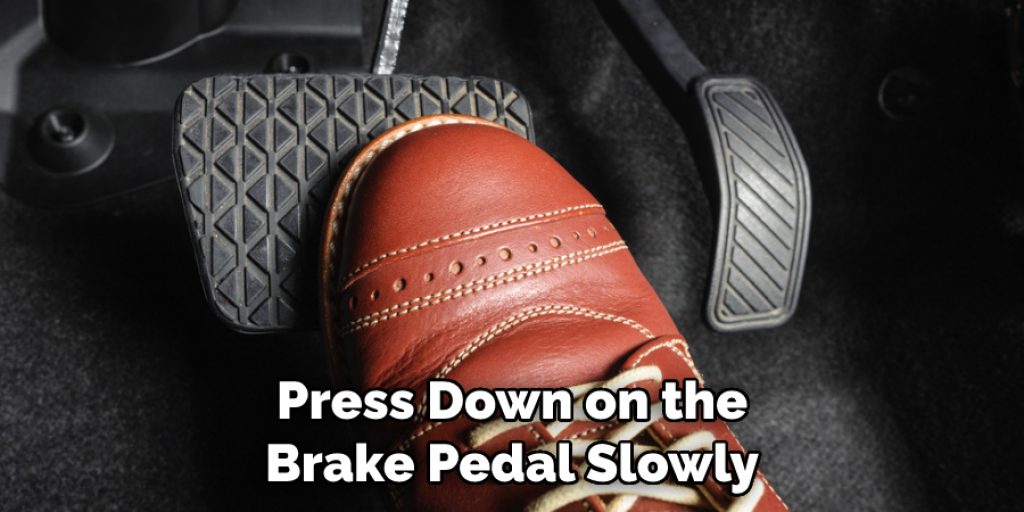
If the brake lights come on, the brake light switch needs adjusting. Consult your vehicle manual to learn how to adjust the brake light switch.
Step 4: Check the Wiring
If the brake lights are still not working, check the wiring. The wiring connects the brake light bulbs, brake light switch, and the battery. Wiring issues might prevent the brake lights from working correctly. Examine the wires for any loose connections or breaks. If you notice any damage, consult an auto mechanic or electrician to fix it.
Step 5: Perform a Final Test
After following the steps above, test your brake lights again. Have someone stand behind your vehicle and tell you if the brake lights are working. If the brake lights are functioning correctly, then you’re done. If not, you may need professional assistance.
Step 6: Reattach the Bulbs and Fuses
When you’re done inspecting your brake lights, reattach all the bulbs and fuses you removed for testing. Ensure all the wirings are secured properly before you turn on your vehicle again.
Step 7: Take Your Vehicle for a Professional Inspection
If the brake lights are still not working properly or you’re unsure about any of your repairs, take your vehicle to a professional mechanic. They can inspect and diagnose any further issues that may be preventing your brake lights from functioning correctly.
That’s it! You’ve now learned how to check brake lights by yourself. With these steps in mind, you can be sure that your brakes are working correctly and safely. Good luck!
5 Considerations Things When You Need to Check Brake Lights by Yourself
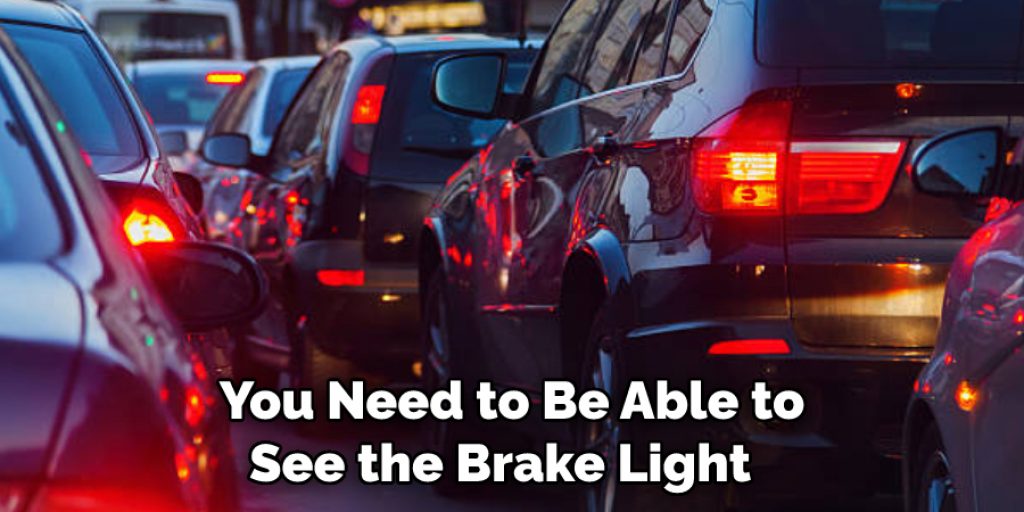
1. Visibility
The first consideration is visibility. You need to be able to see the brake light in order to know if it is working properly. If the brake light is not visible, you will need to replace it.
2. Brightness
The second consideration is brightness. The brake light should be bright enough that it is easily visible in daylight or at night. If the brake light is not bright enough, you will need to replace it.
3. Bulb Type
The third consideration is bulb type. Two bulbs are used for brake lights: incandescent and LED. Incandescent bulbs are less expensive but have a shorter lifespan than LED bulbs. LED bulbs are more expensive but last longer and use less energy.
4. Socket Type
The fourth consideration is socket type. Two sockets are used for brake lights: standard and weatherproof. Standard sockets are less expensive but are not as durable as weatherproof sockets. Weatherproof sockets are more expensive but are more durable and provide better protection against moisture and corrosion.
5. Wiring Harness
The fifth consideration is the wiring harness. The wiring harness connects the brake light to the vehicle’s electrical system. If the wiring harness is damaged, you will need to replace it.
Benefits of Checking Brake Lights by Yourself
Checking your brake lights yourself is not only cost-effective but also an important safety practice. Regular maintenance of your car ensures that it is always operating at an optimum level. The brake lights are a key safety feature, and it is essential to ensure they function correctly to prevent any potential accidents.
By checking your brake lights yourself, you can save money and time that would otherwise be spent at a mechanic’s shop. Furthermore, you can ensure that your car’s lighting system is in top shape, giving you peace of mind when you hit the road. Remember, your brake lights are crucial in signaling your intentions to other drivers, and by keeping them in good condition, you can drive more confidently on the road.
4 Common Mistakes People Make When Trying to Check Brake Lights by Yourself
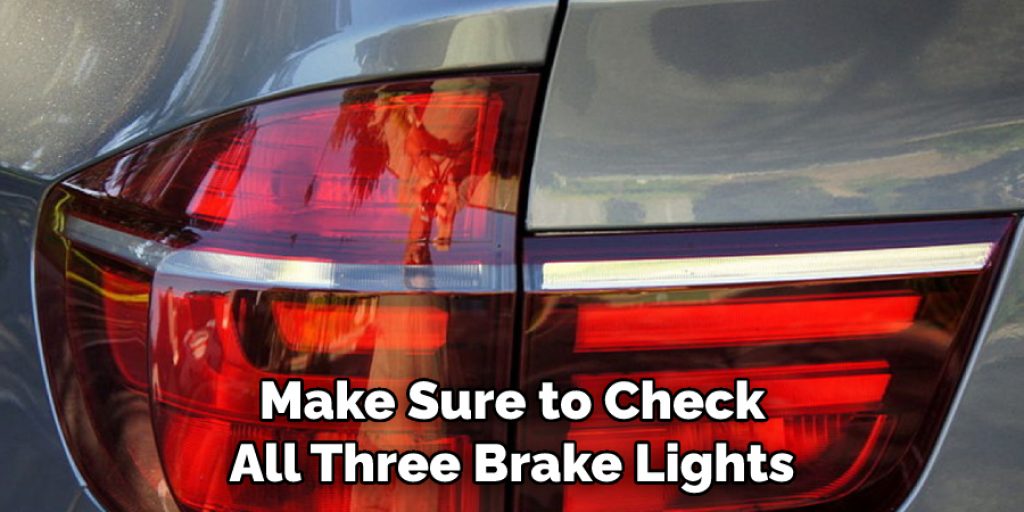
1. Not Checking All the Lights
One of the most common mistakes people make when trying to check their brake lights by themselves is not checking all of the lights. There are typically three brake lights on a car – one on each side of the rear of the car and one in the center. Make sure to check all three brake lights to ensure that they are working properly.
2. Not Checking the Bulbs
Another common mistake people make is not checking the bulbs. If one of your brake lights is not working, it could be because the bulb has burned out. You should check all the bulbs to ensure they are working before assuming something else is wrong.
3. Not Checking the Fuses
You should check the fuses if your brake lights are still not working after checking the bulbs. The fuse box is usually under the hood, and you must consult your owner’s manual to find out which fuse controls the brake lights. Once you have found the correct fuse, use a multimeter to test it to see if it has blown.
4. Not Checking for Loose Wires
Finally, if you have checked all of the above and your brake lights still are not working, there may be a loose wire somewhere. This is usually a more serious problem that will require professional help to fix.
Is It Safe to Check the Brake Lights on Your Own?
As a responsible driver, it is important to ensure that your vehicle is in good working condition, including the brake lights. It may be tempting to simply ask a friend or family member to step on the brake pedal while you check the lights from behind, but is this safe?
While checking the brake lights on your own can be done, it is important to take proper precautions. This includes parking on flat ground, using a mirror or camera to view the lights from a safe distance, and ensuring that the engine is on and the emergency brake is engaged. By taking these steps, you can ensure your safety while performing routine maintenance on your vehicle.

Conclusion
Checking your brake lights is an essential and easy task that every driver should perform regularly. The steps outlined in this blog post are straightforward and can help ensure that your brake lights are in perfect working condition.
Regularly checking your brake lights can save you from receiving a ticket and, more importantly, prevent a car accident. If you’re uncomfortable checking your brake lights yourself, consult your local auto technician or mechanic for assistance. We hope you found this post informative. Thanks for reading our post about how to check brake lights by yourself.


