
How to Clean an Oil Rain Lamp
Oil lamps are often used in spiritual settings to help create a calm and meditative atmosphere. However, the oil inside these lamps does not always stay clean for long periods, causing them to emit an unpleasant smell or leave residue on surfaces near the lamp. Fortunately, there are many ways that you can keep your oil lamp clean without too much difficulty.
In these blog posts, we are going to discuss how to clean an oil rain lamp. The best way is by using white vinegar mixed with water to wash down any sticky areas around the base of the lamp before wiping them off with a damp cloth.
If you have trouble reaching certain places within your oil lamp, use cotton swabs dipped in rubbing alcohol to rub out any dirt or grime, so they don’t build up over time! Read on to know more!

10 Ways on How to Clean an Oil Rain Lamp:
1. Using Lemon Juice:
Squeeze lemon juice into the lamp to break down deposits. Wipeout any leftover residue with a paper towel. Add 3-4 drops of dish soap before lighting, and let it clean for 2-3 hours without using water because it would be much harder to clean later on when you add water.
2. Using Rubbing Alcohol:
Using a small bowl, mix rubbing alcohol with baking soda. Put this mixture into the lamp through the spout opening. Pour it to the bottom. Next, let everything sit for at least 5-6 hours or overnight before turning on the lamp.
3. Using Sea Salt:
You can use this method with or without using water first. Pour sea salt into a clean glass bowl, then melt 1/8 cup of paraffin wax over low heat on the stove.
Add water and continue heating until it completely dissolves in the melted wax mixture. After 5-6 hours, turn on your oil lamp for at least 2-3 hours, but don’t add more salt if you want to keep the same bowl of candle wax in there. If you clean with water first, you would have to repeat this process about once a week.
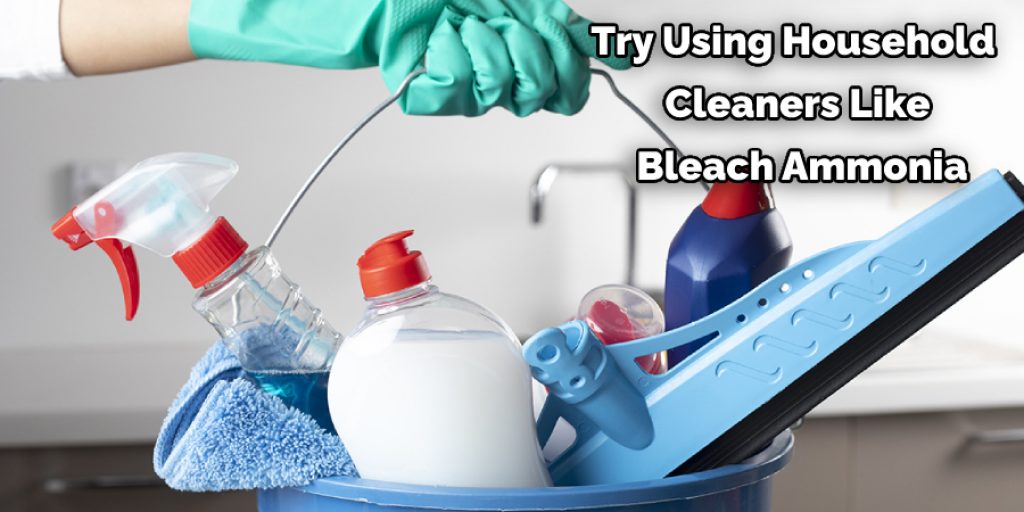
4. Using Over the Counter Cleaners:
Try using household cleaners like bleach, ammonia, or rubbing alcohol. Pour these cleaning products directly into the oil lamp with water and let them sit for at least 5-6 hours before lighting your lamp again.
5. Using Vinegar:
Mix vinegar and baking soda together in a small bowl. Pour the mixture into your oil lamp with hot water. Let it sit for several hours until you’re satisfied with how clean your oil lamp is, then rinse it out before lighting again.
6. Using Baking Soda Paste:
Mix one teaspoon of baking soda with enough water to form a paste (about two tablespoons). Put this mixture in the water first, then place it on a heatproof dish or bowl. If you have any broken glass pieces that you want to remove, put them into the oil lamp first and let them sit for five minutes before lighting your candle again.
7. Using Dishwasher Detergent:
Pour dishwasher detergent directly into the water with hot water. Don’t add too much, or it could bubble over and make a big mess. Let the water sit in your oil lamp for at least 5-6 hours before lighting again, keeping in mind that you may have to repeat this process about once a month if you don’t want to replace the dishwasher detergent every time you clean your oil lamp.
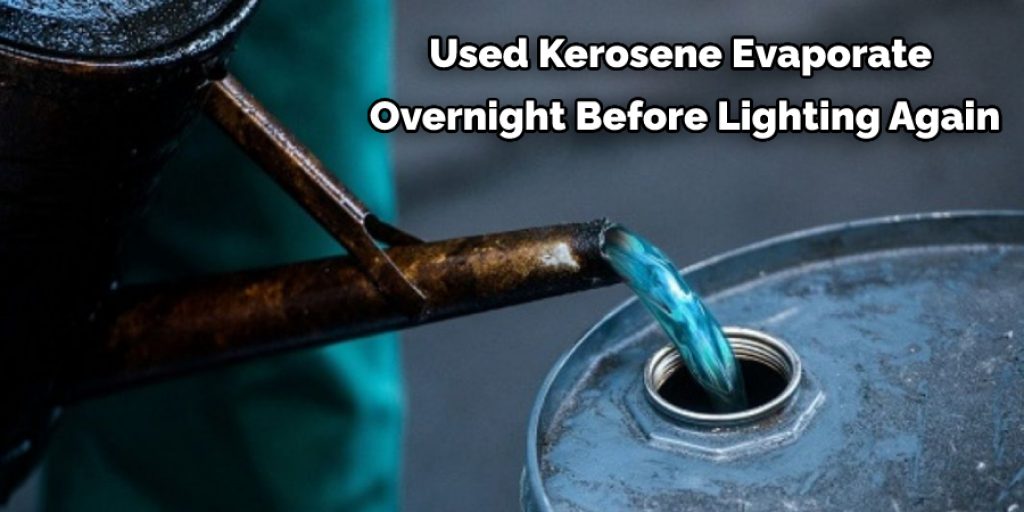
8. Using Kerosene:
Add a few teaspoons of kerosene into the lamp and light it up. Let it burn for around 30 minutes to an hour because you don’t want to leave it burning for too long. Then, turn your lamp off and let the used kerosene evaporate overnight before lighting again.
9. Using Citrus Oils:
Pour a few drops of citrus essential oils into the water and light your oil lamp. Citrus oils have bleaching properties that can help remove buildup from lamps. You can also add one teaspoon of lemon juice for an extra cleaning boost, but it won’t be as strong if you only use the essential oils.
10. Using Bleach:
Using a small bowl, mix 1/2 cup bleach with 3-4 tablespoons of laundry detergent. Stir it up until the cleaning solution dissolves completely. Pour this mixture into your oil lamp and sit for at least 5-6 hours before lighting again. Remember that you’ll need to repeat this process about once per week if you don’t want to replace bleach every time you clean your oil lamp.
Some Tips and Suggestions:
1. The best time to clean your oil lamp is when it’s empty,
2. Take the glass off and run the brush around and through all the ridges and crevices in the metal. Doing this also helps make any residual oil dry out, causing less of a mess later on.
3. Always make sure your lamp is cool to the touch before cleaning it.
4. Using plain water or soapy water work best for cleaning anything made of metal, but some oils can be used if you want to leave the oil in your lamp.

5. Keep any metals away from abrasives because they will scratch any metals.
6. The more you clean it, the longer it will last and the less soot production there will be because that’s what causes most of your smoke problems. It might get a little blackened over time, but that will go away after a few hours of use if cleaned regularly. Most users clean their oil lamps daily to ensure a longer lamp life and fewer problems.
7. Cleaning a lamp properly will lead to a better-smelling oil lamp.
Conclusion:
Oil lamps are a beautiful decoration for any home. They can be used as a part of your décor or even as an accent light. However, the oil inside them may need to be replaced periodically, and you must clean these lamps regularly, so they don’t lose their shine!
We hope this guide has helped explain how to clean an oil rain lamp and keep it looking great. If you have any questions about what we discussed here, please feel free to reach out anytime!


