
How to Mix Luster Dust Without Alcohol
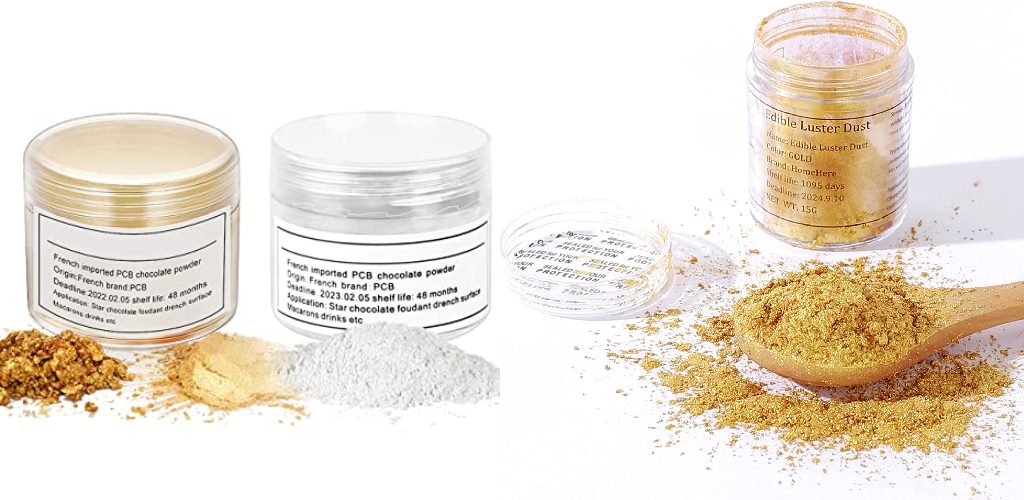
Luster dust is a powder used to add color and shine to cakes, cupcakes, and other desserts. It’s made of ground glass mixed with pigments, so it’s essential to use the right method for mixing luster dust without alcohol.
In this article, we’ll show you how to mix luster dust without alcohol. Both methods are easy and produce great results. So whether you’re a beginner baker or an experienced pastry chef, these methods will help you create dazzling desserts that look amazing and taste delicious. Read on to know more!
12 Ways on How to Mix Luster Dust Without Alcohol:
1. Altoid Tin Method
First, place Altoids tin on a flat surface. Next, fasten a piece of cardboard to the interior of the lid with tape or glue. Next, use a small piece of double-sided adhesive foam and attach your Luster Dust color to this piece of cardboard inside the tin. This way, you can shake out just enough to dust your desired area.
2. Eyeshadow Method
Put the desired color of Luster Dust in a small container. Add several drops of glycerin, rubbing alcohol, or clear extract (such as vodka) to thin out the powder, and stir until you get the consistency you like. Place the mixture into an empty eyeshadow container, then close it tightly. You can now use this container like you would eyeshadow.
3. Sugar Coated (Crushed) Method
Put desired Luster Dust colors in a container, with enough room for the powder to move around inside the container. Close the container and shake vigorously until the stain is fully incorporated with sugar. Now, pour off excess sugar, leaving only fine particles of luster behind.
4. Toothpick Method
Pick up a small amount of Luster Dust on the toothpick. Dab it onto the sticky surface of a lollipop or sucker. Let it dry; then, pop the candy in your mouth for a sweet treat that also has beautiful sparkles on it!

5. Spoons Method
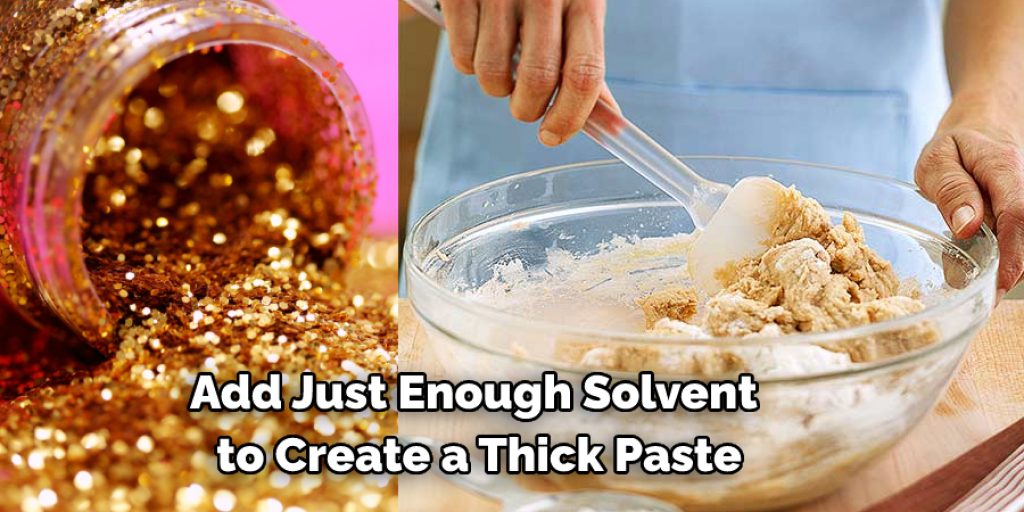
Put the desired amount of Luster Dust in a small bowl. Add just enough of your chosen solvent (alcohol, glycerin, or clear extract) to create a thick paste. Rub the paste between two spoons to create a smooth consistency. You can now use this mixture as you would any other paint.
6. Sponge Method
Place desired Luster Dust colors into a bowl. Add just enough solvent to create a thick paste. Apply the mixture to your cake with a damp sponge or brush, being sure to smooth over it evenly, so you don’t have any heavy spots on your design. Let it dry for about 15 minutes before you touch it. This technique will give you a smooth and flat application of luster.
7. Food Processor Method
Mix desired Luster Dust colors with enough solvent to create a thick paste inside the food processor. Pour the mixture into a shallow bowl, and let it dry for about 15 minutes before touching it. This technique will give you a smooth and flat application of luster.
8. Paintbrush Method
Add desired Luster Dust colors to a small container. Add just enough solvent to create a thick paste. Dip your brush into the mixture, and paint it onto the sticky surface of a lollipop or sucker. Let it dry; then, pop the candy in your mouth for a sweet treat that also has beautiful sparkles on it!
9. Glitter Glue Method
Mix desired Luster Dust colors with enough solvent to create a thick paste inside the small container. Apply the mixture to your cake or cupcake with a glue gun or paintbrush, and sprinkle glitter over it if you like. This method works great for getting color onto the hard-to-reach spots on your cake.
10. Eye Dropper Method
Put desired Luster Dust colors into a container, with enough room for the powder to move around inside the container. Fasten an eyedropper to the top of the lid; then, squeeze the dropper bulb to release just enough solution onto your cake or cupcake without covering too much area. The drops will slowly dissolve the luster and give you an excellent, even coverage.
11. Spray Bottle Method
Add desired Luster Dust colors to a container, with enough room for the powder to move around inside the container. Add just enough solvent to create a thick paste. Fill an empty spray bottle with the mixture, and shake well before spraying. You can now use this mixture like you would any other spray paint.
12. Marbling Method
Mix desired Luster Dust colors with just enough solvent to create a thick paste in a small container. Pour the mixture into a larger container that’s filled with water. Dip your cake or cupcake into the water, then lift it out, allowing the colors to mix. Let it dry before you touch it. This technique will give you an evenly marbled look on your cake or cupcake
Some Tips and Suggestions:
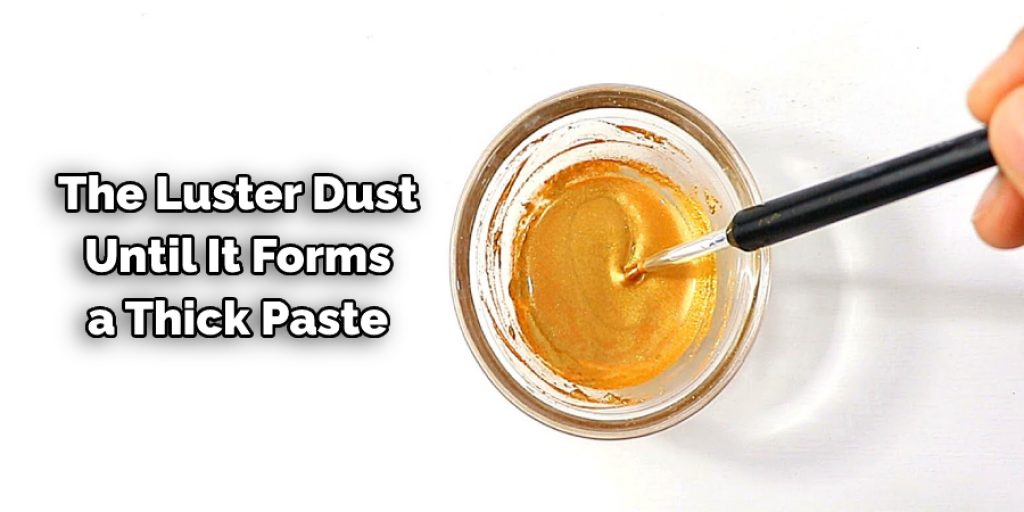
1. Add a small amount of water to the luster dust until it forms a thick paste.
2. Apply the paste to your desired surface using a brush or sponge.
3. Allow the paste to dry completely before lightly buffing it with a soft cloth.
4. Add a sealant, such as a hairspray or a spray adhesive, to help protect the luster dust and keep it looking shiny and new.
5. Use the luster dust with stencils, stamps, or your finger to create an original look on your project.
6. If you’re having trouble with coverage, try applying a thin layer of Mod Podge.
7. Apply the luster dust to wax paper or foil before using it on your project for easier cleanup.
8. When working with the paste mixture, be sure not to over dilute it since this can ruin its consistency and affect how well it sticks to surfaces.
Things to Consider When Mixing Luster Dust Without Alcohol:
1. Luster dust can be mixed with various things to create different effects, including water, alcohol, lemon extract, and glycerin.
2. When mixing luster dust with any liquid, it is essential to stir the dust well into the liquid until it is fully dissolved.
3. If adding luster dust to a food product, it is important to consider the food’s pH level. Luster dust is not safe to consume if the food’s pH level is below 4.5.
4. Some luster dust is pre-mixed with a binding agent, while others are not. It is important to read the label of the luster dust you are using to determine whether or not it needs to be mixed with a binding agent.
5. Luster dust can be stored in a dry place for up to six months.
6. Some luster dust is safe to use near the eye, while others should not be used close to the eye. It is essential to read the label of the luster dust you are using to determine whether or not it is safe to use near the eye.
7. Luster powder can be used as a cake or cupcake topping, as a sparkly element for cookies and other baked goods, and as part of a shimmering bath salt mixture.
Conclusion:
Luster dust is a type of powder that can add color and shimmery effects to a variety of surfaces. It’s perfect for adding subtle sparkle or shine but has traditionally been difficult to mix without alcohol. Luckily, there are other ways you can mix luster dust without alcohol!
The dryness and lack of stickiness that can come with using alcohol are often seen as a good thing, but many find the product too difficult to work with because it dries out so quickly.
When mixed without alcohol, the mixture becomes thicker and more malleable, making it easier to apply with a brush or sponge. We hope this blog post on how to mix luster dust without alcohol has been helpful. Let us know your thoughts in the comments below!


