How to Clean Smoke Damage From Painted Walls
Introduction
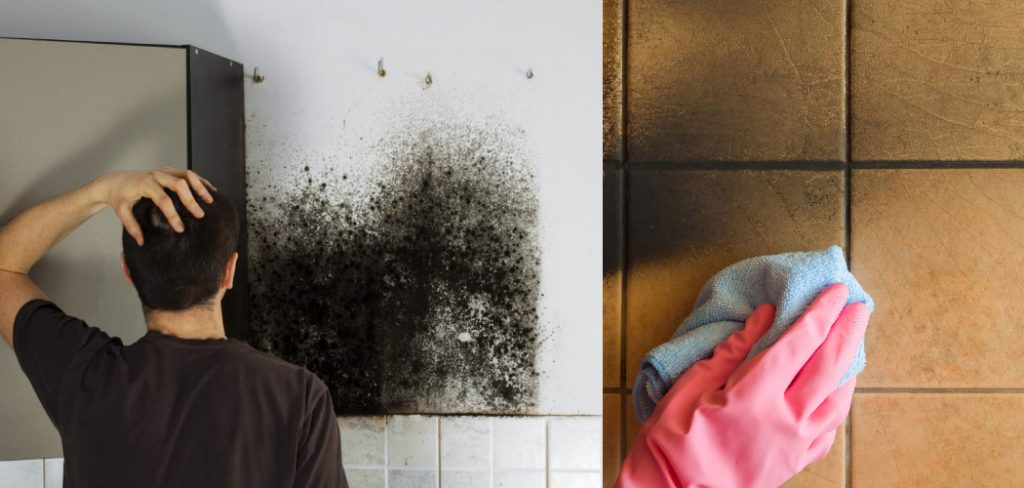
Everything that is painted is a wall. But the term “painted walls” can be confusing because many people believe if they paint their living room, it’s not going to be a painted wall but actually a living room. Smoke is released from fires, and the by-products of that smoke will eventually settle on surfaces in your home or office. The most common cause of fire damage is cigarettes. If your cigarette falls off the table or ashtray into something combustible, like paper towels, they can start smoldering (burning very slowly).
Once they’re burning, the flame will be visible for about 3 seconds before everything bursts into flames, and you’ve lost your eyebrows and home. In this article, I will be discussing how to clean smoke damage from painted walls.
How is Smoke Produced?
When a fire starts, it produces smoke along with the flame. The smoke is produced by burning at high temperatures and contains particles that cause air pollution. The smoke consists of carbon dioxide, carbon monoxide, soot, hydrocarbons, and water vapors, which irritate respiratory organs.
When we light oil lamps, candles, or even heaters in closed rooms, this smoke causes damage to the walls of that room. These are prevalent reasons, but sometimes people also use things that produce huge amounts of smoke, like crackers. If you have painted your wall with any paint, moving smoke spots from them can be a tough task for you; otherwise, if your walls were left white, this will be straightforward for you to clean smoke damage from white walls.
Now the question arises: how can we possibly remove such places of smoke which are very hard to see sometimes? Here I will discuss some tips with you through which it will be possible for you to remove these spots from your walls.
Step-wise Guide on How to Clean Smoke Damage From Painted Walls
1. Start with Detergents:
Mix equal amounts of ammonia and water in a bucket to clean smoke damage from painted walls. Would you please avoid using any heavy detergent or soap as they can leave a residue that will be visible on your walls when it dries?
2. Spray the Solution on Painted Walls:
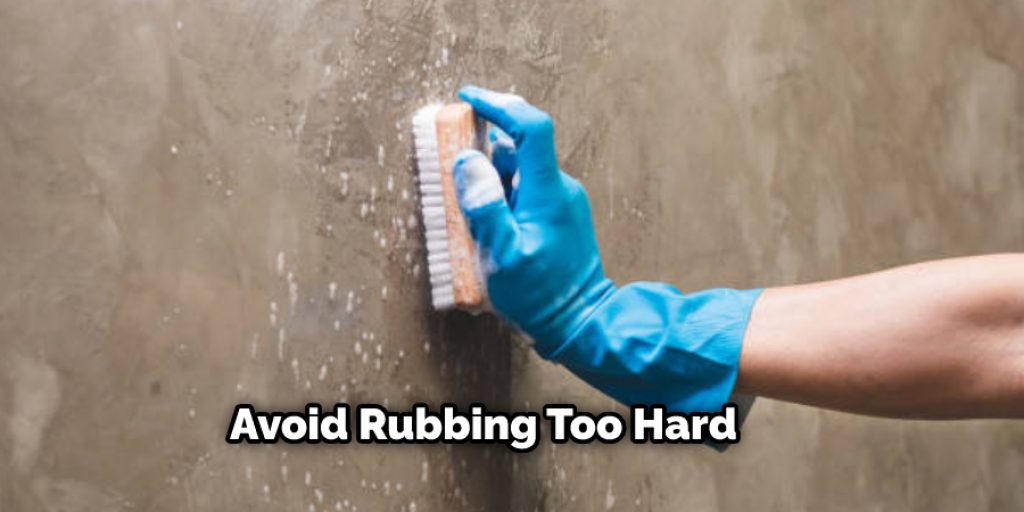
Apply this solution onto affected walls evenly and wipe them off with a microfiber cloth, sponge, or paper towel. It may take multiple passes of rinsing in between to fully remove the odor and stain from your wall surfaces. However, avoid rubbing too hard so you don’t cause any more damage than is presently there. Blot them gently with newspaper or paper towels before applying the solution if you have severely soiled areas.
3. Leave the Solution to Sit:
Let the solution sit for about 20-30 minutes before you wipe it off so that it has time to work on the smoky odor or stain without creating any additional mess. If you are persnickety, you may let it dry completely and then vacuum up any remaining residue with a soft brush attachment to your vacuum cleaner.
4. Cleaning Smoke Damage From Painted Walls by Stripping Them Off:
If you have smoke damage from painted walls in rooms that are rarely used (for example, storage area or basement) or if you want to be very sure of getting rid of every iota of smoke smell/stain from your walls, then painting them over will be the last resort. The best way to achieve this is by stripping the paint from your walls with a chemical stripper like ZAP or Easy Off and then repainting them. Alternatively, you can also hire professional painters to do this for you.
5. Give It Time:
Once you have cleaned or painted over smoke damage from your walls, leave the area alone so that it has time to dry out completely before putting furniture or items back inside there again. This will also reduce the chances of recurrence of the problem in the future!
Precautions While Performing How to Clean Smoke Damage From Painted Walls
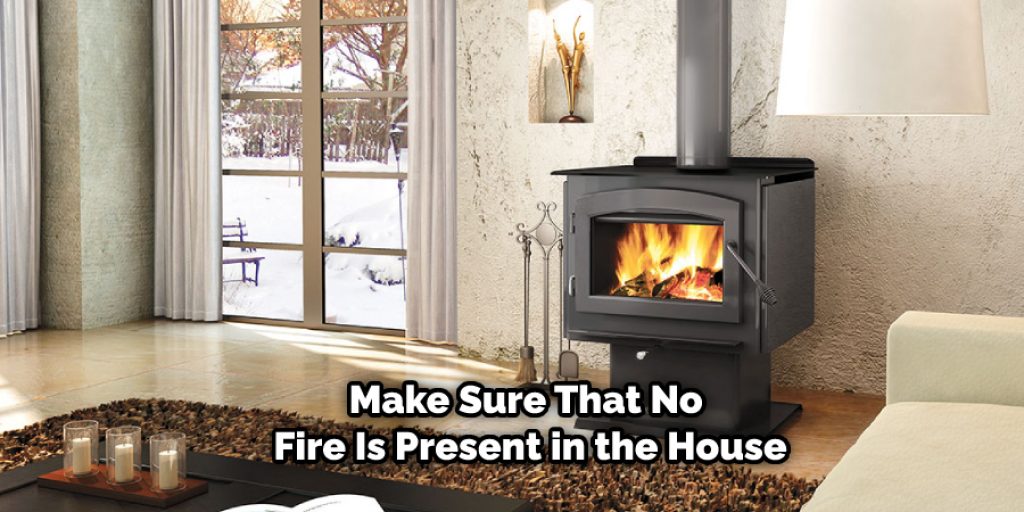
Before you start cleaning smoke damage from walls, make sure that no fire is present in the house; if you are unsure whether there is a fire or not, better to be safe than sorry and call your local fire department for inspection. When it comes to cleaning any damage on walls, one should always wear gloves. Painted walls are delicate in nature and get dirty easily; hence, wearing gloves while handling them is very important.
If you do not have proper working gloves at your disposal, use dishwashing gloves instead, as these contain latex which protects hands from getting permanently stained with paint. Remember that it becomes impossible to clean off that stain once you remove paint (from the wall or furniture) using water or any other liquid material.
For this reason, your first preference should be to use dry cleaning methods over wet ones for removing smoke stains from painted walls.
How to Clean Smoke Damage on Ceilings
First, determine why there is discoloration in the first place. If you know it’s from smoke or another type of damage caused it, then you have something to work with. For example: if your ceilings are covered with smoke stains that all spread from the same corner of your room (like a hot-air vent), then you probably want to use a paint stripper and remove the ceiling. After scraping off as much of the old paint as possible, apply a coat of primer while it’s still somewhat wet and is absorbing into the ceiling.
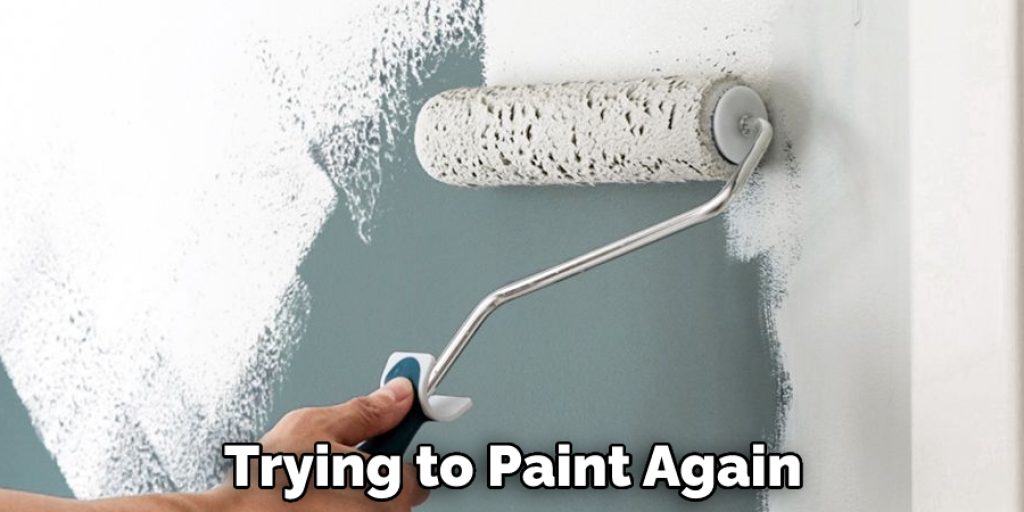
Primer shrinkage will help smooth out any bumps or bulges in the surface before trying to paint again with your normal material/paint at hand. This process could take several times before you can cover up all the damage, and it may be a very time-consuming process. Still, in the end, it will save your walls from being covered in awful smoke stains if you don’t know what caused the discoloration or are simply old age problems that have developed over time.
Frequently Asked Questions
How to Prevent Smoke Damage?
The only way to prevent smoke damage is to place the property in total darkness. All openings must be closed, and blinds are drawn. The best time to do this is on a windy day when the air will circulate throughout the building. A small amount of soot may occur from light entering under doors and through windows, but it will be minimal if all precautions are taken.
Protecting Painted Walls :
Once the fire has been contained and no more light enters the property, it is safe to open the windows and doors. If you can see any light inside, then protect those areas until total darkness has returned. If light re-enters before it is safe to proceed, then once again close all openings, including blinds, curtains, etc., and wait for complete darkness before proceeding with cleaning.
How to Clean Smoke Damaged Carpets?
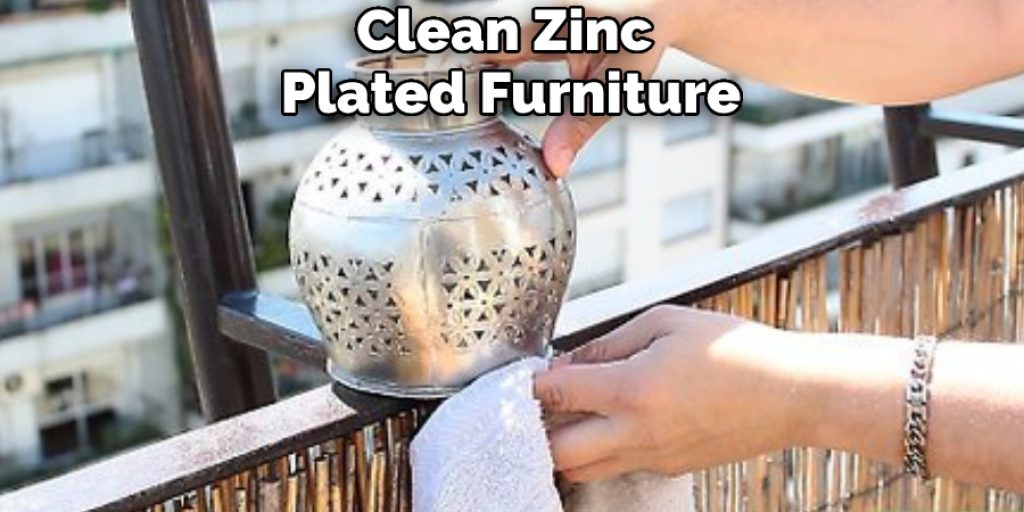
The type of ceiling can also be smoke and water damage. With the help of a vacuum cleaner, it’s done to suck out all its properties to make it look as if it was new, as you’ve learned how to clean zinc-plated furniture. It would be best to be careful when choosing upholstery pieces for your home or office to match each other after cleaning.
Suppose some stains are left on the carpet after cleaning. In that case, those must be removed via dry cleaning only – using wet vacuuming methods might make things worse instead of better because carpets are made from synthetic materials that tend to absorb liquid like a sponge; this will result in additional troubles during drying processes, so use dry methods only if you like yourself and your stuff.
How to Paint Over Smoke Damaged Walls?
This is a step-by-step guide on how to paint over smoke-damaged walls. It is by no means the only way to do it, but it is one of several methods that should work if you are careful and persistent enough.
Step 1:
Strip off all finishes from the walls. If there is anything left on your walls at the end of this procedure, you didn’t use the right stripper or are using too weak a solution for too long a time. To strip your walls properly, start with an Adhesion Promoter (like Deglosser 101) to loosen up any glue or painter’s tape residue left behind from painting previous rooms (or applying wallpaper). Follow up with a strong solvent-based stripper like 3M Heavy Duty Stripper, working in several small areas and leaving it on for up to 10 minutes before scraping it off.
Do this with a heat gun or hairdryer ON LOW heat setting, so you don’t weaken the surface underneath too much. Once you have removed all the finish remnants, wipe down everything to remove any oils or greasy residue left behind from the stripper solution and allow it to dry all time. Yes, even though we will be painting directly over some parts of these walls very soon (and others shortly thereafter), they need time to dry out again as well completely!
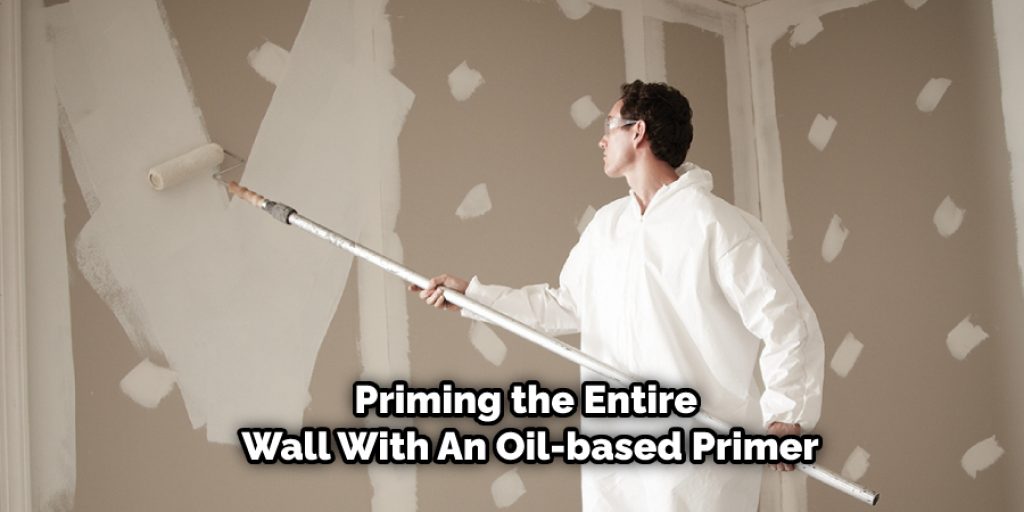
Step 2:
If your walls are getting multiple coats of paint on them, start by priming the entire wall with an oil-based primer, like Scotchguard or Kilz 2.0 Premium Oil-Based Interior/Exterior Primer. This will help the paint stick to the walls better and provide additional waterproofing at a minimum of expense and effort beyond what you already did in removing all finishes from your wall surfaces.
Step 3:
Now that you have a completely bare surface to paint, start by painting over any parts of your walls (if they are adjacent to another wall) where smoke from fires caused discoloration or blistering. Use an oil-based stain-blocking primer, such as Zinsser 123 Big Easy 1-2-3 Canvas And Fabric Screen Door Paint. Allow this coat to dry according to the manufacturer’s instructions (usually about 2 hours) before applying a solid color coat of paint.
The purpose of using a stain-blocking primer is to ensure that the existing discolorations from the smoke damage don’t bleed through your new coat of paint later on.
Step 4:
Mix any additional colors you want to add to the remaining portion(s) of your walls with an oil-based paint (yes, at this point in our example, we assume that not all walls will be painted, and some will remain as they were). You can use water-based paints for an entire wall, but if you plan on repainting soon, it is better to avoid mixing them as the slower drying time, and reduced sheen can result in more visible brush strokes between coats. If possible, avoid using water-based paints in the room where you will be sleeping or the room where your pets normally hang out.
Step 5:
Now coat any remaining portions of your walls with the paint at hand. One option is to use a roller, but another that can provide better coverage even over vertical surfaces like popcorn ceilings (which are hard for rollers to reach) is an inexpensive HomeRight Paint Sprayer. Of course, you will still need to tape off any areas you don’t want to be painted and maintain adequate ventilation when doing so. Still, because the sprayer forces the paint into every nook and cranny on the covered surface, you can cover a larger area much faster than if you were painting it by hand.
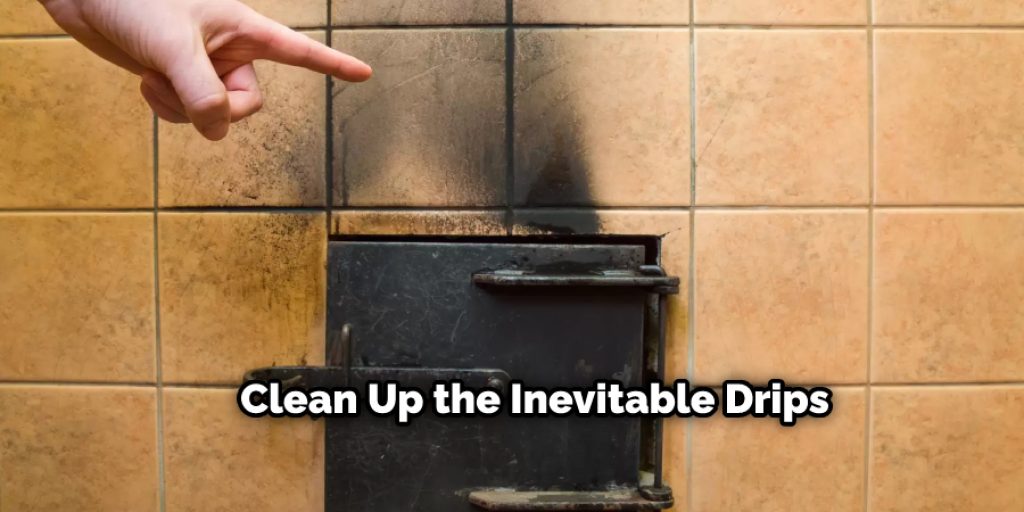
Even better, since the spray gun can reach those hard-to-reach places, you can dip it into the paint bucket and quickly apply a coat of paint over areas like corners or edges without dragging out your roller. When using a sprayer, be prepared with more than enough rags handy (and place them in an old laundry basket) to clean up the inevitable drips that will occur both from overspray and accidental splatters on the floor area around where you are working.
Another option is brush painting, which doesn’t require any special equipment beyond simple brushes available at nearly every Dollar Store.
Conclusion
I hope this article has been beneficial for learning how to clean smoke damage from painted walls. This process can be tricky, so you should always be sincere while performing these steps. Thank you and have a nice day!
You may also read – How to Remove Water Drip Marks From Painted Walls