
How to Clean Walls After Floor Sanding
The walls in your house are generally not the first thing you think about when it comes to home decor. However, they do tend to be neglected over time and often look dirty or dated. For example, if you have just had new floors installed in your home, chances are they now show up every imperfection on the walls and any dust or dirt particles that have accumulated over time.
Don’t wait until after the floor sanding is complete before thinking of how this might affect your walls and what you can do about it! So, this article is for you. You will learn how to clean walls after floor sanding with just one simple trick!
11 Steps to Follow on How to Clean Walls After Floor Sanding
Step One: Determine
First, you need to determine if the dust created from the sanding process will damage your walls. To do this, hold a damp cloth up to your wall and give it a gentle swipe. If the wall comes away dusty, there is a chance that some of that dust may settle into your paint or wallpaper. If you have a particularly delicate wallpaper, you may want to hire a professional to handle the job. If you have a simple paint job, however, you should be able to lightly sand your walls without damaging them.
If the wall stays clean, you do not need to bother washing it. However, if the wall is dusty or pieces of dust that come up when you swipe the damp cloth, you will have to wash the wall. This is a simple process, but consult your local hardware store if you have questions about what type of cleaner to use or how to clean the walls. Make sure you prepare the walls properly before painting, and you will be able to apply paint without much problems.
Step Two: Prepare
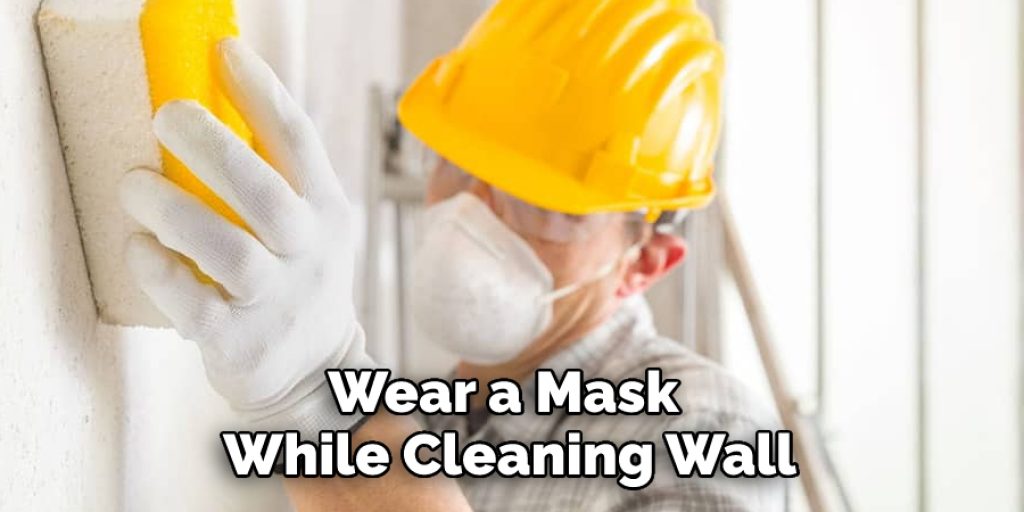
If you need to clean your walls, you should wear some clothing to protect against paint and dust. Synthetic fabrics like sweatshirts and sweatpants may leave fiber particles on the wall or floor when cleaned up. Also, wear a mask while cleaning, especially if the room still has sawdust in it. When you are choosing paint colors for your home, make sure to use a light box or the sample cards at the hardware store. Many paint colors appear different under natural lighting, fluorescent lighting (common in most retail establishments), and incandescent lighting.
If any part of your clothing gets dirty while cleaning, take it off and put on a new garment. This will prevent any fabric particles from getting into the wall or onto the floor while you clean, which could cause more problems than anything else.
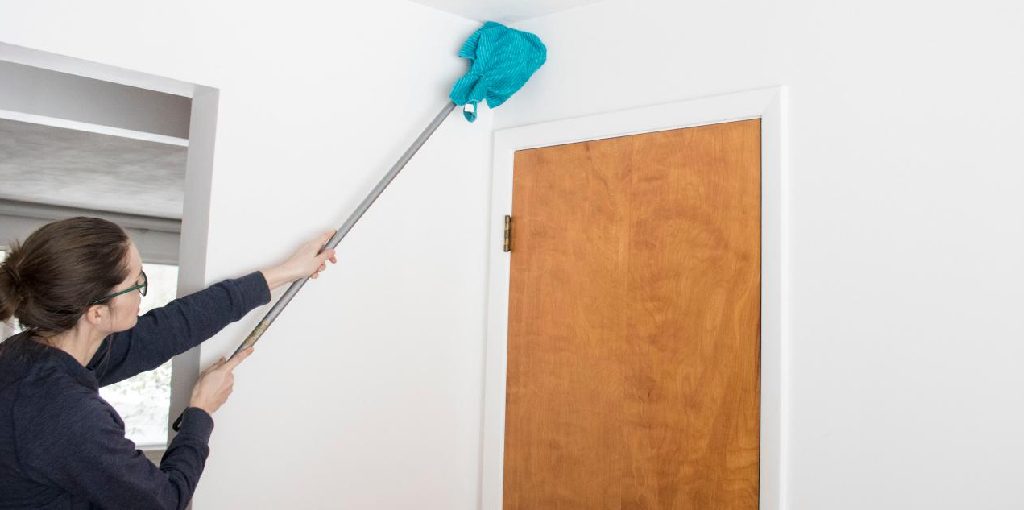
Step Three: Wipe
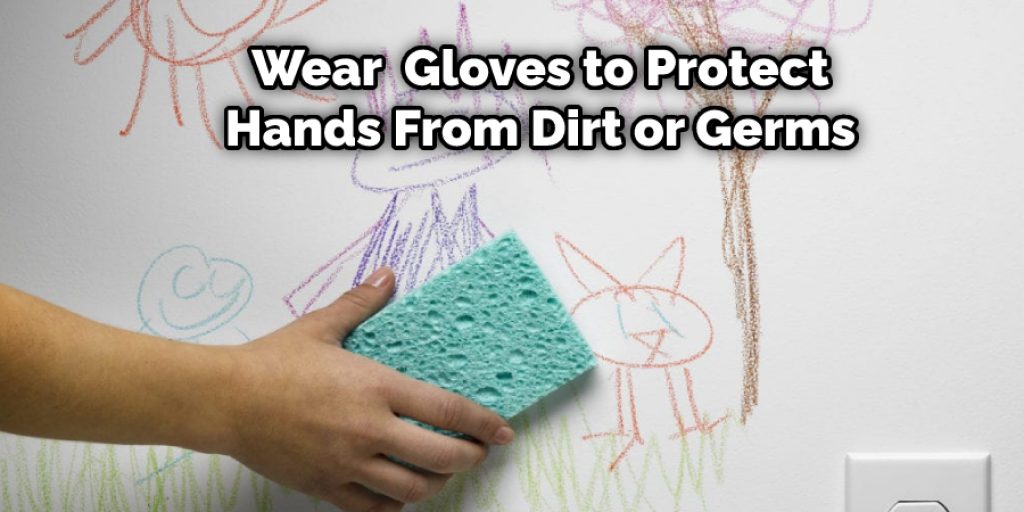
Before you start cleaning your walls, make sure to remove furniture. You don’t want to get paint or dust onto your furniture accidentally. To clean your walls, use a damp cloth and wipe it across the surface of the wall. You may want to wear rubber gloves to protect your hands from dirt or germs on the wall. If you have a lot of dirt or grime on your walls, you may need to use a scrub brush. Scrub the area gently with the brush to loosen the dirt. Rinse the area with clean water and dry it with a clean towel.
Be gentle but firm with how you clean your walls. Hard scrubbing won’t help remove any dirt on the wall’s surface, and it could cause damage. If you clean more than once, make sure the first layer of dirt is gone before starting over.
Step Four: Rinse
After you have wiped down your wall with a dry cloth, dip the cloth in some clean water and go over the wall again. This will rinse away any loose dust or dirt, but it may not remove all of the particles. If you need to do another round of wiping with a damp cloth, then remove wallpaper or paint, go ahead.
If you are satisfied with the results, you can finish cleaning your walls by wiping them down with a dry cloth. If you don’t care about the appearance of your walls, you can use a dry cloth to wipe the surface, and if they feel dusty, you can spray them with a tack cloth and wipe them again. These steps should help you in learning how to clean walls after floor sanding.
Step Five: Clean
If you are satisfied with the results of your cleaning, you can now put back any furniture that was removed. If you want to keep your walls free of dust or dirt, use a feather duster on them daily. This will remove the dust before it has a chance to settle onto the surface of the wall.
If you want to clean your walls more thoroughly, you can vacuum them. Be careful when using this method, however, as the suction of your vacuum may pull dust in small crevices within your walls out into the open. If you are very concerned about removing dust like this, it may be better to hire a professional cleaner or forfeit cleaning your walls yourself altogether.
Step Six: Prevent
The best way to prevent dust from settling on your walls is to clean them regularly. Dust will not settle onto a clean surface, so if you are diligent about cleaning your wall, then dirt and dust particles will have much less of an opportunity to settle into the paint or wallpaper.
To keep your walls as clean as possible, you can dust them daily with a feather duster. If you are diligent about keeping your walls clean, they should stay free of dust and dirt for most purposes. Sometimes though, there is no way to avoid some dust settling on the wall, especially if there is a lot of traffic in a room or if it is being used for some kind of work, such as painting.
Step Seven: Repair
If you have any damaged wallpaper or paint on your wall, you may need to repair it before cleaning. If you don’t take the time to clean the area first, then gum or dirt stuck in the surfaces of your paper or paint will be rubbed into them when you are wiping down the wall.
To fix holes in your wallpaper or paint, you can use spackling paste. Mix it to the consistency of toothpaste and apply it to the area where the damage is. Then, wait for it to dry completely before trying to clean your walls again. If you want to find out more about how to clean walls after floor sanding, keep reading.
Step Eight: Polish
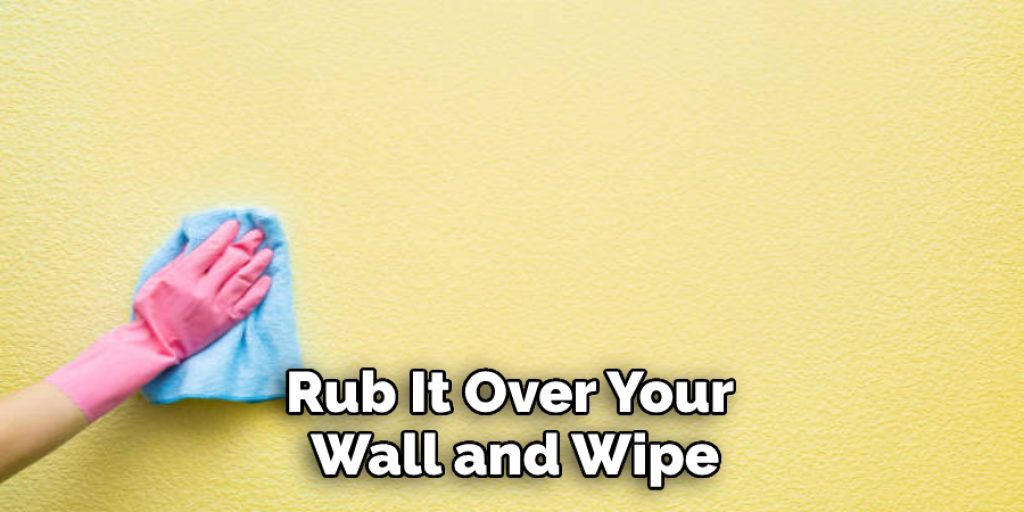
Depending on the paint or wallpaper you have on your walls, you may want to polish them after they are clean. If your walls contain any glitter or sparkles, then you may want to use a wax crayon. Rub it over your wall and wipe it so that all of the sparkles are covered.
If you have shiny, glossy paint or paper on your wall, then you can use furniture polish to clean them. Remember that you should only take this route if the paint or wallpaper is meant to be shiny. If it isn’t supposed to look like this, furniture polish may make your walls appear greasy.
Step Nine: Replace
If you have any wallpaper or paint that is damaged or dirty, then it may be time to replace them. This will take some work and expense if the damage is extensive, but your new paper or paint will look better than ever. To remove wallpaper, start by moistening the seams with a sponge using cold water.
Wait thirty minutes for the water to saturate into the paper. After that, take a scraper or wide knife and pull at the bottom of the wallpaper seams until it begins to loosen. Now you can remove any excess paper by hand. It will be easiest to patch up any holes with spackling paste before painting over them for paint.
Step Ten: Deodorize
Last but not least, you may want to deodorize your walls. This is especially important if there are any lingering odors in the room or if you have recently painted over old paint with new paint. To do this, mix one-part bleach and ten parts water in a large bucket. Then, dip a sponge into this mixture and wipe down your walls.
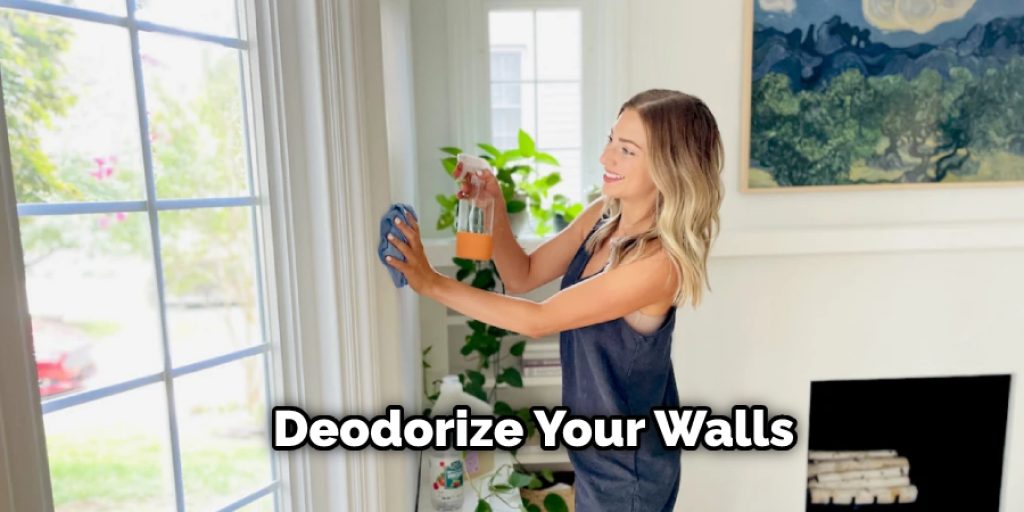
Leave this mixture on for about ten minutes before wiping it off. Putt someNext, puntilla extract or coffee grounds into a small dish and light them on fir odorse. Todorske that this creates will remove most foul smells within twenty to thirty minutes. This will help in how to clean walls after floor sanding.
Step Eleven: Maintain
The final step is to maintain your clean walls. To do this, avoid placing anything on them that will leave a mark when you remove it. For example, don’t place anything over your walls that can easily fall and leave rings or other marks like vases or candles.
If you want to hang up any items such as paintings or decorations, then go over to them with a feather duster at least once every other day while the walls are freshly painted. This will prevent any dust from collecting on your art or decorations so that they have a clear view of the beauty of your rooms again.
You probably spent hours working on cleaning and fixing up your walls so that you could get them back to looking like new again. To keep them that way, you need to maintain them once clean and clear of marks or stains. Avoid placing anything on your walls that can easily fall and leave rings or other marks like vases or candles.
Some Helpful Tips and Suggestions:
1. Ensure that all painting supplies are out of reach to avoid fumes causing fumes.
2. Use masking tape along the baseboards of your home. This will help minimize scratching or scuffing them during cleaning. Make sure you replace the tape if it becomes loose, as it may cause even more damage.
3. Prepare a mixture of 1 part vinegar to 3 parts water. Spray this mixture on the walls and let it stand for a few minutes.
4. Cleaning with a clean cloth or sponge and warm water should be done. Be sure that you rinse off all of the vinegar solution and any cleaners used after scrubbing, so no residue remains.
5. After cleaning, remove all of the masking tapes before rep to prevent warping.
6. Be sure that any paint you use is mildew resistant and washable. This will help ensure that your walls look good for many years!
7. If any marks or stains remain, try using an oil-removing solution to get rid of them.
8. Use paste wax or clear polyurethane to protect your walls after being cleaned. You can use other types of wax for this; just be sure to test it first in an inconspicuous area to ensure that it does not damage your paint job or create discoloration.
Why it’s Important to Clean Walls After Floor Sanding?
1. Appearance: First, the walls may appear dirty even after deep cleaning due to residual dust settled on them through air circulation.
2. Health concerns: We may not realize that we inhale the fine dust particles every time we walk into a new room or office. And these can remain in our respiratory system for years! So it’s important to remove all the fine dust particles from the walls, doors, windows, and other surfaces as soon as possible.
3. Paint adhesion: Residual dust may settle on the surface of paint, which will interfere with the good bonding of paint; no wonder your new painted room starts peeling off in a few months!
How Do You Clean Your House After Sanding Floors?
After sanding and finishing your hardwood floors, cleaning the walls is important for keeping your house clean. Unfortunately, the flooring project left sawdust where it shouldn’t belong, like on the walls.
Additionally, you will need to clean any woodwork to have a complete finished look after sanding your floors. After completing your finishing project by applying polyurethane or wax, you must clean all sawdust off of finished wood surfaces and baseboards. This will keep your house looking fresh and clean.
Conclusion:
As you can see, there are many ways to clean walls after floor sanding. However, we recommend that you start with the cleaning products and techniques that will be most effective for your home or office space.
Remember to use milder solutions if possible, such as water-based cleaners when using a steam mop and only on sealed hardwood floors or vinegar mixed in a bucket of warm water when scrubbing down porous materials like brick and concrete.
Be sure to follow the manufacturer’s instructions before applying any chemicals, and always wear protective gear like gloves and goggles while doing so! In this blog, we’ve laid out a few tips on how to clean walls after floor sanding.
Angela Ervin
Angela is the executive editor of DIY quickly. She began her career as an interior designer before applying her strategic and creative passion to lifestyle and home. She has close to 15 years of experience in creative writing and online content strategy for housekeeping, home decorations as well as other niche efforts. She loves her job and has the privilege of working with an extraordinary team. She lives with her husband, two sons, and daughter in Petersburg. When she's not busy working she spent time with her family.


