
How to Clean Wood After Sanding Before Painting
After sanding your wood, it’s important to clean it before painting. This will ensure that the paint adheres to the surface evenly and provides a longer-lasting finish. In this blog post, we’ll show you how to clean wood after sanding before painting in a few simple steps.
Sanding the wood is one of the most important steps in painting, but it can also be one of the most difficult. Once you have sanded your piece, there are a few things you need to do before coating with paint. If this isn’t done correctly, it will get stuck in your paint and reduce its lifespan.
Things You Will Need
- Dust mask and Safety glasses
- Dusting Brush
- Vacuum
- Tarp or drop cloth
- Clean rags
- Mineral spirits
- Denatured alcohol
- Air Compressor
- Trisodium Phosphate Substitute
A Detailed Guide on How to Clean Wood After Sanding Before Painting
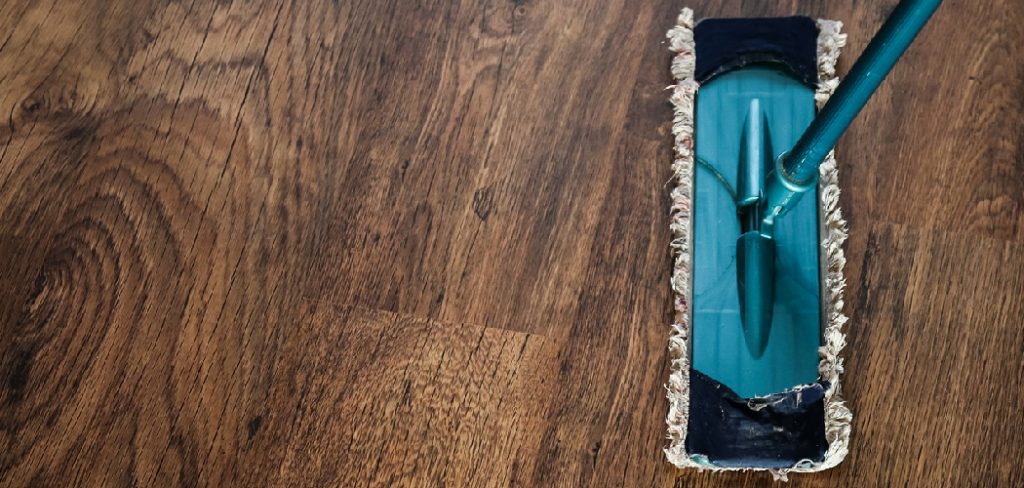
Step 1: Dusting Brush
Before cleaning the wood, use a dusting brush to remove all the sawdust and other debris. Take your dusting brush and go over the entire surface of the wood. This will help remove any large pieces of debris or dust that may have been created during sanding. This will make the job much easier for you.
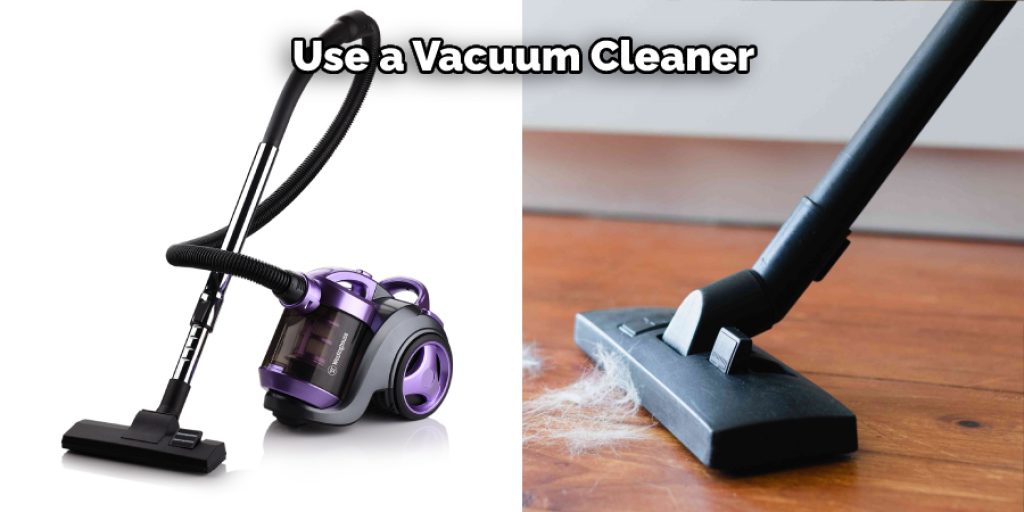
Step 2: Vacuum
After you have removed all the big pieces of debris, use a vacuum to remove any remaining dust or sawdust. Next, vacuum the entire surface of the wood and make sure to get into all the crevices. This will help ensure that the surface is clean and ready for painting.
Step 3: Air Compressor
If you are working with a large piece of wood, you may want to use an air compressor to help remove the dust. This will help speed up the process and make it easier to clean the surface. In addition, use the compressor to blow off any remaining dust or debris. This will help ensure that the surface is spotless and ready for painting.
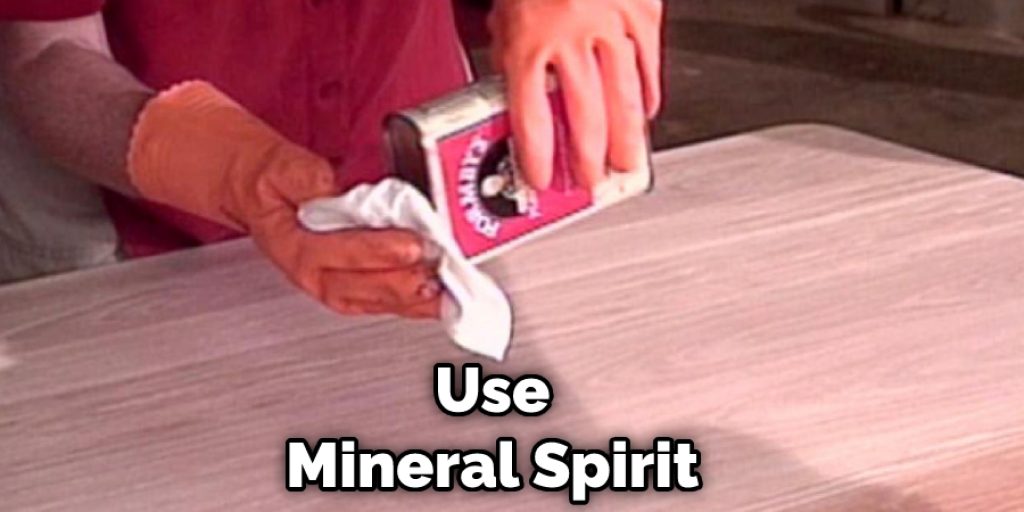
Step 4: Mineral Spirits
Dip a clean rag into some mineral spirits and wipe the entire surface down. Mineral spirits are great for cleaning or stripping paint off of wood surfaces. Depending on how much material you have to remove from the wood, you may need to use more than one rag.
Step 5: Denatured Alcohol
Take another clean rag, dip it in denatured alcohol, and rub it over the entire surface of the wood in a circular motion. This will help strip any remaining traces of oil, wax, polish, etc., from the wood. Make sure you do not leave any puddles when you do this because they will make it harder for your paint to stick to the surface of your project.
Step 6: Trisodium Phosphate Substitute
Take a clean rag and dip it in the TSP substitute. Wipe down the entire wood surface just as you did with the mineral spirits. This will help ensure that there is nothing on the surface of your project to prevent your paint from adhering properly.
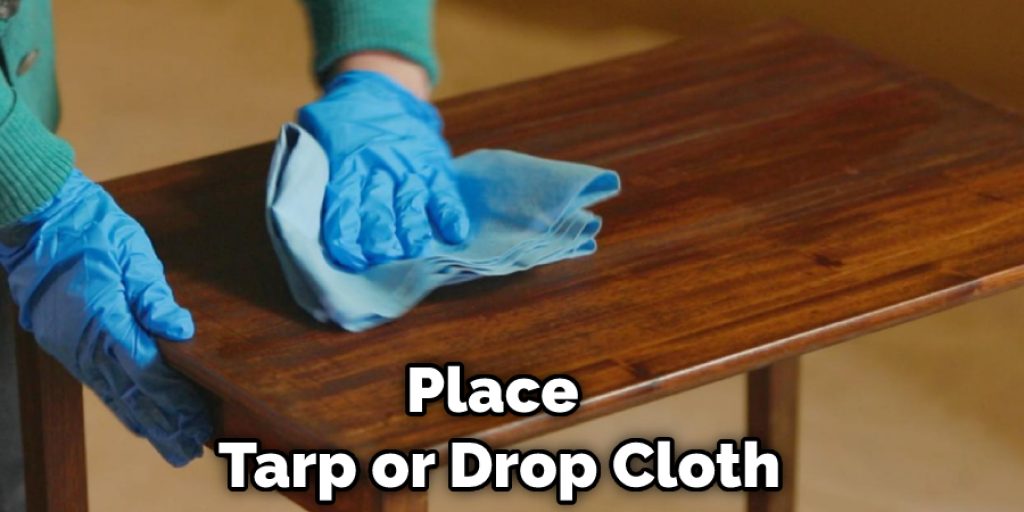
Step 6: Place Tarp or Drop Cloth
If you are going to be cleaning the wood in an outdoor area, make sure to place a tarp or drop cloth down first. This will protect the ground from any paint or chemicals that may spill. It is also a good idea to have this in place before sanding, as it will help contain the dust.
Step 7: Clean with Rags
Once you have vacuumed and dusted the surface of the wood, it is time to clean it with rags. Dip a rag into some mineral spirits and wipe down the entire surface of the wood. Be sure to get into all the crevices and grooves, as any remaining debris could cause problems later. Mineral spirits will remove any oil or grease on the wood and leave it ready for painting.
Step 8: Final Step of Cleaning
Clean the surface again with mineral spirits and a clean rag. Make sure you use fresh rags to avoid spreading around old dust or debris from earlier steps. This will help ensure that the surface is spotless and ready for painting.
Warning
Be sure to wear a dust mask and safety glasses when cleaning the wood. It is also a good idea to have a water hose nearby in case of accidents. Chemicals such as mineral spirits and denatured alcohol can be harmful if ingested. Always take precautions when working with these types of chemicals.
Do You Have to Wash Off Mineral Spirits Before Painting?
The short answer is no. However, you really should wash the surface before painting if:
- The wood was previously painted and needed to be stripped of that old paint.
- The wood had a gloss or semi-gloss finish on it, and you plan to use a flat finish.
- The wood had a dark stain and you plan to use a lighter color.
Otherwise, the coat of paint may not adhere to the previous layers, which will cause it to peel or chip off after time.
What Is the Difference Between Paint Thinner and Mineral Spirits?
Mineral spirits, also known as paint thinner or mineral turpentine, is petroleum-based paint thinning and cleaning solvent. It can be used to clean wood before painting with oil-based paints, remove soap residue from glass after washing, clean mineral deposits from tools after use, remove old glue or dried varnish from wood surfaces and dissolve shellac.
In general, many people prefer not to use paint thinner because of its strong odor. However, if you have been using it for a while without a mask or gloves but suddenly feel the symptoms of toxicity such as headache and nausea, most likely, your body has become sensitized to the chemicals in the thinner. In this case, you need to stop using it immediately and move on to other types of cleaners.
Mineral spirits are thinner, not cleaner. The main purpose of this type of cleaner is to remove old dry paint from surfaces to prepare them for new coats of paint. It can also clean and remove soap residue from the glass after washing up. In addition, it’s good to use mineral spirit when dealing with hardware such as metal nails, screws, or bolts to remove built-up grime and corrosion before reassembling.
Can You Use Borax to Clean Wood Furniture Before Painting?
If you plan on painting an item of wood furniture, it is wise to clean the surface first. Of course, there are commercial products designed for this purpose, but if you don’t want to spend money or don’t have any around, then here is a homemade solution that will work just fine.
And what’s great about making your own cleaning solution is that you can tailor it according to your specific needs and requirements! So, before rushing out to buy some commercial product, consider trying the Borax method, which will show results in no time at all.
Using borax for cleaning before painting an object made of wood isn’t strange because this white powder has been used as a cleaning agent for many years, and it’s really efficient.
Conclusion
How to Clean Wood After Sanding Before Painting: Once you have completed this process, you will have a newly cleaned and prepped surface for your paint. Once you have sanded your wood, it is important to clean all the dust and debris off before painting.
This will help your paint adhere better to the surface of the wood because there are no other materials on top of it. If you followed these tips and tricks, your piece of wood should look cleaner than ever and ready to be painted!


