
How to Close a Captive Bead Ring Without Pliers
If you’ve never been to a jewelry store, the first thing that may come to mind is a sales associate with her hands full of fine gems. But, in reality, this isn’t always the case. You’ll often find employees behind desks or in back rooms working on orders and repairs. The reason for this? One of the most common tools used by jewelers is pliers, and they’re challenging to use without opposable thumbs!
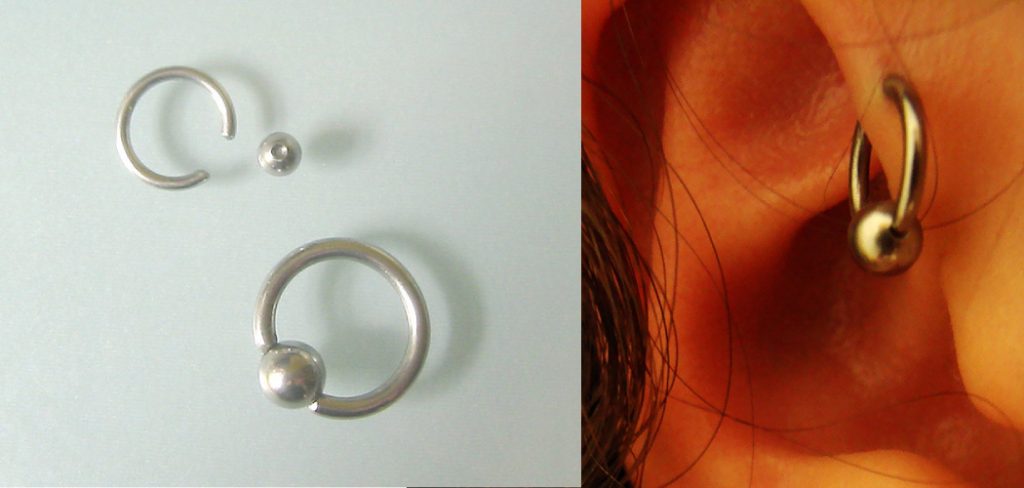
Closing a captive bead ring witout pliers can be a bit tricky, but it’s doable. In this blog post, we’ll show you how to close a captive bead ring without pliers using just your hands. It might take a little practice, but once you get the hang of it, you’ll be able to close rings like a pro! So grab some rings, and let’s get started.
10 Ways on How to Close a Captive Bead Ring Without Pliers
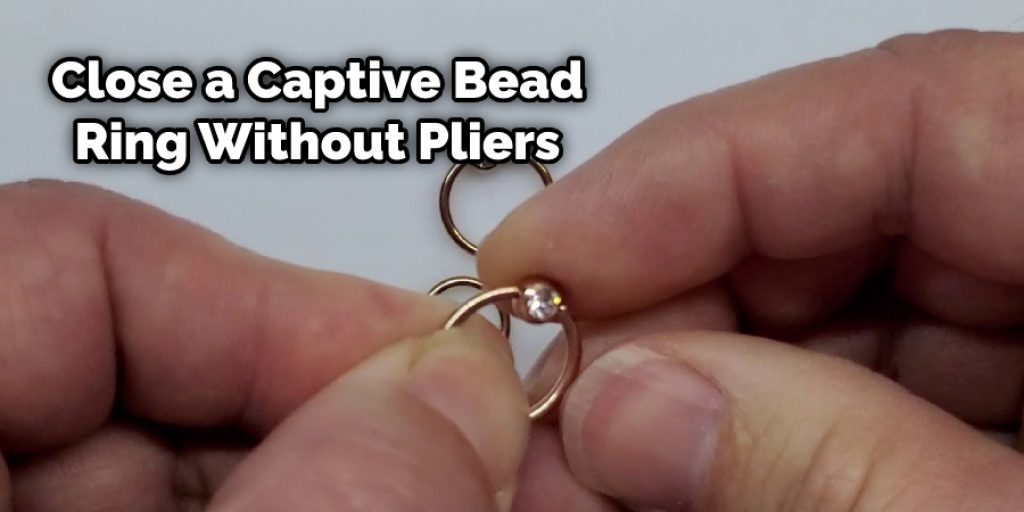
1. Nose Pinch
To apply pressure to the bead and create a tight seal, place the ring between your fingers and pinch it closed. However, be careful not to pinch too hard, as this could damage the captive bead ring.
2. Rubber Band
Using a rubber band is another way to connect two captive bead rings without using or needing pliers. Wrap the rubber band around the ring and pinch it closed. It works well for people who cannot lift the circle together with their fingers, do not have a strong grip, or would rather use something else entirely.
3. Paper clip
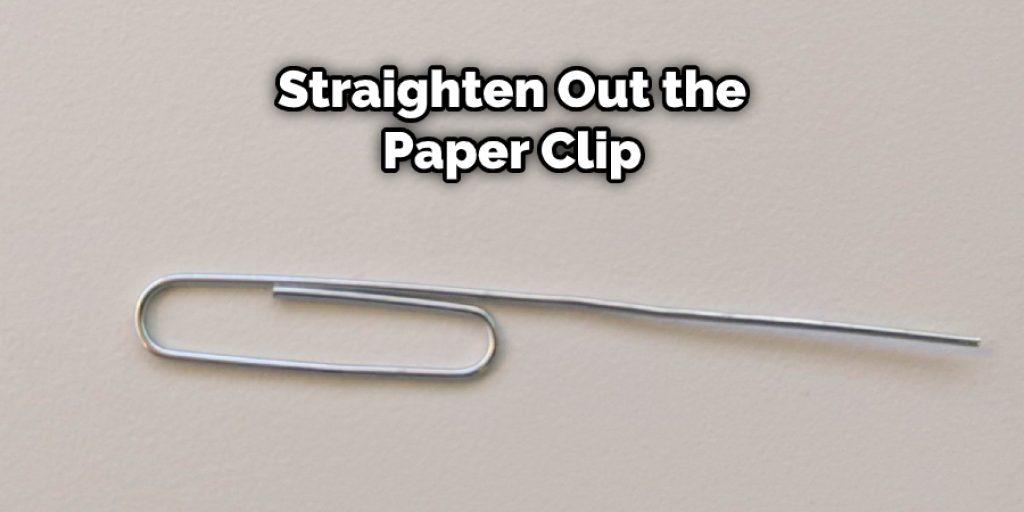
If you don’t have anything to close a ring with, you can use a paper clip. Straighten out the paper clip and use it to twist the ring closed. Be careful not to bend or break the paper clip.
4. Key chain
If you are near a key chain, you can use that to close your captive bead ring. Remove the critical chain and place the ring through the opening. Try putting it as far as you can so that it’s easier to grab and twist together later. Then, grab one end of the keychain and spin it until the captive bead ring is closed tightly.
5. Hair Clip Method
If you have hair clips nearby, you can also use them to close your captive bead ring. Simply remove both ends of the clip and thread it through the ring’s opening. Then, bend one end over the other to twist them together.
6. Earring Back Method
If you’re struggling to close your captive bead ring, try using an earring back! Just pinch the two ends together using the earring back as leverage. This simple trick doesn’t require any tools and it’s a great way to recycle old earring backs.
7. Use a Parachute Cord
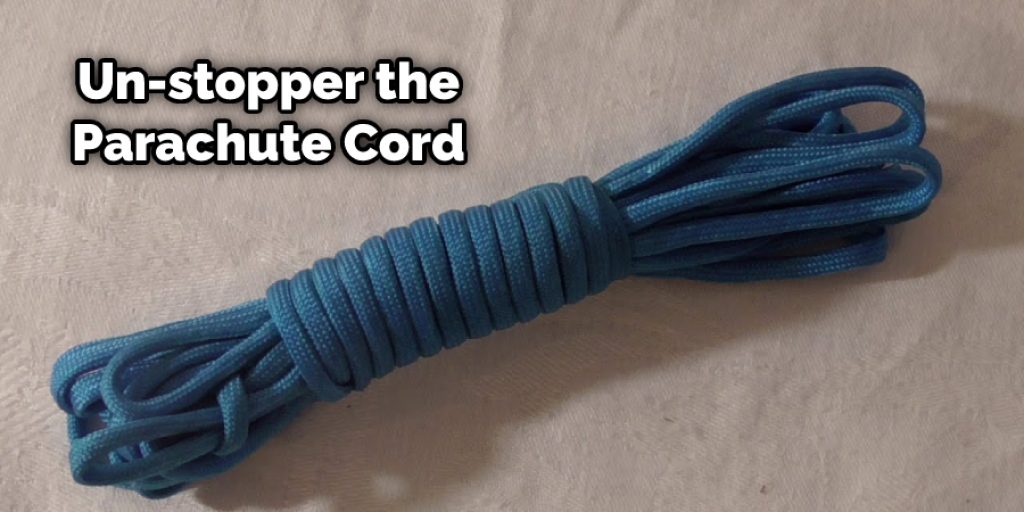
If you have a parachute cord, un-stopper the parachute cord and place it through the opening of your captive bead ring. Then, connect both pieces by bending one end over the other tightly. This will essentially screw together both sides and create a sturdy hold
8. Use Super Glue
If you have some super glue, this can also be a way to close your captive bead ring. Put a small drop of super glue on each side of the opening and press them together. Please wait for it to dry before wearing it again.
9. Use a Toothpick
This is a great way to close a captive bead ring without causing any damage or dissolving the metal. To do this, you will need a toothpick. First, make the toothpick straight and then put it in the opening of your captive bead ring. Next, rotate the toothpick until it tightly twists and creates a stronghold.
10. Use a Needle

If you have a needle, you can use it to close your captive bead ring. First, push the needle through the opening on one side of the ring. Then, push it through the opening on the other side. Finally, twist the two ends of the needle together. This will create a tight hold without any damage.
Some Tips and Suggestions
- If the ring is new, pinch it gently between your thumb and first finger to make sure it’s closed.
- If the ring is old or opened before, you’ll need to use pliers. Close the ring as close to the bead as possible.
- If the ring won’t close with pliers, try lighter. Hold the ring with the pliers and heat the metal around the bead until it’s red hot. Close the ring quickly.
- If you don’t have a lighter, try using a hammer. Hold the ring with the pliers and hit the metal around the bead with a hammer until it’s closed.
- If you don’t have a hammer or lighter, you can push the bead in with your finger. Use this method only if everything else fails!
- Once the ring is closed, you can either leave it that way or smooth out the rough edges to make it look better. We usually use pliers and rub the edges to avoid any sharp spots.
- So there you have it! You now know to close a captive bead ring without pliers. Of course, if all else fails, you can always go to the store and buy some pliers, but hopefully, these tips will help you out.
Conclusion
To finish up, follow these steps for how to close a captive bead ring without pliers. First, open the clasp and inspect it to ensure there are no sharp edges or burrs that may scratch your finger as you work with it. Next, insert one side of the clasp into the opening on top of the other half by pushing them together until they snap closed.
Then push down on both sides of the clasp until each is flush against its respective side of metal, then squeeze firmly in place so that they cannot be pulled apart again. Finally, remove any excess metal bits from inside either section before ultimately pressing both parts together, so their ridges match up perfectly, and voila! The closure will now have been completed! We hope the information provided in this blog post has been helpful. If you have any questions or want to know more, then feel free to comment below!


