
How to Compact Crushed Stone
Among the essential aspects of road, the design is its substructure, which is the foundation wherein the subsequent street levels are built. Crushed-stone gravel combination is also commonly included as substructural content. Thanks to its vast protective material properties most widely utilized form of the composite are molten rock stones.
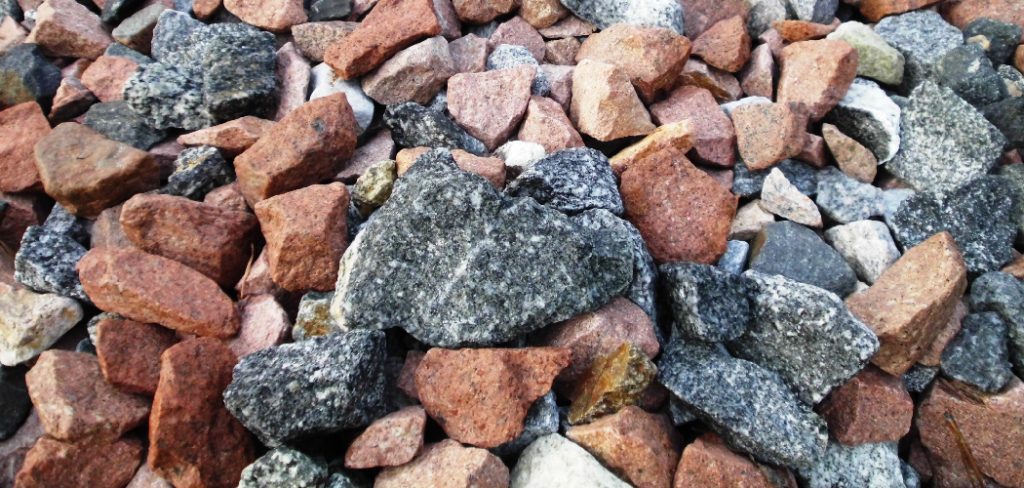
This is not often accessible, though, and it is supplemented by sandstone or perhaps even concrete particles of debris. The CBR bearing ratio is a factor that describes the appropriateness of a specified amount for roadway substructure. That would be one of its most common aggregate performance assessment because it doesn’t involve complicated tools.
Dig the Form of the Road
Begin by identifying your track position and form with a hosepipe, rope width, or spray painting. Get edge-marking color when using spray paint to mark rows quickly when keeping the can inside out. Use a rectangular-edged spade, cut the ground to a depth of approximately four inches along the boundary. Make sure the sides are level and straight, then continue to dig along the whole length of the row. When you’re done, use a flat-edged spade or edging iron to slant the side of the hole in from the edge.
Shape the Trench
Just use a rectangular-edged spade to straighten the trench ends, and the underside as equally as possible, once excavating the trench. Review the trench width on average with a measuring tape while you walk. Clean the trench base with a metal brace then compress the surface with a metal tamper. Piece of advice: Put the topsoil on a tent while excavation, to render removal faster. Measure the width and depth of your trench. Place a level on one end of the trench, measure 2 feet (0.61 m) up from the bottom. The level should read straight across.
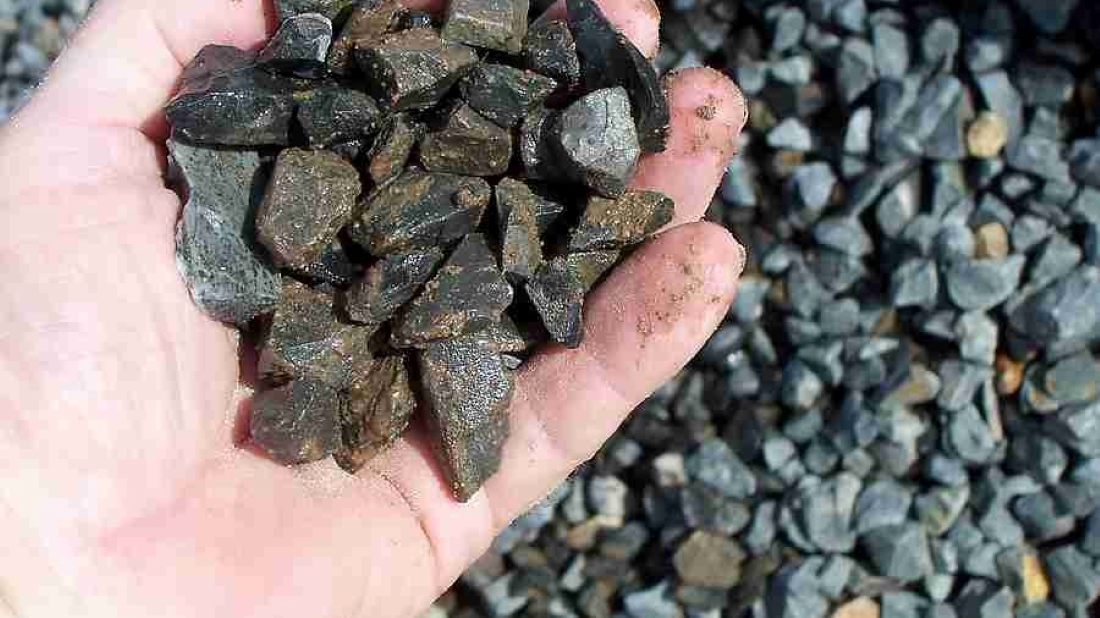
Use Plastered Rock
Fill the trenches with around two and a half inches of the stone dust layer, after sorting and tamping the soil at the bottom of the pit and growing the load to even the ground. Fill the trenches with around two and a half inches of the stone dust layer, after sorting and tamping the soil at the bottom of the pit and growing the load to even the ground. Maintain the level of the material by removing the excess stone dust and filling any voids.
Compact the Foundation of a Stone
Dampen the collection of stones by gently rubbing it with a garden hose or irrigation tube. And use a palm tamper of 6 to 8 inches in squares to force the rock set onto a flat, sharp rock. Dampening the stones first holds dirt down and assists in the compression test.
Lay Back the Material of the Landscape
We are rolling out the compressed rock set over a surface of landscape cloth, polished side on top. Start making recovery cutbacks together across both the exterior and the inside corners to contour the garment around the bends. Align the cloth at the holes on the top of the curve. Enable the garment to launch from the outside at the cutting.
Tip: Using points or pins to keep the cloth nice and tight, so it doesn’t pile up via the stone finish coat. By mounting it across the fabric and having the tips penetrate, you could also enable the edging doing double purpose. Stairway Foyer Chair Ideas Decorating a foyer doesn’t have to be expensive or difficult.
Implement the Edge
Create a pattern (spreader bar) for having the two identical edging distances stacked up at a gap of just 3 feet separated: taking a 2×3 scrape and slice two 3 foot wide holes into this one. Please ensure the breaks are appropriately broad and deep to slip along the welded-steel bottom.
Tie two edging distances apart, following the advice of the supplier. Fill the trenches within with the cutting bits, placing them on the top surface of the field. Drift the 2×3 framework over the first segment of the route around each edging section. Press the corners into the surface, via the cloth, that used a woodblock and a tool. Place the cutting bits within the trench, along the edging surface. Level their top surfaces with a trowel. Align the 2×3 framework over the second segment of the route around each edging section.
Put out ample rubble from the base of the edging to fall in 1⁄2 inch short. Increasing the ground uniformly, ensuring neither of the design of the terrain comes through. Landscape with potted plants or grass, across the road. Keep the track by raking it smoothly regularly and reload this with more rocks, if required. Ensure that the ground is even and pour a little water on it. Pour sand in to the crack between edging and then spread it uniformly with a flat object, such as a putty knife.


