How to Install Inside Corner Bead
We are always much sincere about the construction of our houses. The rigidity and sturdiness are much necessary. The corner walls that are built in our homes still use corner beads. This is much important because of maintaining the total stability and the aesthetic aspect of the wall. For this reason, today, we will exhibit a simple procedure on how to install inside the corner bead, which will be much beneficial for the persons who are willing to work.
Procedure
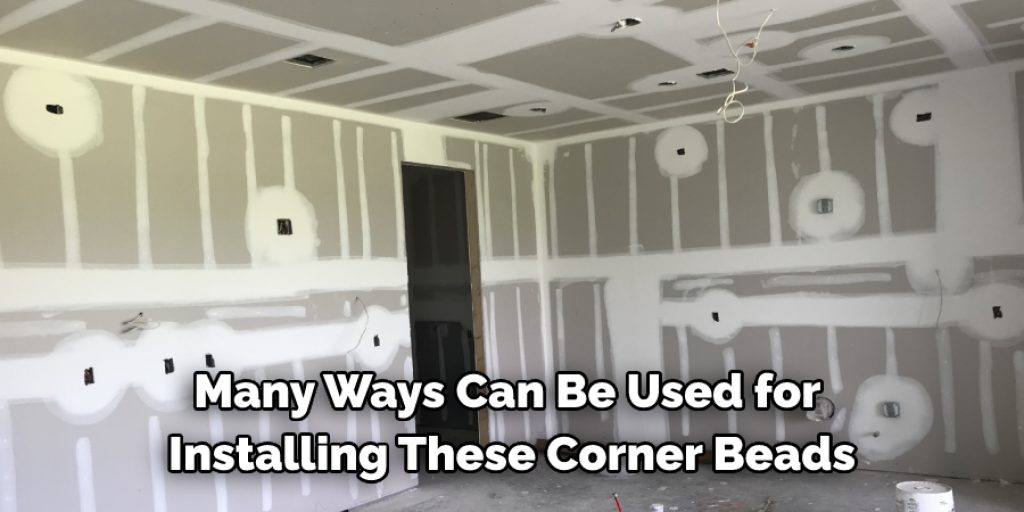
Corner beads are needed for the better stability of the edges of the walls of a room. Many ways can be used for installing these corner beads. We have shortlisted some easy steps, which will be much useful for our readers. These steps are simplified below.Corner beads are needed for the better stability of the edges of the walls of a room. Many ways can be used for installing these corner beads. We have shortlisted some easy steps, which will be much useful for our readers. These steps are simplified below.
• Step One
At first, you need to gather all the essentials required for this task. You will need the corner beads. There are many types of corner beads available in the market. Make sure to use the beads which make holes in them. You will need steel snip. Then you will need some paper mud which will act as an adhesive. After that, you will also need a trowel and a hawk. This will be used for keeping the adhesive and attaching the bond to the beads.
• Step Two
After you have managed all these aspects, you should start working. At first, you need a measuring tape and a pencil. This will be required to measure the total length of the corner bead. You have to calculate the full wall height and then estimate the corner bead. After that, you have to take the corner bead and then, using the snips, cut the extra amount corner bead. This will be much helpful because the extended part will remain unused, and it will thwart the installation of the corner bead.
• Step Three
After you have cut the extra amount of corner bead, you should bend the corner bead properly. There is always instruction provided by the company for the proper bending of the beads, and you should follow them because the manufacturing of the beads is done in such a manner that the adhesive gets attached to the inner part of the beads. So you should follow the company instructions and bend the beads from the middle for proper adhesive support.
• Step Four
After you have prepared the beads, you have to go for the adhesive preparation. The paper mid adhesive is used for this process. This was suitable for two reasons. Firstly the glue creates a great effort on the beads, and the color of the adhesive also suits the beads, and paint coating does not affect the bond. You can easily prepare this adhesive using paper and glue, but it is much more beneficial to buy it from the store. The store has a more accurate solution.
• Step Five
After you have prepared the adhesive, you have to place the beads on the wall. The beads should be aligned to the corner properly, and there should always be much space for the person to work. You might use a helping hand to hold the beads in position. This will be much helpful. After you have placed the corner beads accurate placement, you have to take the hawk and trowel to apply it. The application of the adhesive should be made in a definite manner.
• Step Six
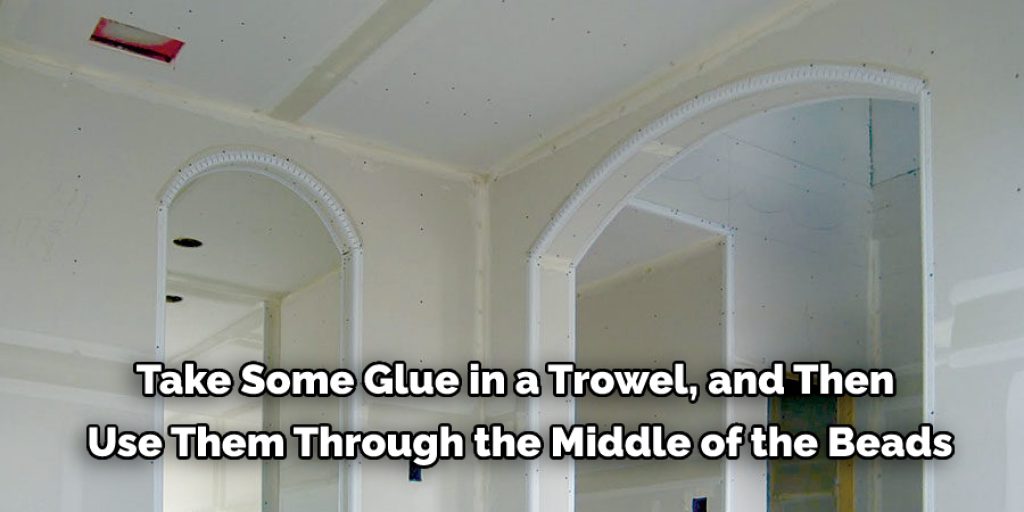
For applying the adhesive, at first, you have to take some glue in a trowel, and then use them through the middle of the beads. You have to apply two coats. Next, you have to take adhesive and then apply it on the left side and similarly apply two coatings. Then you have to repeat the process for the right side. After this, another adhesive layer will be applied to the beads.
• Step Seven
Once you have applied three layers consecutively, it is time to slide off the extra adhesive. Basically, in the first section, we devote more adhesive so that the beads get appropriately attached. After the attachment is firm, we use the trowel and slide off the extra amount adhesive from the beads. Next, using wiping off the glue from the trowel, we align the beads to the wall.
Frequently Asked Questions
Frequently Asked Questions
Frequently Asked Questions
Do You Use Corner Beads on Inside Corners?
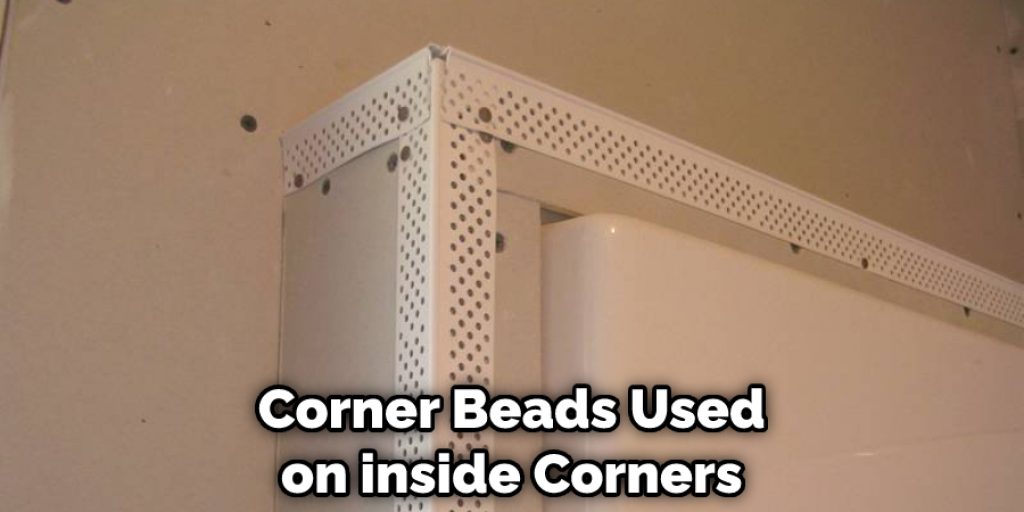
Yes, most people use corner beads to increase the strength of corners. Corner beads are used in drywall and tile installation for this purpose.
Corner beads are commonly used on inside corners where two walls meet. These corner beads help ensure that the walls will be strong enough to support themselves without being damaged by stress caused by heavy objects placed against them or pulled apart from each other.
What Can I Use for the Inside Corner Bead?
You can use any beading wire that is sturdy enough to hold the weight of the bead. If you want a more decorative look, you can also use thread or string to create a loop for the inside corner.
Do You Tape Inside Drywall Corners?
You can tape inside drywall corners to create a nice, clean, and finished look. This is done by using a wide joint compound tape that will cover the seams between the two pieces of drywall.
Taping outside drywall corners is not recommended because it creates an uneven surface and does not cover the entire corner.
Is It Inside Corner Bead Vs Paper Tape?
Inside corner bead:
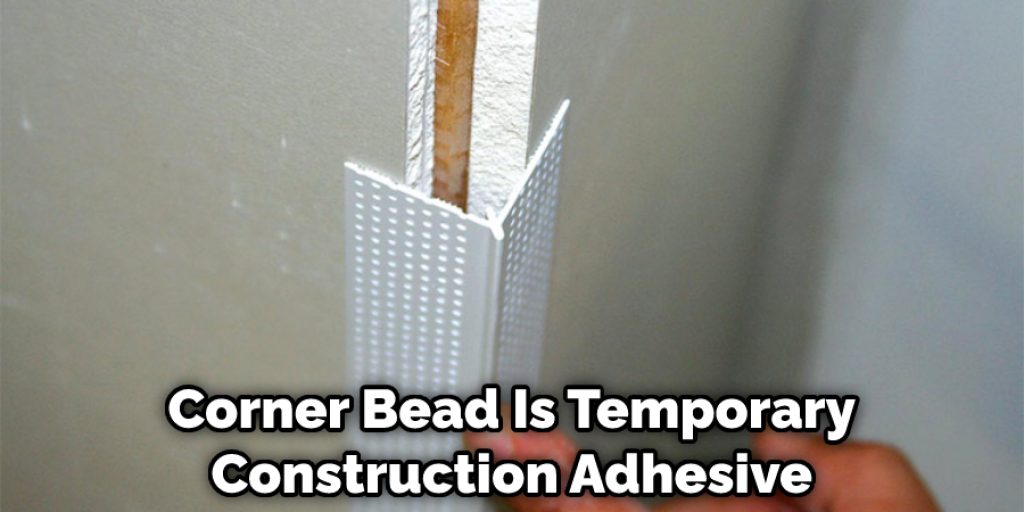
An inside corner bead is a temporary construction adhesive used in carpentry or joinery work. It consists of a foam pad with an attached woven cloth strip. The cloth strip sticks to the surface while the foam pad fills any gaps between the joint components and provides a smooth finish on both surfaces. It dries quickly but can be removed by soaking it in water for about 15 minutes before peeling it off.
Paper Tape:
Paper tape is a strong adhesive made from paper or plastic coated with a layer of adhesive. This makes it possible for one-time use when applied directly to a surface but does not provide as strong adhesion as other types of tape such as duct tape or gaffer’s tape, which are stronger because they are made from rubberized plastic rather than paper coated with adhesive.
Should I Sand Between Coats of Drywall Mud?
Sanding between coats of drywall mud is not necessary, and you should only do it if you are going to be adding a second coat. If you are painting, there is no need for sanding.
Some people might use sandpaper to remove paint or old paint from the drywall before they start painting again, but this can cause damage, so it’s best just to let the paint do its job.
Final Thoughts
In conclusion, we would like to state that the process we have mentioned here will be beneficial for making the installation of corner beads easy. The steps are arranged in a manner that the performers will feel much at ease while performing it. We assure you that this technique will surely enhance the DIY skills. Thank you for your precious time. Have a nice day!