
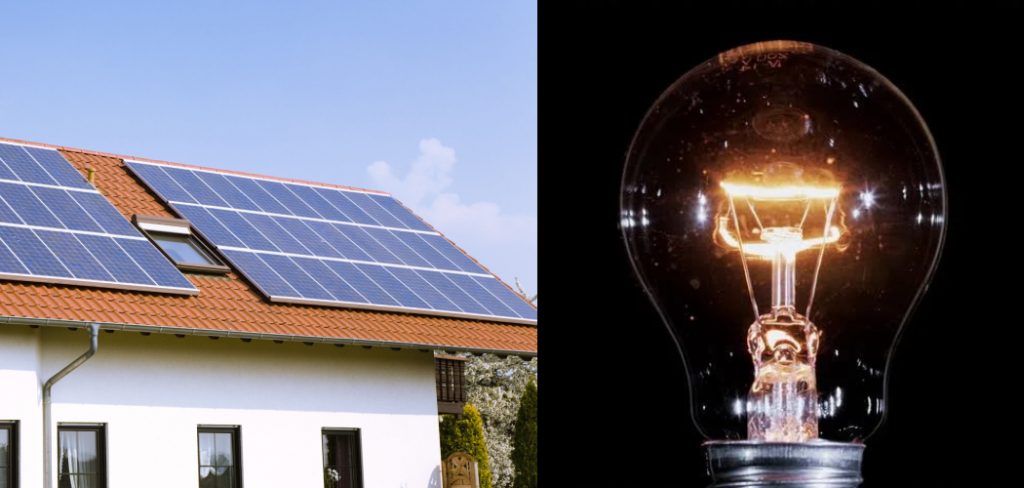
How to Connect a Solar Panel to a Light Bulb
Many people are interested in learning how to connect a solar panel to a light bulb. This is an easy process that can be completed by anyone with the proper knowledge of how electricity works. Solar power is a growing sector in the sustainable energy industry. There are many benefits to using solar power, including that it doesn’t create pollution or waste and can reduce our carbon footprint.
It’s easy to install a solar panel on your roof and then connect it to a light bulb. You’ll need to use an inverter, wire, and electrical tape. After that all you have to do is plug the light bulb into the wall socket! It doesn’t cost anything extra because the power will come from your solar panel. This blog post will teach you how to do just that!
8 Benefits of Connecting a Solar Panel to a Light Bulb:
1. Save Money
The cost of over a year’s worth of electricity can be double, triple, or more than that of a year’s worth of solar energy. But, as well, the initial price tag for a solar panel is far less than any other source of sustainable energy, including wind and hydroelectric power.
2 . Save the Environment
The process of generating electricity through fossil fuels is bad for the environment in multiple different ways, including the emission of dangerous greenhouse gases
3 . Promote Energy Independence
The United States and other countries worldwide are finally starting to realize that their dependence on foreign oil (which is usually controlled by unstable governments) is not very smart. With solar power, the United States and other countries could be energy independent.
4 . Promote National Security
Countries that are dependent on foreign oil are greatly weakened by their dependence because they do not have enough money to invest in the military. Furthermore, by reducing our dependence on foreign oil we can reduce tensions with unstable governments who control this resource.
5 . Increase Pollution Awareness
With so many people using electricity these days, it is easy to forget about the negative effects of pollution. But solar power puts a face to pollution and shows everyone just how dangerous it is.

6. Increase Your Home’s Value
If you’re planning to sell your home in the future, a solar panel will likely increase its value. And studies have shown that a house that has a solar panel is more appealing to buyers than one without
7. Build a Renewable Energy Portfolio
If you’re a property owner and put solar panels on your house then sell excess energy back to the grid, you can build a renewable energy portfolio. If more and like-minded property owners start doing this, they could achieve economies of scale and lower the cost of their electricity
8. Save Thousands During Retirement
One high-cost many homeowners have during retirement is their electricity bill. However, if that homeowner had a solar panel during their working years, they would save thousands of dollars per year when they hit retirement age.
Materials and Supplies Needed:
- Solar panel
- Breadboard (or any prototyping board)
- Light bulb
- Wire Cutters/Stripper/Crimper
- Soldering Iron
Instructions: How to Connect a Solar Panel to a Light Bulb
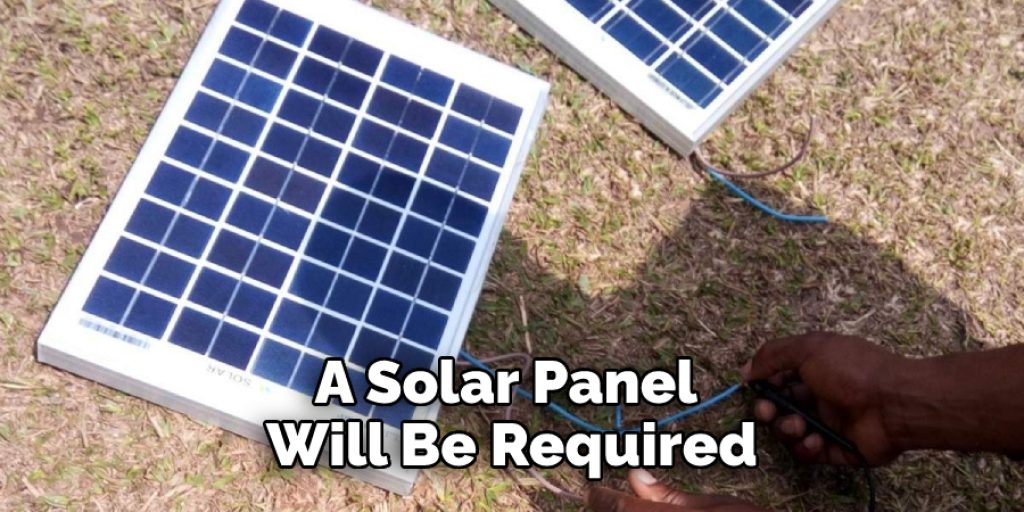
Step 1: Gather Materials
Gather the materials you will need to complete this task. For example, a solar panel will be required, along with a light bulb and some wire.
Step 2: Cut Wires
Cut two pieces of wire that are about half an inch longer than the distance from the solar panel to the lamp’s socket. Strip 1/4 inch of insulation off the end of each wire.
Step 3: Attach Wires to Solar Panel
To attach the wires to the solar panel, hold onto one end of the wire with pliers. Bare three inches of wire by scraping away insulation at that end with a knife. Wrap one exposed end around one terminal on the solar panel. Solder it in place. Cover exposed wire by sliding insulation over it. Repeat for the second wire and opposite end of the solar panel.
Step 4: Mount Solar Panel
Secure the solar panel to the lamp’s stand by screwing it in. For easy assembly, mount all components beforehand.
Step 5: Strip Wires
Strip 1/4 inch of insulation off both ends on one wire. Twist exposed wires together tightly to ensure good contact. Repeat with the second wire and the remaining exposed ends on the light bulb socket.
Step 6: Attach Bulb Socket
Attach each light bulb socket by screwing it into its corresponding bare metal end on the solar panel. Make sure they are screwed in all the way.
Step 7: Connect Wires to Light Bulb
Spread out the loops of wire at each end of the solar panel to not touch one another or anything else. Wrap exposed wire around exposed loops on the light bulb socket. Solder each wire in place so that they are firmly attached to the light bulb socket. Cover exposed metal by wrapping insulation over it.
Step 8: Test Light Bulb
Push the light bulb into its socket. Turn on the solar panel’s switch if there is one. Check for light. If there is no light, check to ensure the wires aren’t touching one another or anything else and that they are correctly attached to the light bulb socket.
Some Tips and Suggestions:
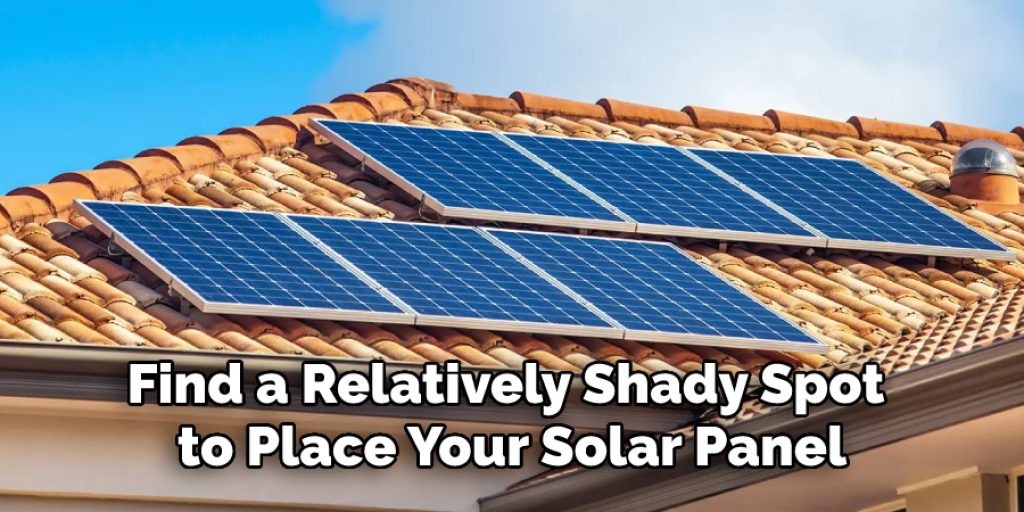
1. For best results, find a relatively shady spot to place your solar panel.
2. If you are powering more than one light bulb, consider buying a solar panel with higher voltage (Watts) power.
3. Make sure your wire connectors are in excellent condition for maximum efficiency and effectiveness.
4. Be sure to check the charge status indicator every few days, as you do not want your solar panel to run out of power before it charges up again!
5. If you live in a part of the world where rain is expected, consider putting your light bulbs under a covered area just in case any rain comes along with reducing its effectiveness.
6. Make sure that when you are connecting multiple solar panels, they are all connected with wires before powering them.
7. If possible, try to place your solar panel in an area where it would be able to get at least a little bit of sun throughout the day to ensure you get maximum power! Twelve hours a day is recommended for a typical household solar panel system.
You Can Check It Out to: Wire Inverter to Rv Breaker Box
Conclusion:
Try this simple do-it-yourself project if you are looking for a quick and easy way to connect your solar panel to the light bulb. It may take some time, but it is worth it to save money on electricity costs! In addition, this will allow you to have an energy-efficient home that can reduce your monthly bills significantly.
You need a few supplies which are readily available at any hardware store or big-box retailers. The process should be relatively straightforward, so don’t worry if you’re not very handy around the house; just follow these instructions on how to connect a solar panel to a light bulb step by step, and watch out for our tips along the way!


