How to Wire Inverter to Rv Breaker Box
If you are using an inverter to power your RV, there may come a time when you need to wire it into the breaker box. This can be a little daunting if you have never done it before, but it can be a relatively easy process with a little knowledge and some basic tools. In this article, we will walk you through how to wire inverter to rv breaker box.
We will also provide some troubleshooting tips if there is a problem with your installation. So, whether you are a beginner or an experienced do-it-yourselfer, read on for all the information you need to know about wiring an inverter to your RV.
Tools You’ll Need
- Screwdrivers (flat, Phillips)
- Drill with the hole saw a bit
- Wire nuts
- 20 amp in-line fuse
- Electrical tape
- Wire strippers.
Step by Step Guide: How to Wire Inverter to Rv Breaker Box
Step 1: Prepare the Inverter for Installation
Before beginning any installation, turn off the inverter and unplug it from its power source. Make sure that the inverter is also turned off at the breaker box. Never work on an active electrical system; if you need to inspect breakers or switches while they are still energized, shut them off at the main breaker.
Step 2: Identify the Negative and Positive Wire on the Breakers
Before connecting your inverter to your breaker box, you need to make sure that it is wired correctly. It’s common practice to wire outlets and breakers in a series such that all of the positive wires (red) are connected, and all of the negative wires (black) are connected.
This is essential because connecting an inverter to a breaker that isn’t correctly wired can damage your inverter or even start a fire. Next, identify the positive and negative cables on the breaker itself. Finally, look for the terminal screws on each breaker; they should be labeled with a “P” and an “N,” corresponding to positive and negative.
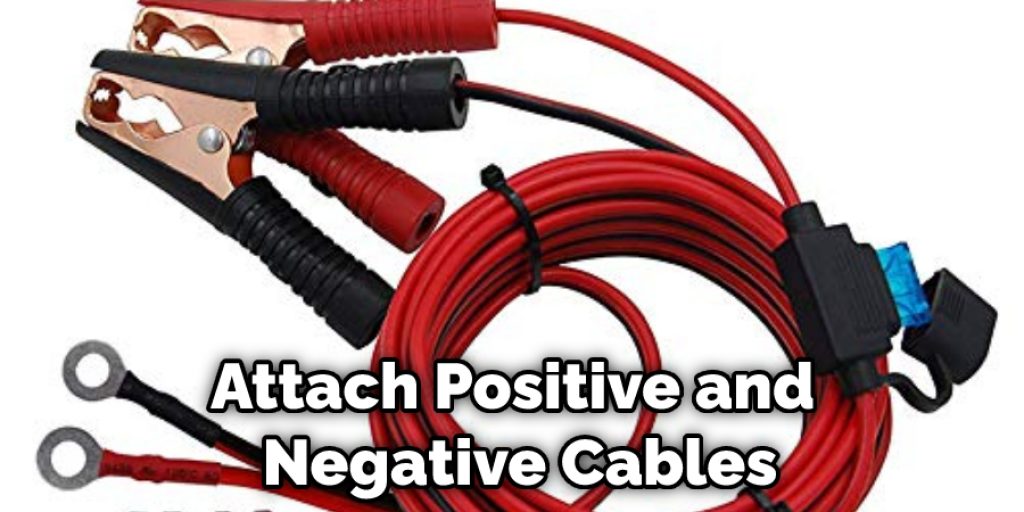
Step 3: Connecting the Inverter Wire
Once you know where the positive and negative cables are, it’s time to attach them to your inverter. Start by attaching a red cable clamp to the positive terminal screw and a black cable clamp to the negative terminal screw.
After you’ve attached the clamps, strip approximately three inches of sheathing off the ends of each wire with wire strippers; this allows you to make a good connection when you connect your inverter to your breaker box.
Before tightening down the screws, take your red wire and attach it to the positive terminal screw on the breaker. Next, connect your black wire to the negative terminal screw. As you tighten down each of these screws, be careful not to over-tighten them; this can strip the threads or damage other components in your inverter.
Step 4: Installing the Inverter
Once your connections are made, set the inverter in its final location. You’ll probably need to drill a few holes for it to sit flush against the wall of your breaker box. Make sure that it is stable and won’t tip over with the weight of the wires attached. Also, be careful that the wires don’t get snagged or pinched by other electrical system parts.
Once you have drilled all of the necessary holes and are sure that the inverter is stable, hang it on either its wall mounts or with screws. Again, be careful to ensure that nothing on your inverter hits any of your breakers.
Step 5: Wiring the Inverter
Before you connect your inverter to any of your breakers, be sure that they are all turned off and the power supply is unplugged; we don’t want anything turning on while we work. Now it’s time to connect the wires from your inverter to the breakers.
Screw in a wire nut and tighten it down snugly as you attach each wire. Ensure that no wires are overcrowding any of the terminals and that they aren’t in danger of coming into contact with each other or anything else in your breaker box. Once all of your wires are connected, you can turn on your inverter and start using it.
Step 6: Troubleshooting
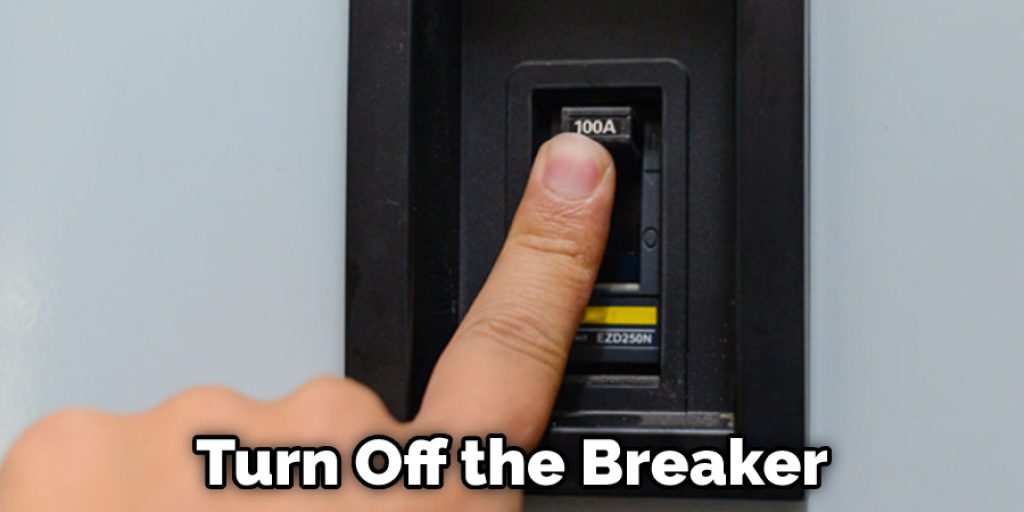
If your inverter isn’t working correctly or if you notice any problems during the installation process, turn off the breaker and unplug it immediately. Then, check all of your connections to ensure that everything is tight and stable. If things are connected properly, try resetting your breakers before replacing them.
You can also check it out to Connect Inverter to RV Breaker Box
Some Helpful Tips and Suggestions
1. Keep the inverter on a separate breaker from your home wiring. This way, you can quickly bring it up to full power, and if it trips off, no harm is done to the housing supply.
2. Make sure you have an excellent working Ground Fault Interrupt type of AC outlet near where you intend to plug in equipment requiring a three-prong plug.
3. Install and use switches in the hot and neutral lines so you can kill power when you don’t need it.
4. Use short pieces of heavy extension cord when running between your house wiring and the inverter breaker to connect “probes” for testing equipment that does not have its own built-in AC plug (i.e., no AC cord).
5. Do not connect any AC power cords to the inverter’s AC outlets until you are ready to use its output! Please make sure all equipment plugged into these devices has its built-in or attached plug, and switch the inverter off when it is not in use.
6. To attach heavy-duty alligator-type battery clamps or terminals to the inverter output plugs.
7. Use wire nuts of the correct size and make sure all connections (including AC outlets) are tight and covered with at least two coats of good quality silicone sealer. Finally, properly ground your inverter according to the supplied instructions.
How to Install RV Power Inverter
RV power inverter is an essential device for providing electrical power to RV appliances. It converts the battery’s twelve volts DC (direct current) energy to 110 volt AC (alternating current) needed for powering lights, fans, and other home appliances in recreational vehicles. In addition, you can run small household appliances like mobile chargers, blenders, lights, etc.
If you want to buy an inverter for your RV, it is important to understand the wiring process first because the wrong installation can damage the device and even cause a fire hazard. Therefore, always follow all the safety rules related to power wiring before the project execution.
Precautions and Warnings
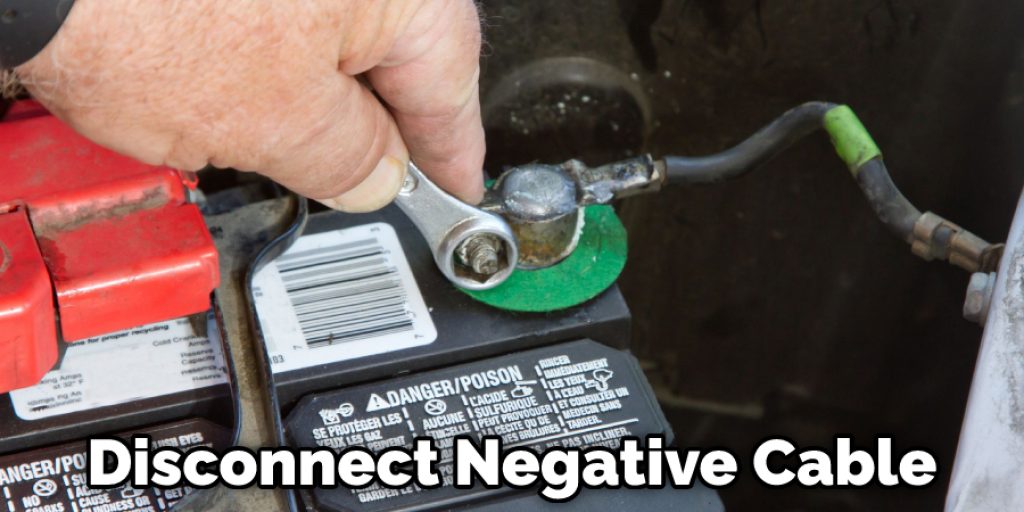
1. Disconnect the battery’s negative cable.
2. Determine which breakers control the load to be powered by the inverter and isolate those breakers.
3. Determine the inverter’s maximum power and select a location for it to be mounted.
4. Mount the inverter in place, ensuring adequate ventilation is available.
5. Using the appropriate metal-cutting hand tools, remove one side of the knockout on the inverter’s enclosure.
6. Run the wiring from the inverter to the edge of the breaker box using appropriately sized wire clamps and grommets.
7. rill a hole in the breaker box’s metal exterior at the location where you will run your wiring.
Conclusion
If you are considering wiring an inverter to your RV breaker box, you should keep a few things in mind. First, make sure that the inverter you choose is compatible with your breaker box and electrical system. Second, be aware of the power requirements of the appliances you plan to use with the inverter.
And finally, always consult with a professional electrician before making any changes to your RV’s electrical system. We hope this blog post on how to wire inverter to rv breaker box has been helpful. By following these tips, you can safely and efficiently wire an inverter to your RV breaker box and enjoy all the benefits of having on-demand AC power while traveling.