
How to Connect Daybetter Led Lights to App
Are you tired of having to get up and manually adjust your Daybetter LED lights every time you want to change the lighting in a room? Good news – with the Daybetter app, you can control all of your Daybetter LED lights from the comfort of your phone or tablet! In this day and age, technology has taken over in a big way. Almost everything we do involves some type of electronic device.
Our homes are no exception, as we have slowly replaced traditional light bulbs with energy-efficient LED lights. While LED lights are a great choice for saving money on your electricity bill, they can be even better when connected to an app that allows you to control them remotely. Here’s how to connect Daybetter LED lights to the app. Keep reading for instructions on how to connect daybetter led lights to app. You won’t regret it!
What Are the Benefits of Connecting Daybetter Led Lights to the App?
Convenience
No more getting out of bed or off the couch to adjust lighting levels.
Energy Efficiency
The app allows you to set schedules for when your lights should turn on and off, helping you save even more on electricity costs.
Customization
Have a party or special event coming up? Use the app to set your LED lights to fun, colorful themes and impress your guests.
Save Time
Easily adjust the lighting in multiple rooms with the click of a button instead of walking around to each individual light switch.
Smart Home Compatibility
Connecting Daybetter LED lights to the app allows for even more seamless integration into a smart home system.
10 Effective Steps on How to Connect Daybetter Led Lights to App
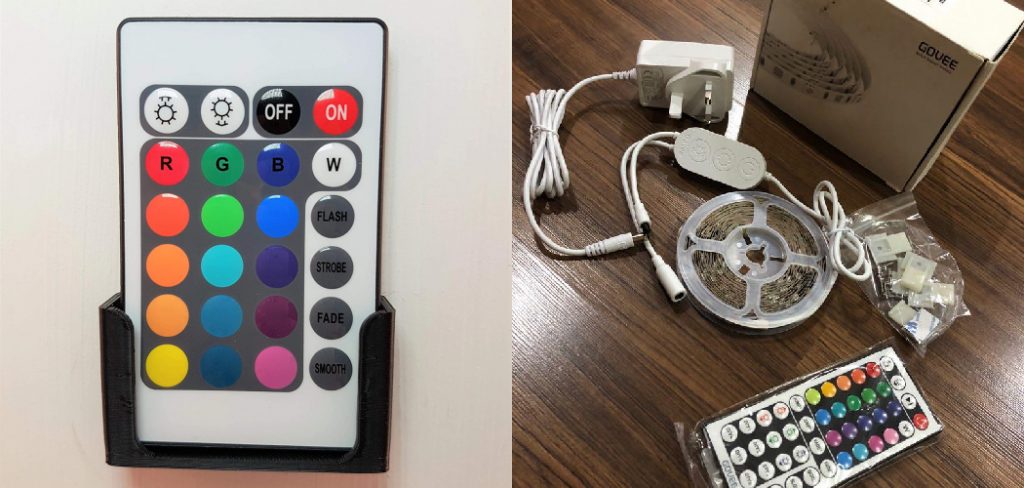
Before Starting, Make Sure Your LED Lights Are Compatible
It’s important to note that not all Daybetter LED lights are compatible with the app. Before proceeding, ensure your specific model is listed as “app-compatible” on the packaging or website.
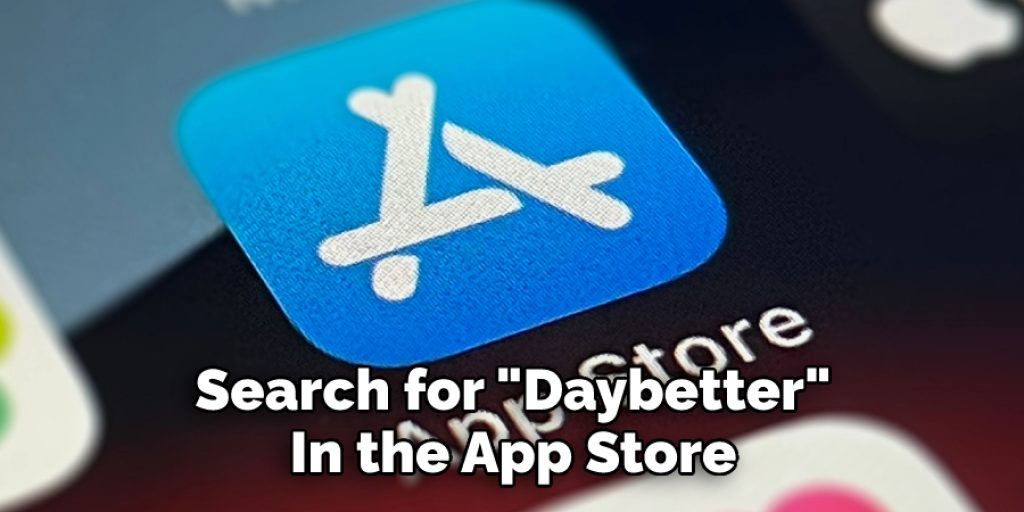
Step 1: Download The Daybetter App
Search for “Daybetter” in the app store on your phone or tablet, and download the app onto your device. Make sure you have the latest version of the app before continuing.
Step 2: Open The App And Register
Open the Daybetter app and create an account by entering your email address and creating a password. Agree to the terms and conditions, and you’re ready to proceed with connecting your LED lights. Keep your login information handy for future use.
Step 3: Connect Your Device To Wi-Fi
For the app to work properly, make sure your phone or tablet is connected to your home’s Wi-Fi network. The Daybetter app will not work with cellular data alone. So you need to connect your home’s Wi-Fi network.
Step 4: Add Your LED Light To The App
In the Daybetter app, click on the “devices” tab and select “add a device.” From there, choose “LED light” as the device type. Next, follow the on-screen instructions to connect your LED lights to the app. This may involve turning on the light and pressing the power button for a few seconds until it flashes.
Step 5: Name Your LED Light
Ensure your LED light is turned on before proceeding with the setup process. This can be done by pressing the power button on the actual light or through a traditional light switch.
Once your LED light has successfully connected to the app, you can give it a unique name (e.g., “living room”, “bedroom”, “kitchen”). This will make it easier to control specific lights or groups of lights in different rooms.
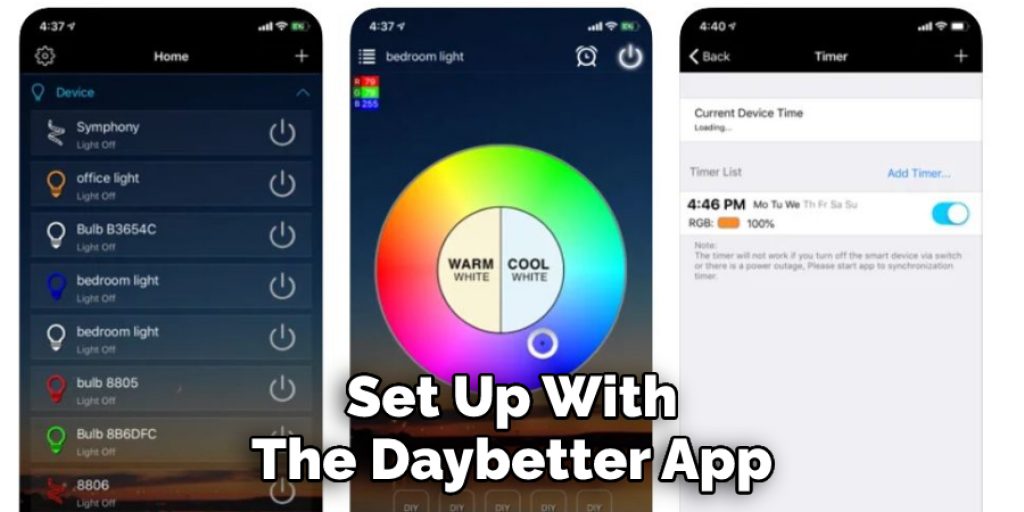
Step 6: Adjust Your LED Light Settings
The app allows you to control various settings for your LED lights, including brightness, color, and schedules for when the lights should turn on and off. Play around with the settings to customize the lighting in your home to your liking.
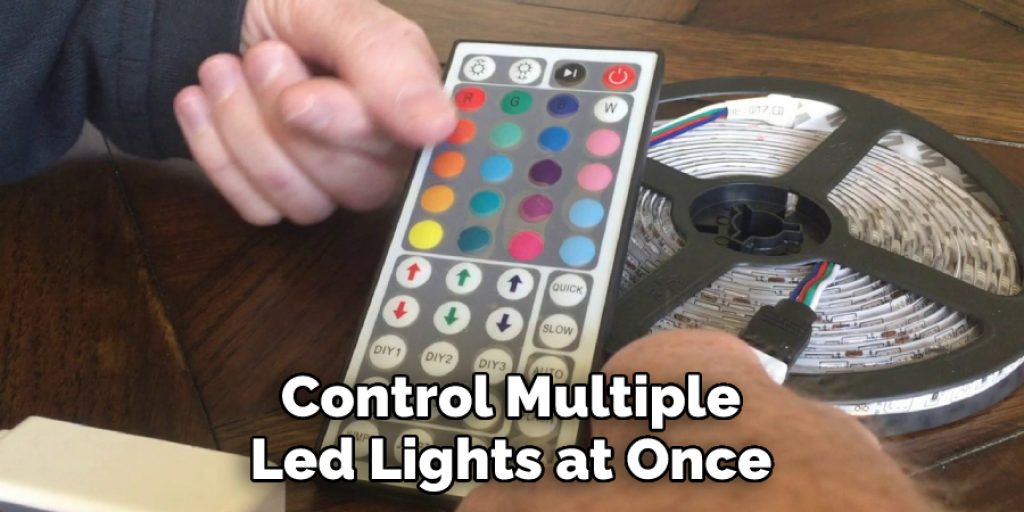
Step 7: Create Groups
Want to control multiple LED lights at once? The app allows you to group specific lights, making it easy to adjust the lighting in various rooms with just one click. In the “devices” tab, select “create group” and choose which lights you want to include in the group. Name the group for easy reference (e.g., “downstairs lights”).
Step 8: Set Schedules
The app allows you to set specific times for when your LED lights should turn on and off, helping save on electricity costs and making your life a little more convenient. In the “devices” tab, select the schedule option and choose which lights or groups you want to set a schedule for. Then, pick the desired times for the lights to turn on and off each day.
Step 9: Troubleshoot
If you’re having trouble connecting your LED lights or adjusting settings through the app, try resetting your device by pressing and holding the power button for 10 seconds. You can also check for any app or device updates and ensure your phone or tablet is still connected to Wi-Fi.
Step 10: Explore Other Features
Now that your LED lights are successfully set up with the Daybetter app, explore some of its other features. This includes controlling your lights through voice commands with Amazon Alexa or Google Home and setting up “scenes” for certain lighting effects (e.g., a cozy “movie night” scene or a bright “wake up” Amazon ). Have fun customizing your lighting experience with the Daybetter app!
These steps should guide you through easily connecting your Daybetter LED lights to the app and adjusting settings to suit your needs. Happy lighting!
7 Additional Tips and Tricks
- Use a strong and unique password for your Daybetter app account to secure your lighting settings.
- Remember to always turn on the actual light or traditional light switch before attempting to adjust settings through the app.
- You can control your LED lights remotely through the app, even when you’re not at home.
- Take advantage of energy-saving features, such as setting schedules for when the lights should turn on and off.
- Add Alexa or Google Home for even more convenience, allowing you to control your LED lights through voice commands.
- Create groups to control multiple LED lights effortlessly at once.
- Don’t forget to explore the app’s different features and settings, such as creating scenes for specific lighting effects.
These tips will help enhance your experience with Daybetter LED lights and the accompanying app. Enjoy customizing your lighting setup!
7 Precautions You Can Take
- Do not attempt to disassemble the LED lights or tamper with their internal wiring.
- Do not place the LEDs near flammable materials or in wet environments.
- Make sure to dispose of used batteries according to local regulations properly.
- Unplug the power source before cleaning the LED lights.
- Be sure to use the correct power supply for your LED lights.
- Only use the Daybetter app with compatible devices and operating systems.
- Follow all instructions provided by the manufacturer for proper use and safety.
By following these precautions, you can enjoy using your Daybetter LED lights safely and efficiently. Happy lighting!
How Do You Sync Led Lights to iPhone?
- First, ensure your LED lights are compatible with the Apple Homekit system and have been properly set up.
- Open the Home app on your iPhone and select “Add Accessory” to begin pairing your LED lights.
- Follow any on-screen prompts or instructions from the manufacturer to complete the syncing process.
- Once synced, you can control and adjust your LED lights through the Home app on your iPhone.
- You can also use Siri voice commands to control your LED lights if they are connected to the Apple Homekit system.
- Make sure to update your iPhone’s software and any applicable LED light firmware to ensure proper syncing and functionality.
- Keep in mind that your iPhone must be connected to the same Wi-Fi network as your LED lights to control them through the Home app or Siri voice commands.
- If you encounter difficulties during the syncing process, try resetting your LED lights and your iPhone before attempting again or contact the manufacturer for support.
The above steps are specific to syncing LED lights with an iPhone through the Apple Home kit system. Other systems and devices may have different methods of syncing LED lights. Be sure to check the manufacturer’s instructions for more information.

Conclusion
To connect your daybetter led lights to the app, you must follow these simple steps. Now, you will be able to customize your lighting experience and easily change your lights’ settings.
By following the steps in this blog post, you’ll be able to successfully connect your daybetter led lights to the app. With the app, you’ll be able to control the settings for your lights and create different effects. You can also schedule when you want your lights to turn on or off.
We hope this guide on how to connect daybetter led lights to app helpful and that you are now able to connect your daybetter led lights to the app without any issues. Thanks for reading!


