
How to Convert Lamp Post to Solar
The post-World War II era brought with it a new sense of optimism and energy. After the long years of hardship, people were ready to enjoy life again. It was not only the baby boomers who were eager to party hard but also their parents who wanted to have a taste of what their children had been experiencing on college campuses across the country.
This led many businesses to cater to this emerging market by offering products that met these demands for fun and excitement. One such product was the lamp post which became more than just an outdoor lighting fixture as it could also serve as a nightlife accessory. In this article, we’ll explore how to convert lamp post to solar.
7 Steps to Follow on How to Convert Lamp Post to Solar
Step One: Clean Lamp Post
Before you begin the project, the lamp post will need to be thoroughly cleaned. Use a clean cloth or sponge to wipe away any dirt or grime that may exist on the exterior of the lamp post. Remove any large patches of rust or corrosion with steel wool and do your best not to scratch up the paint beneath it.
After off-gassing toxic chemicals, you can give the lamp post a thorough washing with soap and water to remove any residue from the cleaning process. You can choose not to use chemicals or steel wool if you prefer a more natural approach for this project.
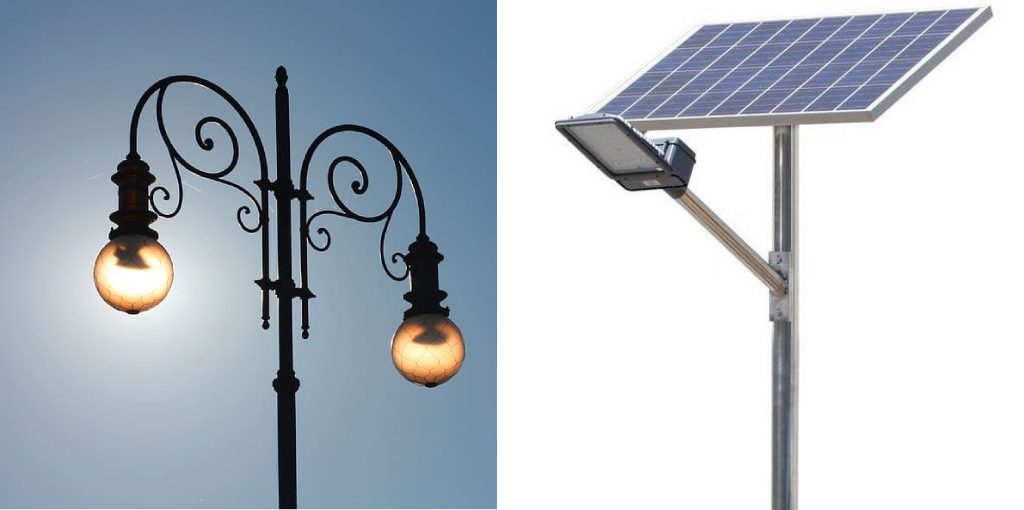
Step Two: Find a Suitable Solar Panel
You will need a solar panel appropriate for the size of your lamp post—the smaller the wattage, the lower the cost. Look for an 80-watt solar panel for a large lamp post to keep costs down while still producing sufficient electricity. You must know how much power you will need to run whatever appliances or fixtures are attached to the lamp post.
This will prevent you from purchasing a panel that is too small or too large, causing the project to be ineffective. Instead, you can attach multiple solar panels to get even more power out of your lamp post for things like floodlights, security lights, or other devices.
Step Three: Attach the Solar Panel
Use wire to run electrical wiring from the solar panel’s attached leads up to an electric terminal of your choice on top of the lamp post. You must use all-weather outdoor wire to provide the most protection against rain and extreme weather.
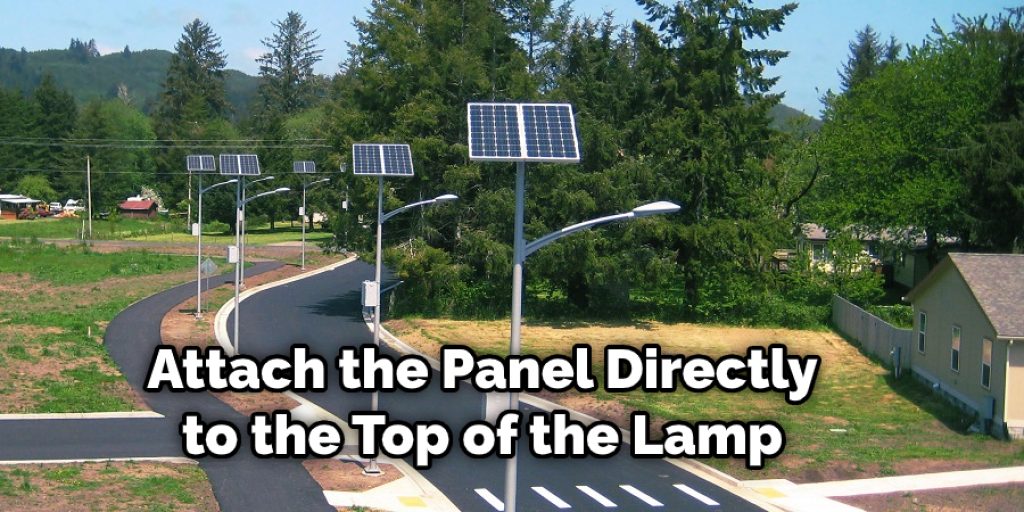
You can also use cable ties or zip ties along with the wire to keep everything in place. Attach the panel directly to the top of the lamp with screws and do your best not to misalign any of the components with one another. Keep in mind that this project will require an electrician’s assistance if you are unfamiliar with working with electricity.
Step Four: Install Battery
Use a voltmeter to check which wire is positive and negative on the attached solar panel before connecting it to the battery box. The red wire should be connected to the positive terminal and the black wire to the negative terminal. You must do this step before connecting the positive and negative cables from the battery box back to one another to avoid creating a short circuit.
Once everything is hooked up, use your voltmeter again to ensure that it is giving off a reading of 12 volts. Next, you can purchase a battery box or solar panel kit at your local hardware store that includes everything you need to install the components easily. This will help in how to convert lamp post to solar.
Step Five: Connect Your Appliances
Use wire, cable ties, and zip ties to secure any appliances on top of the lamp post. Before installing any devices, use a continuity tester on all electrical wires to ensure that they are not receiving a charge. If the light on the continuity tester does not come on, then that wire is no longer conducting electricity, and you can install your device without worry.
Appliances suitable for the lamp post include security lights, floodlights, or other decorative lighting options. However, you may need to hire an electrician to connect anything heavy-duty such as a water pump, to your lamp post due to the need for electricity.
Step Six: Perform the Final Test
At this point, your solar lamp post should be ready for installation. Perform another voltage test to ensure that everything is working properly, and then position the lamppost where you would like it on top of your property. Tighten any loose screws or nuts with pliers before doing anything else to prevent them from falling off over time.
Once the lamp post is installed, please leave it in the sun for at least 24 hours before turning it on to ensure that all components are fully charged and working correctly. You may need an extension cord or other wire to run electricity from your house’s breaker box to power appliances at the top of your new lamp post.

Step Seven: Maintenance and Upkeep
Depending on the weather and your location, you may need to replace your solar panel’s exterior coating after a few years to prevent rust or dirt from damaging its components. In addition, it would help to examine the wire every few months for signs of wear and tear or potential hazards such as rodents chewing through it.
Be sure to inspect the lamp post for damage to the exterior coating or other parts resulting in leaks. If you live in a colder climate, you may need to drain water from your lamp post during the winter months due to ice buildup on top of the device. Use care when doing so, and be sure to replace any water after it melts.
Conclusion:
Solar power is an excellent alternative to traditional forms of electric energy. In addition, the cost of solar panels has dropped substantially in recent years, making it more affordable for households and businesses alike.
If you’re considering converting your lamp posts to solar lamps, be sure that the surface area on which they are installed will provide enough sunlight throughout the day. The conclusion paragraph is informative and provides information on how to convert lamp post to solar.


