
How to Install a Lamp Post Without Concrete
Introduction
Outdoor lighting has a great deal to offer us. This could prolong a day out for business or leisure, and keep the area better by letting us see how we’re going in the darkness. Even a well-lit backyard will prevent violence. The selection of lighting systems choices varies from motion-sensing spotlights and sodium-vapor yard and lower-voltage garden lighting and modern light stations.
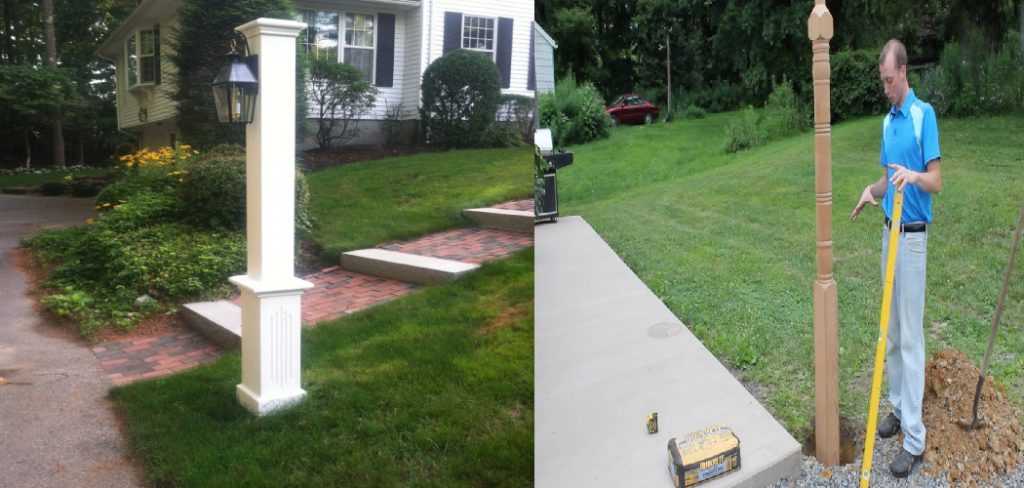
Everyone has a requirement, and it’s the modest post illumination we’re going to concentrate on here. We chose to provide a simple light highlighting the yard and acting as a central focus separating the vacant yard area between two places.
Instructions:
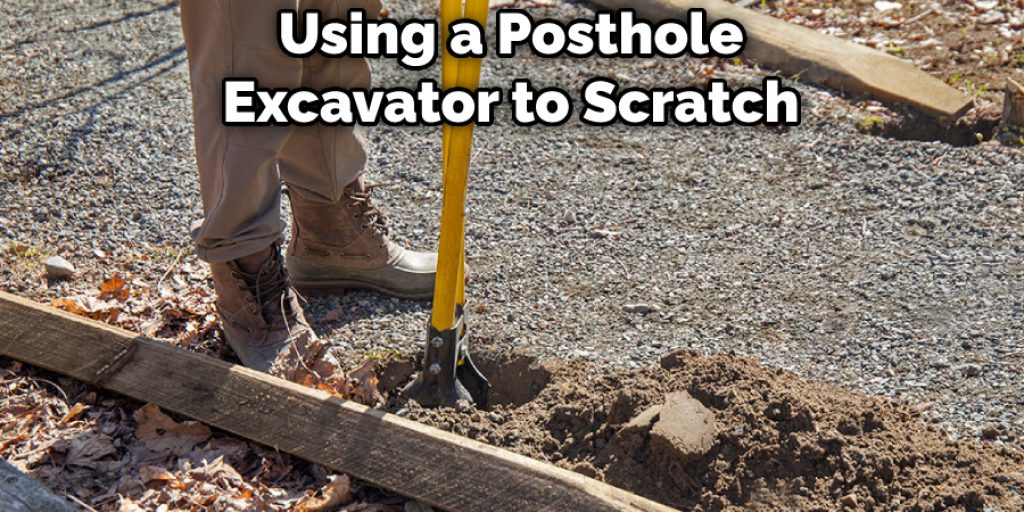
To begin, use a posthole excavator to dig an 18-inch gap underneath the concrete shape. Next, crosscut the concrete shape at around 2 inches, making sure the cut is longer than the diameter of the void.
Then cut a hole at the base of the outline, and match the circle with 1/2-inch.-dia. A 90 ° angle and PVC pipe. Attach the parts along with cement made from Plastic. Put the system in the void and even it out.
To keep the structure stable, refill the base with earth or use wooden scrape supports. Cautiously scoop concrete into the structure, making sure the PVC conduit surface stays fixed in shape. Once you’ve inspected the flat base, smooth out the surface layer with a hand-floating.

Thread lever screws by bracket carry-down, allowing 1 inch on top on frames. Attach the screws to the ground. Build an 18-inch-deep trench from the power supply to the lamp post. This was the Board in our situation. Replace the concrete shape, and cut the tag from the end of the duct—adhesive a connection on the first section of the pipe to the branch.
If you’re changing lanes, keep your elbow at a 45-degree or 90-degree angle. If you were to mount the ductwork as is, you’d need to add a slip coupling and an LB duct structure underneath the board before you reach the ground. The LB PVC structure is the casing that connects the longitudinal pipe to the lateral line underneath the deck.
The slip connection helps the tube to shift to settle the ground. This is done by attaching the slide connection to the 1/2-in bottom end. The body then conducts LB. Next, a 1-inch-dia drill is used to move via the board joist section. Finally, a 1⁄2-inch thread is attached to conduct suitable to the LB.
First, you need to put a bolt into the installing tab of the LB connector frame and the Board’s framework. Then, you need to operate the duct below ground, provided with hangers every 4 feet. If you don’t have enough extra room underneath the Board, you will need to withdraw the sideboard frames to add conduit.
To access the GFCI-protected receiver, switch off the electricity to the receiver first, and cut its climate-proof protection. Then perform 1/2-in. EMT actions between the attachment panel and the framework of a tee pipe. Broaden a pipe duration from the base of the tee conducts into the Board. We mounted 14-ga insulation separately. Cables, eliminating cables that are too hard to pull via 1/2-in.
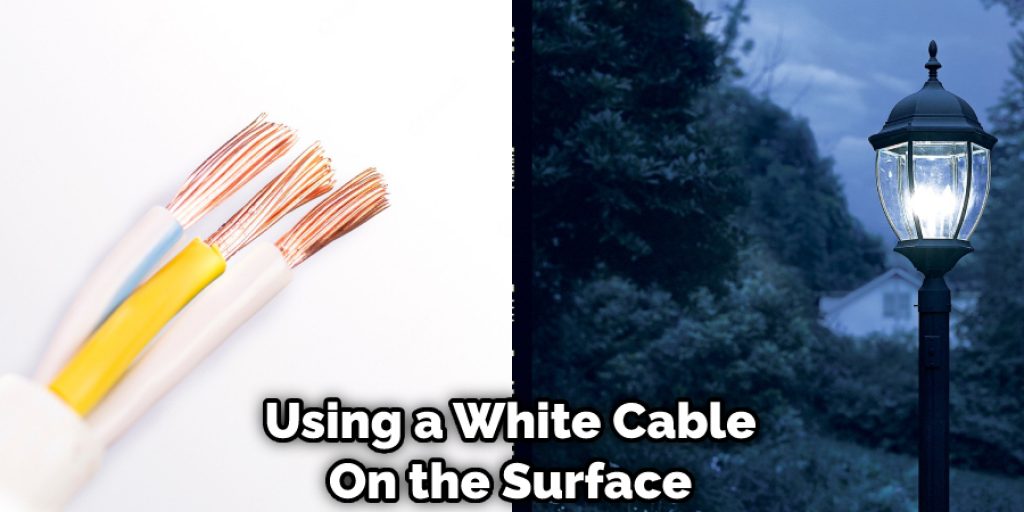
In order to set up the lighting, we used a white, black, and green cable. We placed the lighting points on the pole, and then inserted lines from the base into the post. The lines should reflect light from the edge of the post. Once the lines are in place, tip the bar and position the foundation over the hold-down screws. Fasten the bolts tightly with a hammer, but be careful not to overdo it.
Elizabeth Davis
Elizabeth is a creative writer and digital editor based in the United States. She has a passion for the arts and crafts, which she developed from a young age. Elizabeth has always loved experimenting with new mediums and sharing her work with others. When she started blogging, she knew that DIYquickly would be the perfect platform to share her tutorials and tips. She's been writing for the blog from the beginning, and her readers love her helpful advice and easy-to-follow instructions. When she's not writing or editing, Elizabeth enjoys spending time with her family and friends.


