
How to Cover a Broken Window With Plywood
Introduction
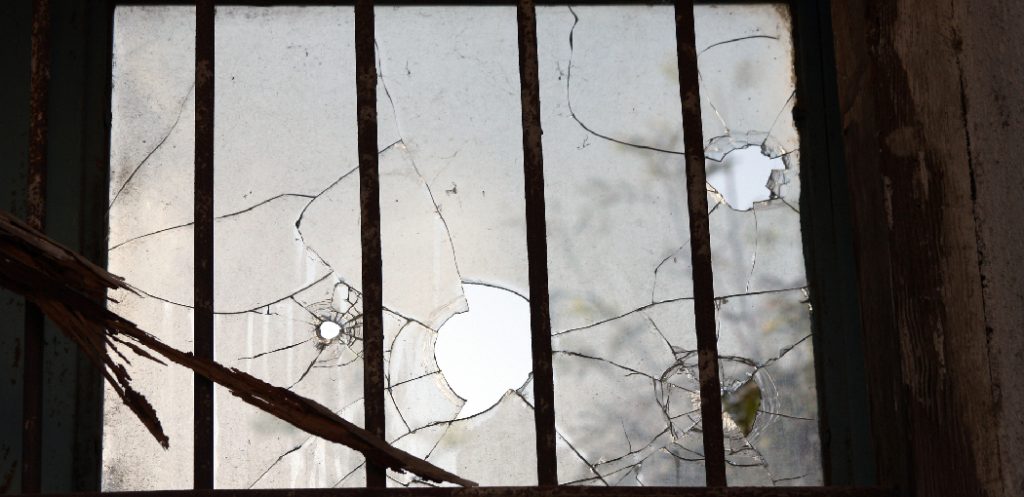
When a catastrophe of epic proportions strikes your home, it is important to start the clean-up process as soon as possible. One of the first things you will notice will be broken windows, and unless you are prepared with plywood, you may find yourself in a conundrum when trying to fix them immediately. With plywood at hand, replacing a broken window is quite simple, affordable, and efficient. Plywood is made from thin panels that consist of 3 or more layers of wood. These panels are compressed together into one piece for added strength and unity. They are commonly used for construction projects since they can be easily cut according to measurements and shape specifications. Today I am going to discuss a process on how to cover a broken window with plywood.
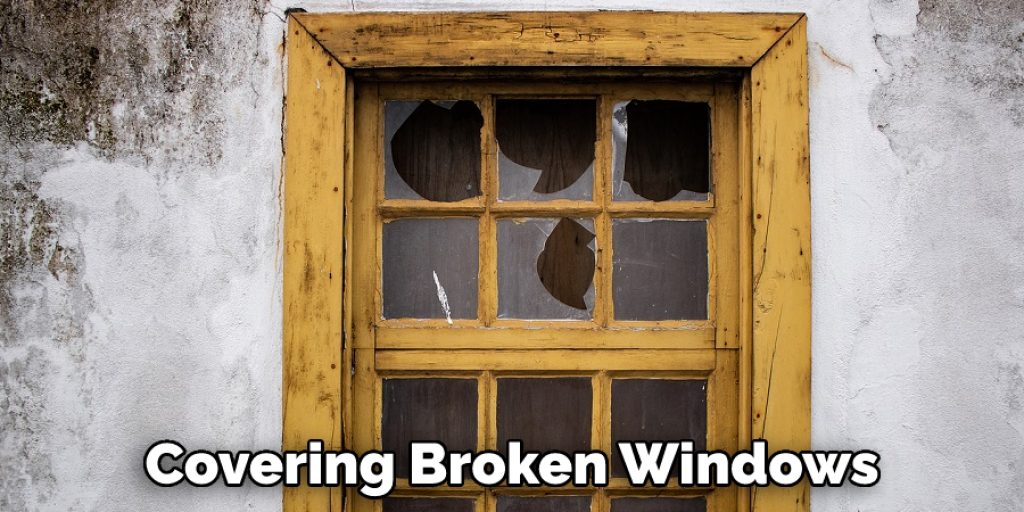
Summary: If you have a broken window, there are a few things you can do to cover it. You can use an old t-shirt or a piece of plywood. If you use a t-shirt, make sure it is large enough to cover the entire window. Cut the t-shirt into a rectangle that is large enough to cover the window and then tape it to the window so that the edges of the t-shirt are hanging over the sides of the window. Make sure the t-shirt is taped securely so that it does not move. Next, use a piece of plywood the same size as the t-shirt. Cut the plywood into a rectangle that is large enough to cover the window and then tape it to the t-shirt. Make sure the plywood is taped securely so that it does not move.
Why Use Plywood?
This is certainly a reasonable question, considering that plywood’s strength isn’t its primary benefit. The fact is that most glass windows are relatively thin and fragile when compared to the structural support of typical walls and ceilings.
There Are Three Strategic Ways in Which Plywood Can Be Used:
- In an emergency, even heavy pieces of wood or cardboard can be dropped hard enough on a broken window to keep out a rough wind until you get the replacement pane. However, this will stop only light rain – not much use if it’s coming down in sheets!
- Plywood can also be used as a temporary ” privacy screen ” for an open (but inconveniently broken) window. This is common with double-hung windows where a pane is broken, but it’s not in the bottom sash, proving too inconvenient to remove.
- If you need an open window or door that can’t be shut while replacement glass is obtained and installed, plywood is your best inexpensive option. It will protect the opening from intruders and provide basic protection against weather elements such as rain and snow.
Step-wise Guide on How to Cover a Broken Window With Plywood
Protect Yourself First:
The first step is to protect yourself against the sharp edges of the glass. Also, if there’s any sharp object like a nail nearby, ensure you are not exposed to that. Wear goggles and gloves.

Check the Broken Glass:
Next, check if the broken glass is stuck to the window frame. If it’s still present and in one piece, try removing it by lifting it (Using a flat head screw drive). Sometimes, some jagged edges may break off by turning the handle, but doing so usually makes matters worse. If they are too small for your hand to grasp safely or you feel like they will break easily, use a ‘jaws of life tool.
Tape It Up or Take It Out:
If the pieces are bigger, use a piece of cloth or tape to hold them together. Ensure you have completely taped it up so no sharp edges poke out. You can also try placing larger-sized duct tape over the small nails sticking out if they aren’t too sharp and get in your way while working on the broken window.
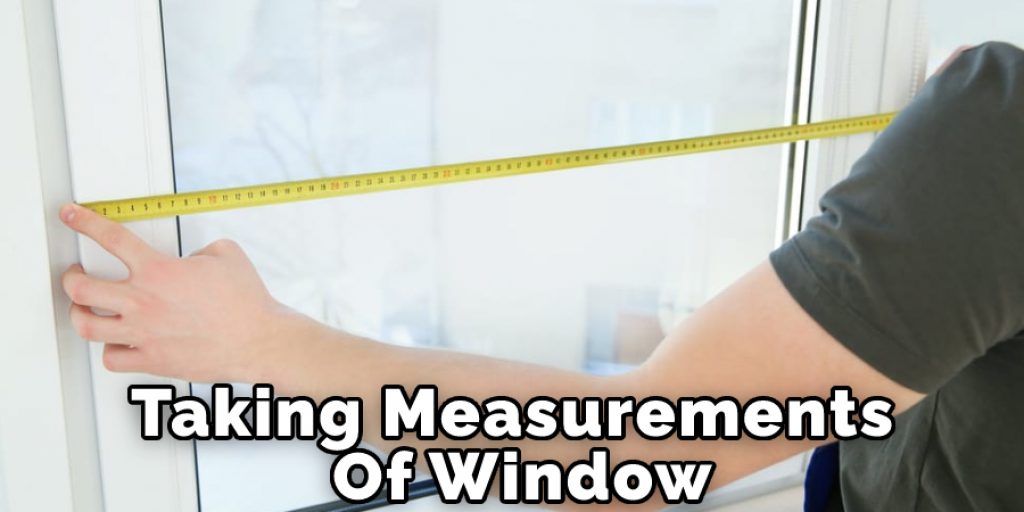
Measure the Window and Frame:
Once the broken glass is removed, you can measure the size of the hole. It would help if you also noted where and how deep it penetrated. Ideally, use a ruler for this, but anything that gives an accurate measurement would be fine if you don’t have one. Measuring twice or three times wouldn’t hurt, so long as the measurements are accurate and consistent.
Know Where to Buy:
You can purchase plywood panels from local lumber yards or hardware stores in your area. If you live close by a Home Depot or Lowes, these places usually sell unfinished and prefinished plywood products, which would come in handy when replacing a broken window with plywood. Check for these when you visit the store and note their exact sizes.
Cut Out a Panel to Fit:
Once you have purchased your plywood, cut it to fit exactly where the broken window lies. Take care not to make any holes or cuts on the neighboring areas because this will cause the entire panel to lose strength. If necessary, measure twice before cutting once because mistakes can quickly ruin your time and money!
Cover Against the Weather:
Cover the break in your window with plywood by attaching it to the surrounding glass and frame. For best results, screw it or nail it using a power drill so that they are firmly attached. Use extra tape to cover up those sharp edges if there’s an excess amount of nails protruding out of the wood panel. Also, see if you have any leftover tape on your hands to wrap around some areas where you feel more protection is required.
Measure, Cut, and Drill:
Once you have attached the plywood panel to the broken window, check it with a measuring tape to measure if it is bigger or smaller than expected. If your measurements are right on target and there’s no need for extra cutting, then secure it using nails or screws so that the panel fits perfectly against the glass and frame of your window. This step does not apply to prefinished plywood panels since these usually come with pre-drilled holes, which makes them ready for use out of their packaging.
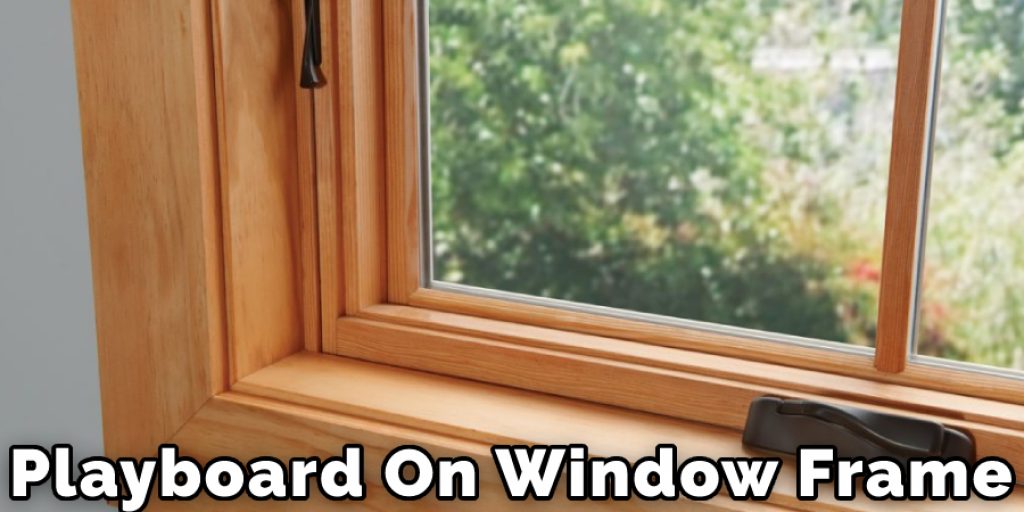
Mount and Secure:
Once you are satisfied with the results, mount and secure it. If your window is installed inside a frame, make sure there is no gap between the wood panel and the frame of your house. This draft can cause major problems such as blowing cold air inside your home during winter or theft because it creates an easy access point for criminals.
Repair Against the Elements:
Next, clean up any extra bits of nail or screw left behind using a pair of pliers (Optional) and apply paint on top to improve its appearance and durability if needed. Finally, spend some time ensuring that all nails and screws are completely in place since this will protect against further damage caused by rainwater or snow. Also, inspect any loose areas on the frame’s window mount, which can easily fall off during strong winds and cause further damage.
Precautions While Learning How To a Broken Window With Plywood:
- The covering on the outside should be painted with about an inch of plywood so that no one may see through it.
- Plywood should fit closely within the frame to cover cracks or openings and create a solid structure.
- The plywood must be slightly bigger than the window’s size to prevent shrinkage while drying up the wet material after cleaning up the broken glass pieces lying around inside the window panes.
- It is also essential to ensure that vents, such as basement windows or attic windows, must not be covered completely by plywood, or water can enter your house easily due to condensation during cold weather.
- It is advisable to contact a professional for the best possible solution and repair your broken window problem rather than doing it on your own. It might cause adverse circumstances in case of mishandling and get you into trouble with insurance companies.
- Covering broken windows due to severe storms or hurricanes can be very dangerous if not securely done, so ensure they are properly fixed by someone who knows what they are doing.
How to Secure Plywood to a Brick Wall?
- Use plastic adhesive or caulking in the seam between the plywood and brick wall, cutting a generous amount of caulk/adhesive for each seam overlap.
- Apply heat to glue using a propane torch or hairdryer. This will ensure that glue adheres well to both surfaces as well as any mortar present in the seams between bricks – if you’re working with an old building and there’s no cement-based mortar, this will not work as intended, so be sure to use some other form of bonding agent).
- Once heated and softened, remove excess glue/sealant with rags or squeegee – take care not to leave residue behind on the surface under consideration.
- Set the plywood sheet up and make sure it’s level, waterproofed (using a good water-based sealant), screw in place, and propped against another surface that will prevent it’s being pushed out of alignment.
- Putty over screw holes and any cracks or gaps where the wood is not tight to the wall itself – use specialty drywall putty if you can find it; otherwise, regular all-purpose latex will work well enough for adhering new materials to existing walls (you’ll want to let everything sit overnight before proceeding with further steps).
- If desired/necessary, paint over putty once dried, then sand smooth when moisture has evaporated from putty.
- Finish off the wood by painting it or staining if desired: use flat latex paint (do not use glossy paints as they will bubble and look terrible) and apply at least two coats of paint, sanding in between coats with fine-grit sandpaper to smooth out rough edges and finish painting job. Professionals would likely advise you to use a primer before applying any top-coat – I am only offering up my own personal experience from my limited number of times working on older buildings where I could not acquire proper primers for this task! If you have rust stains that can’t be cleaned off your plywood, then deglosser may be required before priming – make sure it doesn’t leave any residue (check the trough of your paintbrush after each degassing pass).
Conclusion
In conclusion, I hope this article has been beneficial for learning how to cover a broken window with plywood. Thank you, and have a nice day!
Angela Ervin
Angela is the executive editor of DIY quickly. She began her career as an interior designer before applying her strategic and creative passion to lifestyle and home. She has close to 15 years of experience in creative writing and online content strategy for housekeeping, home decorations as well as other niche efforts. She loves her job and has the privilege of working with an extraordinary team. She lives with her husband, two sons, and daughter in Petersburg. When she's not busy working she spent time with her family.


