How to Cover a Bulletin Board with Fabric
Covering a bulletin board with fabric can be a simple and effective way to add style and personality to any space. Whether it’s in a classroom, office, or even at home, the fabric can transform a plain and utilitarian bulletin board into a visually appealing focal point. In this article, we will explore the step-by-step process of how to cover a bulletin board with fabric, providing you with a comprehensive guide to achieve a polished and professional look.
From selecting the right fabric to ensuring a smooth and wrinkle-free finish, we’ll share valuable tips and tricks to make the task a breeze. Not only will covering a bulletin board with fabric elevate its appearance, but it will also create a versatile and functional surface for displaying important information, artwork, or photographs. Get ready to unleash your creativity and give your bulletin board a stunning makeover with fabric!
What Is the Best Fabric to Cover a Bulletin Board?
When choosing the best fabric to cover a bulletin board, there are many factors to consider. Depending on your needs, you may prefer one material over another. Common fabrics that can be used as bulletin board covers include burlap, felt, and cork.
A burlap is an inexpensive option that provides a rustic aesthetic while still being durable. It is a fabric made from jute fibers, and it gives a bulletin board a natural look with its unique texture.
Felt is another popular choice for covering bulletin boards. It provides an elegant look while also being thick and strong enough to protect the board’s contents from damage. Felt can be found in many colors and textures, which makes it easy to match with your overall design.
Cork is a great option if you need a bulletin board cover that can hold its own against wear and tear. Made from the bark of cork oak trees, this material has a natural look while also being strong enough to protect whatever is on display. It is also easy to clean, making it an ideal option for busy environments.
Can You Put Fabric on a Bulletin Board?
Yes! Fabric is a great material to use on a bulletin board. The fabric can easily be attached using push pins, tacks or staples. It can also be adhered to using adhesive products like spray adhesive or double-sided tape. However, when using any type of adhesive product, it’s important to test it out in an inconspicuous area first to make sure that it doesn’t discolor or damage the fabric or bulletin board.
Whether you are using push pins, tacks, staples, or adhesive, make sure to evenly secure all edges of the fabric to ensure there are no lumps or wrinkles. Once your fabric is attached securely to the board, you can start decorating! Add photos, notes, reminders, or any other mementos to make your board truly unique.
Remember to take pictures of your bulletin board before and after attaching the fabric so you can show off your work afterwards! Enjoy creating a one-of-a-kind bulletin board with fabric.
10 Methods How to Cover a Bulletin Board with Fabric
Method 1: Basic Stapling Technique
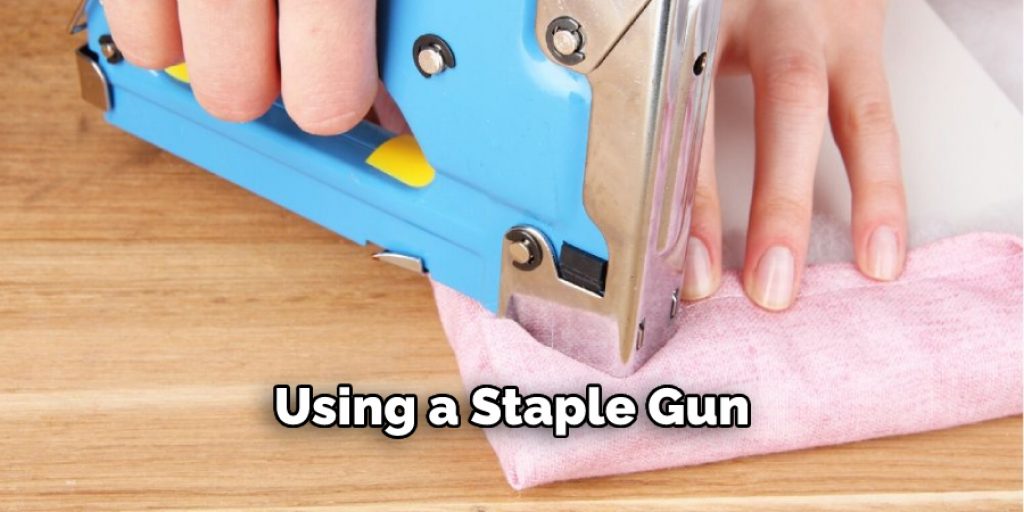
This method is the simplest and most commonly used technique for covering a bulletin board with fabric. We’ll guide you through the step-by-step process of measuring, cutting, and securing the fabric using a staple gun. We’ll also provide tips on how to achieve a smooth and wrinkle-free finish.
First, measure the dimensions of your bulletin board. It’s important to make sure you have enough fabric to cover it completely. Then, cut the fabric at least an inch bigger than the measurements of your bulletin board on all sides.
Method 2: Foam Board Mounting
If you prefer a more rigid and sturdy bulletin board surface, this method is for you. We’ll show you how to attach fabric to a foam board and then mount the board onto the bulletin board. This technique is particularly useful when working with large or heavy fabrics. Although this method will require a bit more work, it’s worth it for the extra durability!
First, you’ll need to measure the surface of your bulletin board and purchase an appropriate-sized piece of foam board at your local craft store. Cut fabric to size, making sure to leave enough excess around all four sides so that you can wrap the edges around the foam board edges.
Method 3: Stretching and Wrapping
In this method, we’ll explore how to stretch and wrap the fabric tightly around the bulletin board using a few basic tools. This technique creates a clean and seamless look, eliminating the need for staples or adhesive.
You will need: fabric, scissors, and flexible cord or ribbon. Begin by measuring the size of the bulletin board you are working with and cutting the fabric to size. Next, place one end of the fabric against one corner of your board. Secure it in place using a small piece of cord or ribbon.
Method 4: Thumbtack Method
For those who want a reversible fabric covering or frequently change their bulletin board displays, the thumbtack method is ideal. We’ll demonstrate how to secure the fabric using decorative thumbtacks, allowing you to easily swap fabrics whenever desired.
First, measure the fabric to ensure it is an adequate size for the bulletin board. Cut off any excess length and width. Place the fabric on top of the board and use a ruler or other straight edge to secure the edges with decorative thumbtacks. Press down each tack carefully so that it securely grips onto both the board and fabric.
Method 5: Magnetic Backing
If you have a metal bulletin board, this method offers a unique and convenient approach. We’ll explain how to attach a magnetic backing to the fabric, enabling you to effortlessly adhere it to the bulletin board without the need for adhesives or staples.
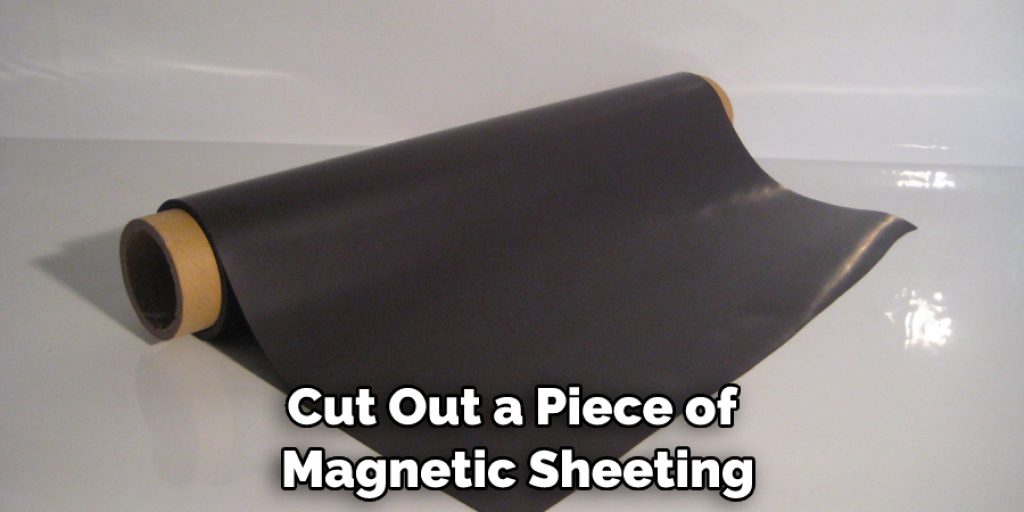
First, cut out a piece of magnetic sheeting that is slightly larger than the fabric. Next, place it on top of the fabric and gently press down to adhere it. To make sure that the magnet sticks well, use an iron to heat up both sides for about 10-15 seconds each. Finally, attach your fabric to the bulletin board, allowing the magnets to hold it in place.
Method 6: Velcro Attachment
For versatility and easy removal, the Velcro attachment method is an excellent choice. We’ll walk you through the process of applying Velcro strips to both the bulletin board and the fabric, providing a secure yet removable fabric covering. Begin by measuring the width and height of your bulletin board and cut two strips of self-adhesive Velcro, one hook side and one loop side, to fit.
Next, peel back the adhesive paper from each strip and attach them to the top edges of the bulletin board. Make sure they are even so that when you wrap the fabric around the bulletin board, it is straight.
Method 7: Adhesive Spray Application
If you prefer a seamless and adhesive-based approach, this method will guide you through using adhesive spray to affix the fabric to the bulletin board. We’ll provide tips on selecting the right adhesive and achieving a smooth and professional result.
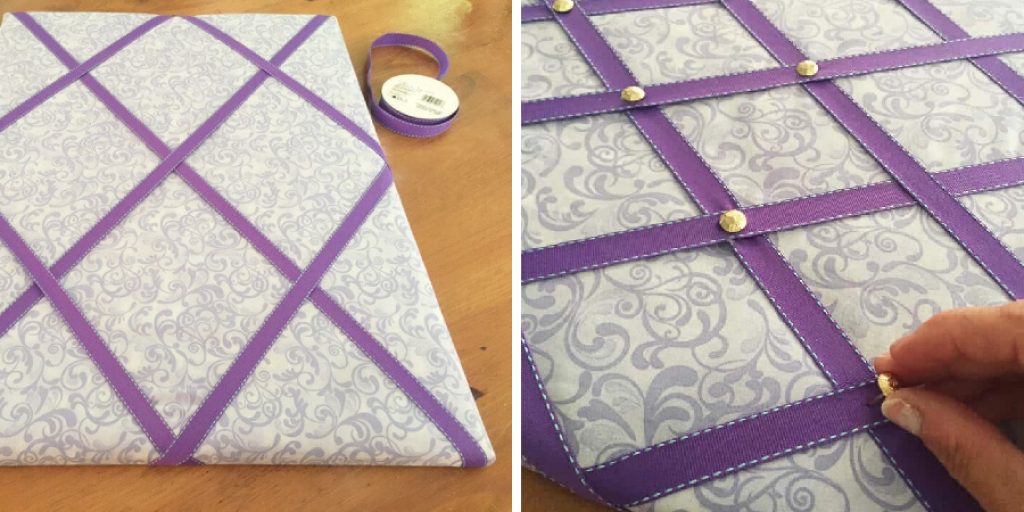
Method 8: Ribbon Trim Accent
Incorporating decorative ribbon trim adds a stylish and personalized touch to your bulletin board. We’ll show you how to apply ribbon along the edges of the fabric covering, enhancing the overall aesthetic appeal.
Method 9: Fabric Pinboard Overlay
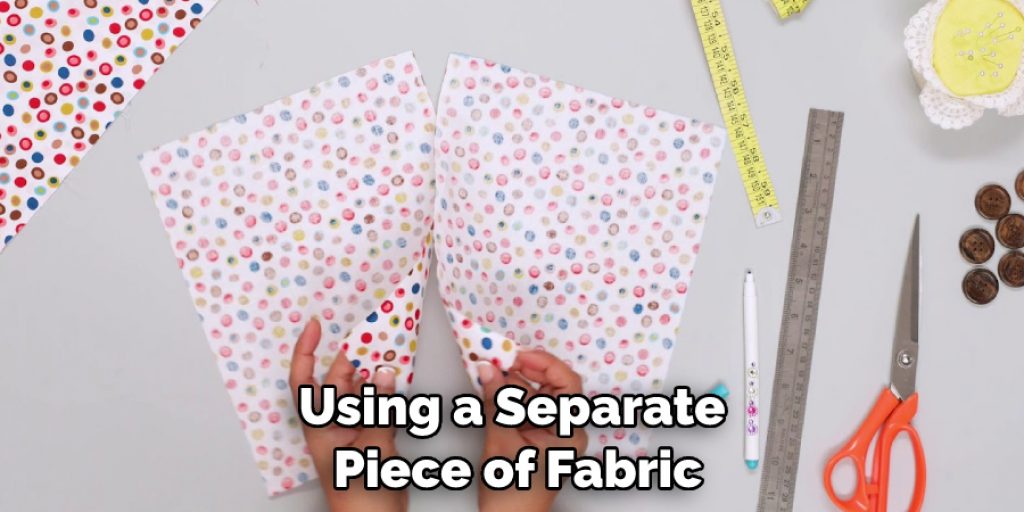
If you already have a bulletin board with an existing fabric covering that you wish to update, this method is perfect. We’ll explain how to create a fabric overlay using a separate piece of fabric, allowing you to refresh the look of your bulletin board effortlessly.
Start by cutting the fabric to a size that will cover the bulletin board. An allowance of 2-3 inches over each side should be added when measuring the fabric so you have enough room for attaching it securely. Place the fabric on top of the existing covering and use a staple gun to attach it in place along each edge, where it will be hidden once the bulletin board is hung.
Method 10: Tacking Method for Textured Fabrics
Some fabrics have textures or patterns that may not work well with traditional stapling or adhesive methods. In this final method, we’ll explore how to use decorative tacks or upholstery nails to secure textured fabrics, adding an extra dimension of visual interest.
Conclusion
Covering a bulletin board with fabric is a simple and satisfying way to instantly add fresh color and texture to your home or office. With the step-by-step instructions from this article, we’ve hopefully made it easier for you to create a great bulletin board cover, even if you don’t have any prior experience in applying fabrics. So, take some time out from your busy schedule and make sure that your masterpiece lasts for many years!
You won’t regret it! Plus, you can always switch up the fabric covering according to holidays or seasons. A bulletin board with fabric is an incredible way of sprucing up any space. And now that you know how to cover a bulletin board with fabric, it’s time for you to get crafty. Have fun creating something truly unique and stunning that will leave anyone who enters your space speechless!
Nancy Behan
Nancy is an embroidery artist, fashion blogger and a full time editor at DIY quickly. Nancy edits the fashion section on DIY quickly, focusing on the embroidery and cross stitch articles, alongside with fabric and other costume design elements. She graduated from the University of Michigan with a Bachelor of Arts in Art History. She loves to work on her own projects, read books and watch romantic movies in her spare time.