
How to Cover Cord with Fabric
Cords are always used in our household for tying knots, and the surface of the cords may get corroded due to weather conditions. In such cases, it is better to apply a layer of fabric coating on the cable. This will cover the cord and make it long-lasting. Today we are going to suggest some steps in how to cover the cord with fabric. This will be much helpful for beginners.
Processes on How To Cover Cord With Fabric
Process One:
Step One: The first step is to locate a cord that you are going to cover. Put your Fabric over it and secure both ends of the fabric with safety pins or any other method you prefer.
You will start wrapping your fabric around the cord to cover the cables. Keep wrapping until there is no excess fabric hanging out from anywhere on the cord.
Step Two: Now that you know a little more about how to cover cords with fabric, it’s time to choose the perfect cord for your needs. You can use different cloth colors so long as they match either best or close enough, depending on what you’re going for.
If you want to make a laptop charger cable that is black and white striped, you should first find out what color scheme is most often used for this type of cable. Then, you should buy some fabric accordingly before starting anything else.
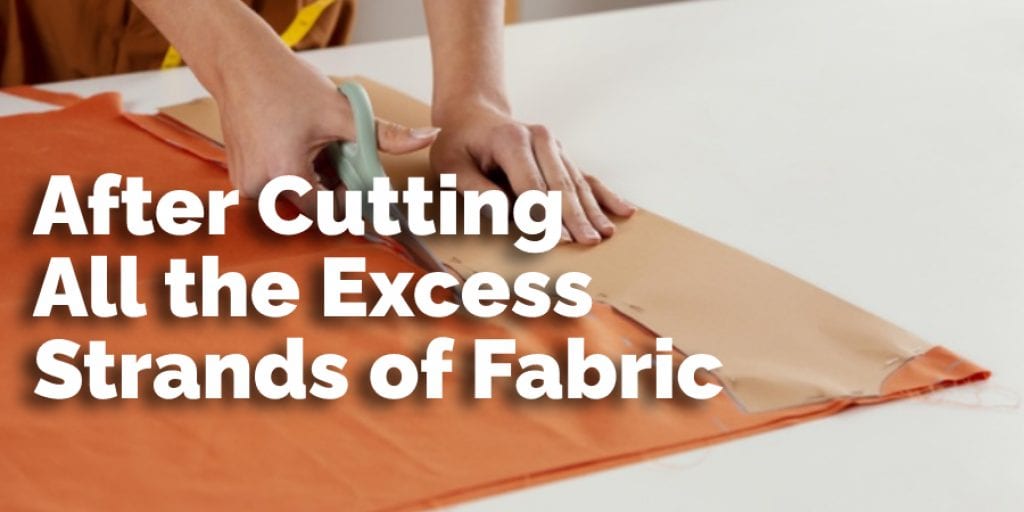
Step Three: The last step is to cut off any excess strands sticking out from anywhere on the cord after we’ve wrapped our fabric around it. Again, keep all safety pins away from the area where these cuts were made, as they will make holes in the fabric, which is not something we want.
Step Four: After cutting all the excess strands of Fabric off with scissors, you’re done! Now it’s time to put everything back together so that your work can stay intact and looking good for as long as possible.
You Can Check It Out to Make a Rolling Basket Harrow
Make sure every strand has been tucked away before putting any parts on top of each other, or else they’ll end up sticking out again. The last thing we want is to have our cord cut open by accident because someone stepped on one of those small exposed sections leftover from where we had previously wrapped our Fabric around them.
Procedure Two
At first, you have to gather the necessary elements to run the process; this includes a sewing machine. It is better to have an electrically modified sewing machine. This will ease the process and save time. But for personal preference, manual sewing is also acceptable. You have to take a suitable fabric that is rigid and durable. The material must withstand weather conditions. And you will need scissors and a ruler as well.
After you’ve gathered all the materials you need, you can start working. The process begins by placing the cloth on a table and folding it at a forty-five-degree angle. This is important because the fabric must be square in shape. Once you’ve cut the material, you have to take the cord and wrap the fabric around it to measure the cord’s circumference.
It is better to keep an extra inch for sewing. Now, cut stripes according to the circumference dimension and wrap them around the cord. Using a sewing machine, start sewing around the corner. The first stitch will include the thread, and then the sealing of the fabric will be done.
Then you have to turn over the material to make it tightly attached to the fabric. In this way, you can add more fabric layers to the cord.
Precautions
One of the most difficult things to decorate a room with can be cords. They can be unsightly and take away from an otherwise beautiful design. But you don’t have to live with your cables in plain sight! Check out these tips for covering them up:
- When choosing fabric use neutral colors that will not draw attention or clash with other colors in the space

- Always think about how you want cord access before adhering fabric – some people prefer fixed lengths while others need easy on/off capability
- Fabric adhesive is best when attaching large swaths of cloth – it’s less messy than using pins (but make sure you follow the manufacturer’s instructions)
Conclusion
In conclusion, we hope that the process we have stated here will surely help make your cords reliable. DIY enthusiasts will surely be benefitted from this process. Thank you for your precious time. Have a nice day!
You May Also Read –
Elizabeth Davis
Elizabeth is a creative writer and digital editor based in the United States. She has a passion for the arts and crafts, which she developed from a young age. Elizabeth has always loved experimenting with new mediums and sharing her work with others. When she started blogging, she knew that DIYquickly would be the perfect platform to share her tutorials and tips. She's been writing for the blog from the beginning, and her readers love her helpful advice and easy-to-follow instructions. When she's not writing or editing, Elizabeth enjoys spending time with her family and friends.


