
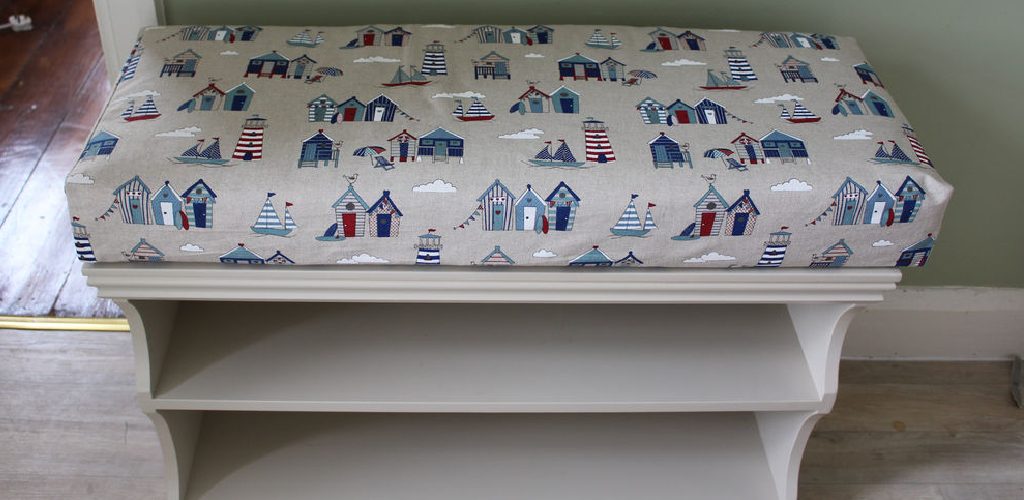
How to Make a Box Cushion Cover with Velcro
Are you looking for a perfect cover for the box cushion you have but cannot get one readymade? But you have seen that fantastic fabric that matches with all the decoration. Well, it is time to get on work for making your box cushion cover. Keep reading ahead, and we will tell you how to make a box cushion cover with Velcro.
Why Velcro?
Well, when it comes to cushioning cover, you will not always like to make them permanent. Sometimes you would want to take them off and put another cover and later put the same cover back on. But if the cover is permanent, you will not be able to do it. There are few cushioning cover which come with button to unzip and zip it back. And that is what you need to look for before buying any cushioning cover.
Tips on how to choose the best cushioning cover for your furniture
When looking for the best cushioning cover, you should consider a few things. First of all, you need to consider the quality of theon fabric. It has to be made from high quality fabric so that it lasts longer. You also need to consider the price.
Most of the covers come with zippers or buttons. While buttons are not that popular but zippers surely are.
But when you are making your cover, the zipper can be tough to work with. And the best option after the zipper is using a Velcro that will make it easier to take on and off. And for this reason, we decided to do a tutorial on how to make a box cushion cover with Velcro.
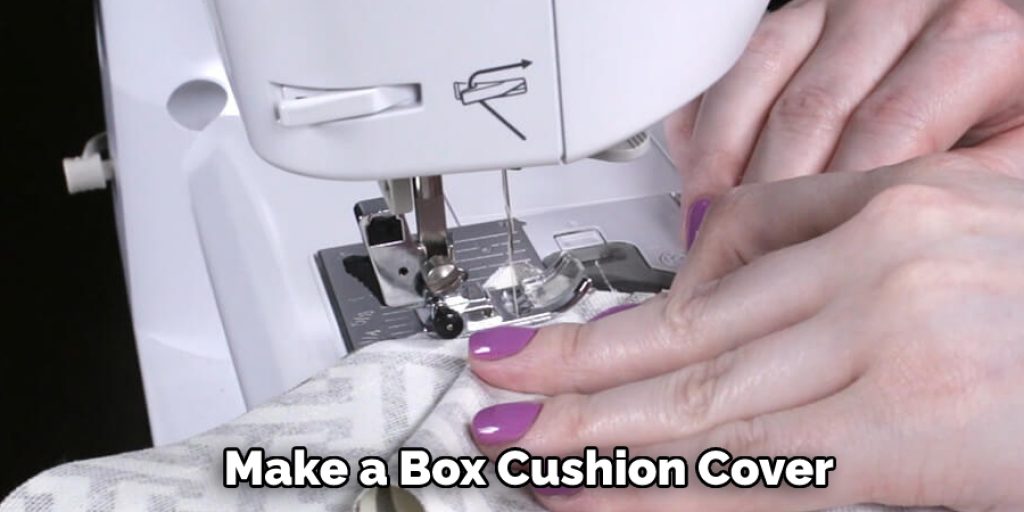
DIY: How to Make a Box Cushion Cover with Velcro
Materials You Need
To start the process, you will have to get the materials you will need in your hand. They are-
- Fabric
- Measuring tools
- Scissors
- Fabric chalk
- Pins
- Sewing machine
- Needle
- Thread
- Velcro
Steps to Follow
Now that you have all the necessary things you need let’s start learning how to make a box cushion cover with Velcro.
Step 1
Lay down the box cushion that you are going to use. Fold the fabric in half, wrapping it around the cushion. Make sure that the fabric is completely flat, with no wrinkles or folds.
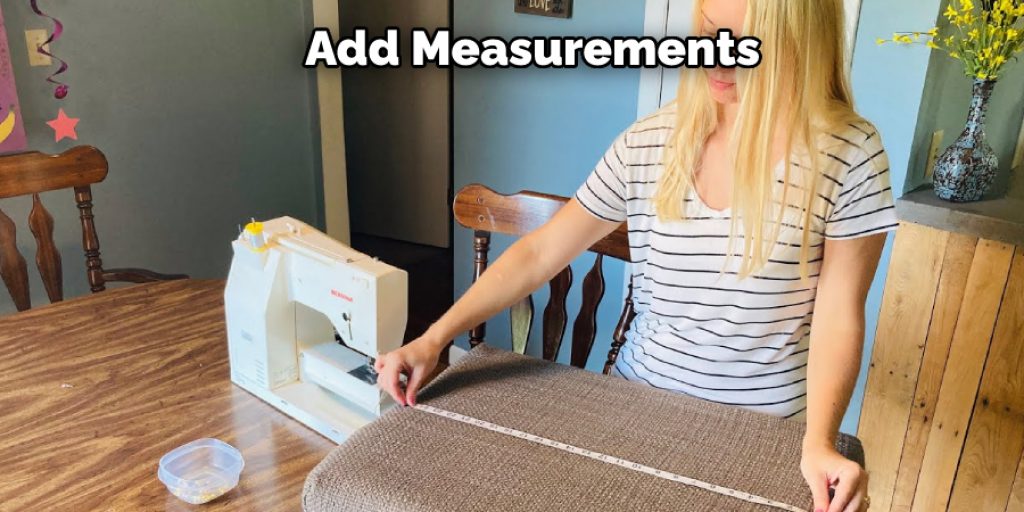
Step 2
With the chalk, mark down the measurement of how much you need. You will have five parts in total: two body parts and three side parts. Mark them up as well as take the measurement. It is best to cut the leather piece into small ones so it will be easier for you to sew later on. Just make sure that you follow your lines very well.
Once you’re done, start punching a hole with the awl through all of the side parts and body parts. You should also put some space between the holes. After doing so, start threading the needle through the holes.
Step 3
For this project, you will need to start by measuring the side length of the fabric. Then, fold the fabric in half and measure each half. Next, take two inches more than what you have measured initially, and that is going to be used as borders. But for the two body parts, you are going to add the size of half of the side length. Cut the fabric according to all the measurements.
Step 4
Now that you have all the parts ready, you will see that every region will have an outside and inner side. Pin all the pieces together to get the whole shape ready. What you have to do is, sew the raw edges that will be shown.
Step 5
You will need to sew everything up to make the box cushion cover with one side remaining open.
Step 6
On the open side, you will have excess to fabric, and that is where you are going to add the Velcro. Sew the Velcro properly, and you are done!
How to Begin Making a Pattern?
Creating a pattern can be a fun and creative process. Here are some steps to get started:
- Start by sketching out your design on paper or using a computer program like Photoshop.
- Once you have your design sketched out, decide which materials you will use to construct the pattern. This includes fabric, thread, and other accessories such as buttons or beads.
- Measure and cut the materials according to your design, making sure that all pieces fit together correctly.
- Use pins or tape to lay out your pattern and arrange it in the exact way you want it to look when it is finished.
- Assemble the pieces with thread, glue, or a sewing machine according to instructions for each material used in the pattern.
- Trim any excess material from around the edges so that your pattern is clean and tidy when complete.
- Add any finishing touches, like buttons or beads if desired, before displaying your finished pattern!
Final Thoughts
That was all you need to know how to make a box cushion cover with Velcro. Hopefully, you will succeed with the help we provided you.
Elizabeth Davis
Elizabeth is a creative writer and digital editor based in the United States. She has a passion for the arts and crafts, which she developed from a young age. Elizabeth has always loved experimenting with new mediums and sharing her work with others. When she started blogging, she knew that DIYquickly would be the perfect platform to share her tutorials and tips. She's been writing for the blog from the beginning, and her readers love her helpful advice and easy-to-follow instructions. When she's not writing or editing, Elizabeth enjoys spending time with her family and friends.


