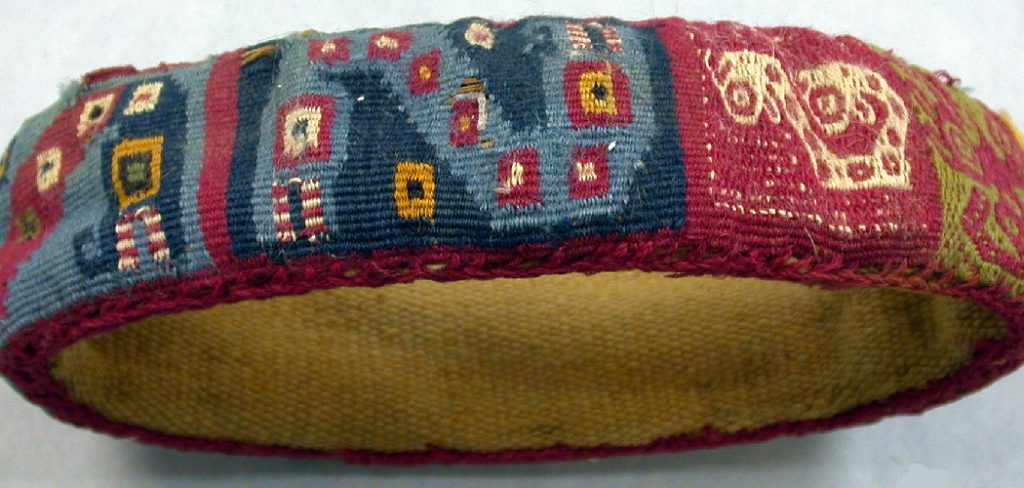
How to Cover Headband with Fabric
Covering a headband with fabric can be a fun and creative way to personalize your accessories and add a unique touch to your hairstyle. Whether you want to match your headband with a specific outfit or showcase your favorite fabric pattern, this simple DIY project allows you to customize your headbands to suit your style.
In this article, we will explore the step-by-step process of how to cover headband with fabric, providing you with easy-to-follow instructions and helpful tips along the way.
From selecting the right fabric and preparing the headband to securing the fabric in place, we’ll guide you through each stage of the process. Get ready to elevate your hair accessories game and create beautiful, fabric-covered headbands that are as stylish as they are unique.
How Do You Cover Hair Bands?
Hair bands are a great way to keep your hair in place and out of your face. Covering them is easy if you have the right tools.
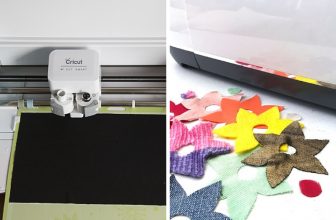
To cover up a hair band, start by gathering the supplies you need. You’ll need scissors, fabric or ribbon that matches your outfit, pins, and a hot glue gun. Cut the ribbon or fabric to fit the circumference of your hair band. Hot glue the ends together so that you have a loop of fabric or ribbon. Then wrap it around the hair band and secure it with pins.
You can also use a patterned scarf to cover your hair bands for something more fashionable and eye-catching. To do this, simply wrap the scarf around your hair band until it’s completely covered and secure it with pins.
You can also purchase headbands that have fabric or ribbon already attached so you don’t have to cover them up at all. These styles are especially great for adding a bit of color and texture to your look.
No matter what style of hair band you choose, make sure it’s comfortable and secure. Covering them up with fabric or ribbon is a great way to personalize your look and add a bit of flair. With the right supplies and a little time, covering up your hair bands can be an easy and fun task!
10 Methods on How to Cover Headband with Fabric
Method 1: Basic Wrap and Glue
This method is perfect for beginners and requires minimal materials. We’ll guide you through the process of measuring and cutting fabric, applying adhesive, and wrapping the headband smoothly for a polished finish. While this method is simple, it still yields great results.
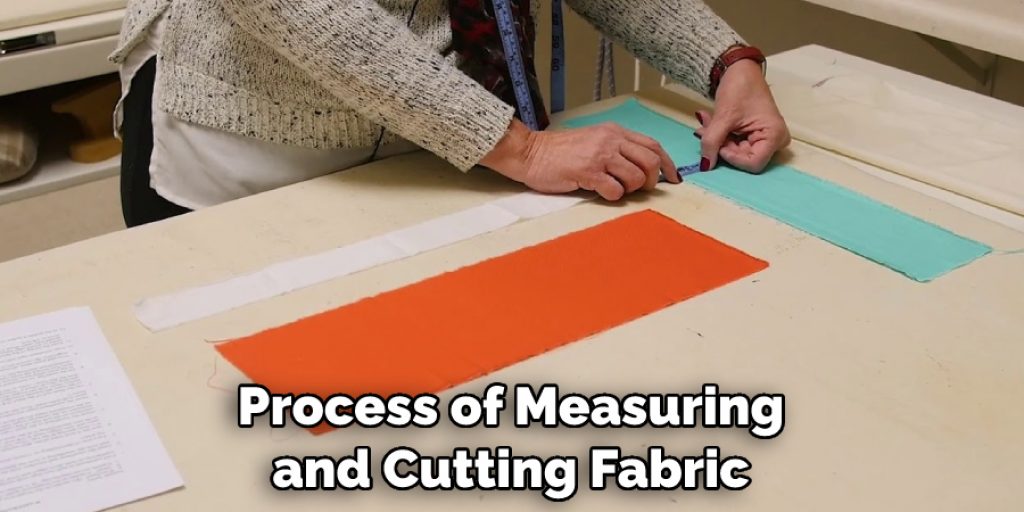
First, measure the circumference of the headband and then add a couple of inches to allow for extra fabric in case you need it. Cut the fabric to size and apply adhesive along both long edges. Once your fabric pieces are ready, lay them flat on a work surface with the adhesive side up. Place the headband right in the center of the fabric and then wrap one edge of the fabric over it, pressing firmly to ensure it sticks.
Method 2: Elastic Band Method
If you prefer a headband that can easily adjust to different head sizes, the elastic band method is ideal. We’ll show you how to attach an elastic band to the fabric, allowing for a comfortable and flexible fit. Too tight? Just loosen the band. Too loose? Pull it tighter!
To make a headband using this method, you’ll need to cut 2 lengths of elastic, about 4 inches long for children and 5-6 inches long for adults. Sew one length to each short end of the fabric (on the right side), stretching slightly as you go.
Then, fold the fabric in half so that the wrong sides are together and sew along the long edge leaving a ½ inch seam allowance. Turn the right side out and insert one end of each elastic into the folded end of the headband and top stitch around all edges to secure.
Method 3: Ribbon Wrap
Add a touch of elegance to your headband by incorporating ribbons. We’ll demonstrate how to wrap the headband with fabric and embellish it with decorative ribbons for a sophisticated look. First, cut a length of fabric to fit around the headband. We recommend using colorful and fun patterns for this look! The length should be long enough to wrap around the headband twice. Secure it in place with hot glue or double sided tape.
Next, take two ribbons in coordinating colors and begin wrapping them around the headband. Start by running one ribbon along the length of the fabric covered headband and securing it with hot glue or double sided tape as you go. Then, wrap the second ribbon around the first in a criss-cross pattern until you reach the end of your headband.
Method 4: Knotted Fabric Technique
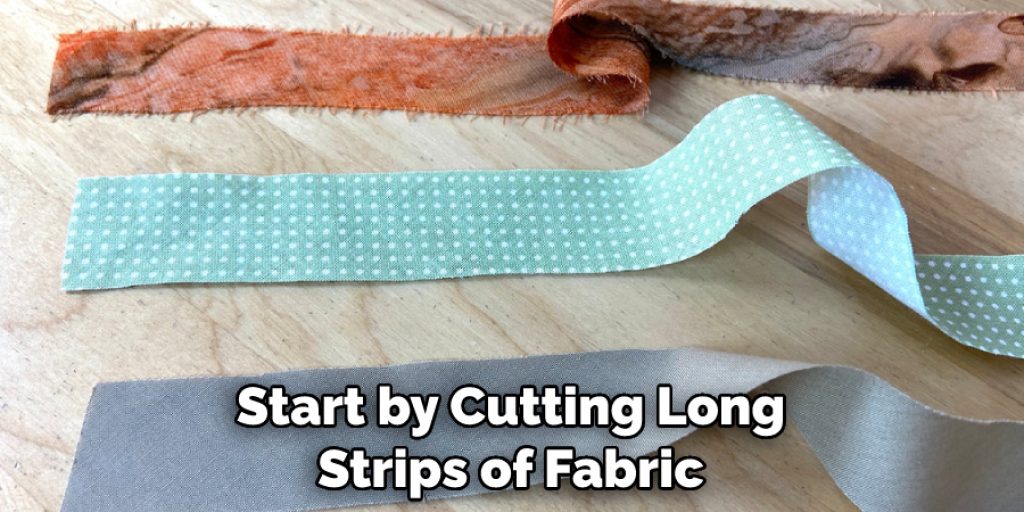
Create a trendy and bohemian-inspired headband by using knotted fabric strips. We’ll teach you how to tie fabric knots around the headband, resulting in a unique and textured design.
Start by cutting long strips of fabric in an assortment of colors and patterns. You can use different colors for each knot, or keep it monochrome. Tie the end pieces of your knotted fabric strips around the headband with a tight double-knot. Begin tying small knots along the length of the headband, one after another. Make sure to vary the size of the knots so that your headband has an interesting texture.
Method 5: Braided Fabric Headband
For a stylish and intricate look, try the braided fabric method. We’ll walk you through the process of cutting fabric strips, braiding them, and attaching them to the headband for a chic and braided effect.
First, cut strips of fabric in the width you’d like. To make a thicker braid, use more pieces. For a thinner braid, use fewer pieces. Then take 3 of the strips and begin braiding them together. Once you have reached the end tie off the ends by knotting them together. Now it’s time to attach the braid to the headband.
To do this, fold one end of the braid in half and use a needle and thread to sew it around the edge of the band. If you’d like, you can also add beads or other embellishments for a unique effect.
Method 6: Bow Accent
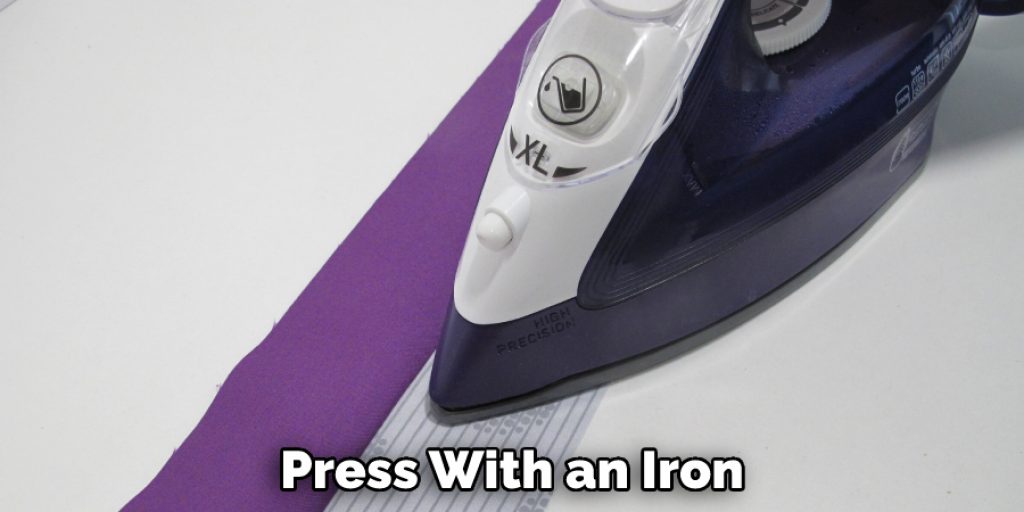
If you love feminine and playful accessories, the bow accent method is for you. We’ll show you how to create a fabric bow and attach it to the headband, adding a charming and eye-catching detail. Start by cutting two identical strips of fabric, about 2 inches wide and 18 inches long. Fold each strip lengthwise and stitch along the edges.
Turn them inside out so that the seam is hidden, and press with an iron. Wrap one strip around itself to form a loop, and secure it in place with a few stitches. Gather the second strip into a small loop and stitch it to the center of the first loop. To attach the bow to your headband, fold back both loops at the top and stitch them securely in place. Now you have a beautiful bow accent that will add a special touch to your look!
Method 7: Ruched Fabric Technique
Add dimension and texture to your headband with the ruched fabric method. We’ll demonstrate how to gather and sew fabric along the headband, creating a visually interesting ruched effect.
Start by cutting a strip of fabric that’s slightly longer than your headband width. Then, fold the fabric in half lengthwise and iron it down to create a crease for easier folding. Fold each side of the fabric inward to meet the centerline you created when ironing. Pin the folded edges together and sew them using.
Method 8: Beaded Embellishment
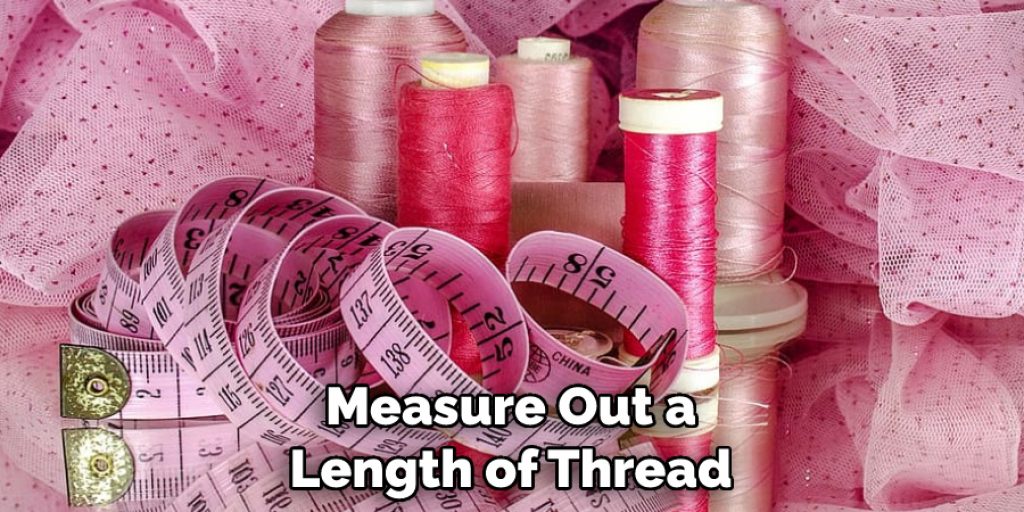
Incorporate beads into your fabric-covered headbands for a touch of sparkle and glamour. We’ll provide step-by-step instructions on how to attach beads to the fabric, allowing you to customize your headbands with dazzling accents. First, you’ll need to choose the type of beads that you’d like to use.
Popular options include glass or plastic beads in various colors and sizes. Once you’ve gathered your supplies, measure out a length of thread that is long enough for the beading project. Then, add a needle to one end of the thread and attach it securely to the fabric-covered headband. Finally, string the desired number of beads onto the thread and stitch them into place along the edge of the headband.
Conclusion
Learning how to cover headbands with fabric is a great way to customize your look and create a unique accessory that is all your own. With the easy steps outlined here, you can get started on creating custom headbands right away.
Whether it’s a gift for someone special or an addition to your own wardrobe, it’s an easy project that helps you bring out your creative spark. For those who prefer store-bought headbands, remember to also make sure to look for sustainable materials if you can.
By being mindful of what kinds of production processes went into making these fashionable and functional accessories, we can all help create better fashion choices in the future! Thanks for reading, and we hope this has given you some inspiration on how to cover headband with fabric!
Nancy Behan
Nancy is an embroidery artist, fashion blogger and a full time editor at DIY quickly. Nancy edits the fashion section on DIY quickly, focusing on the embroidery and cross stitch articles, alongside with fabric and other costume design elements. She graduated from the University of Michigan with a Bachelor of Arts in Art History. She loves to work on her own projects, read books and watch romantic movies in her spare time.