
How to Cover Paneling With Drywall Mud
The process used by drywall finishers is named skim coated to paint an irregular wall and an unnecessary surface, and it may be used to protect aged wooden floors. All-purpose joints paste, or mud, is a good substance, but before adding it, it is necessary to degloss the paneling, or it won’t hold. The wall must be smooth, or the paint won’t look good. The mud should be a bit moist and have no lumps to make it easier to apply. It will still be quite stiff, but when you try to apply it, it should slide off the spatula rather than fall off.
Besides, all-purpose material will break if you use it to cover fractures greater than around 1/4 inch. For this purpose, it is best to use the way to a set-type joint solution, or hot mud, as a covering with huge gaps on older paneling.
Instructions
Take the Trim off
Wood paneling is bolted to the drywall screws first and then polished with a simple mold. Choose a tiny pry bar, then start to strip the trim. You are using the pry-bar edge of a hammer, whether the trim is minimal. When you intend to use the trim again on the next job, quickly remove it.
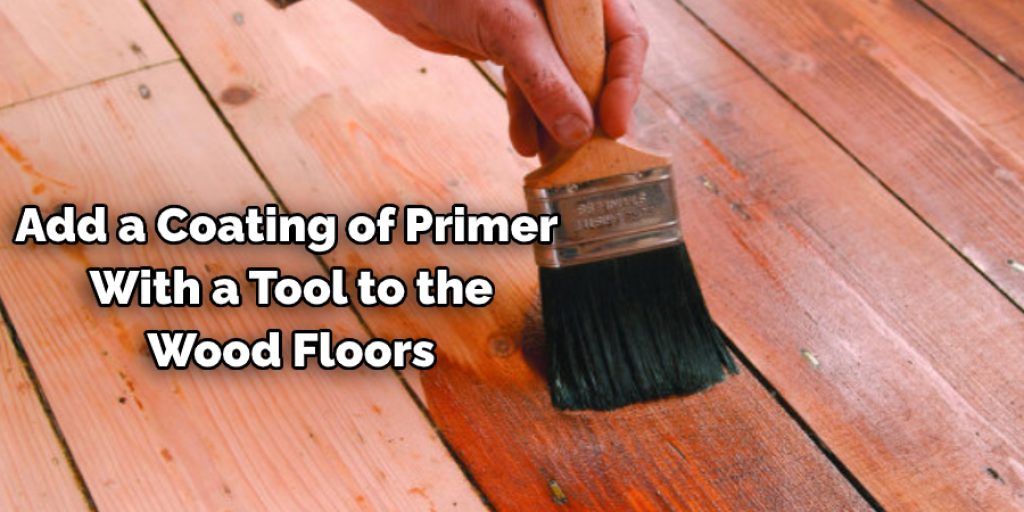
Prime
Drywall mud sticks quickly to the wood frame, but muddy helps the grain to come through. This makes it necessary to provide priming. The primer you can use must be designed with wood floors in view. Add a coating of primer with a tool to the wood floors. If the coat is dried, a second coat can be added. TIP! Use drywall mud to add texture. Adding texture is simple. You may need to rip out your old baseboards. The older a baseboard is, the more likely it will be damaged or dinged up over time.
Using Drywall Mesh Film
The wood surface can be protected, but one feature you can find is pointing out — the grooves. There have been grooves around each board to have the wood paneling look. Such tracks can render the wooden floors look as if this were separate planks. Efforts to patch such gouges with clay, resin spackling, and other related materials are not significant. You can start the process by removing any form of grime, dirt, and debris. Most are expected to be found at the grooves. A damp rag soaked in soap and water is enough for this step.
You can use a mesh-drywall film to protect the grooves in the flooring. Begin at the top of the board and move down the film before you hit the floor. Slip your hand across the edge to add it. Remove the tape and follow until all grooves are sealed.
Add Drywall material
Blend the drywall material as per the instructions in a tub, then dump it into the mud tub. Scrape several of the muddy spreader’s drywall solution and rub it onto the wall. Force the drywall solvent all around the paneling utilizing the spreader. Allow to add and extend the drywall product until thoroughly coated with the paneling. Look over this again, before also the mixture. When the mud isn’t being used, use a brush to add plaster of paris. Take some water and also one cup of plaster of paris into the tub. Thoroughly stir until they are combined. You need to continue stirring until the mixture is smooth.


