How to Crochet Cluster Stitch
The cluster stitch is a versatile and textured crochet stitch that adds depth and visual interest to your projects. It is created by working multiple stitches into the same stitch or space, resulting in a cluster of stitches grouped together.
The cluster stitch can be used to create various patterns, from intricate blankets and cozy scarves to intricate motifs and decorative embellishments. Whether you’re a beginner or an experienced crocheter, learning how to crochet the cluster stitch opens up a world of creative possibilities.
In this article, we will guide you through the process of how to crochet cluster stitch, providing step-by-step instructions and helpful tips to help you master this technique. Get ready to add beautiful texture and dimension to your crochet projects with the captivating cluster stitch.
Introduction to the Cluster Stitch in Crochet
The cluster stitch is a type of crochet stitch that produces a textured pattern. It involves making several stitches in the same loop or space, and then joining them together to form the cluster. The result is an intricate design with multiple layers that can be used to create different looks. This type of stitch is often used in garments such as shawls and sweaters, as well as blankets and afghans. To learn how to crochet the cluster stitch, follow these steps.
First, you’ll need to begin by creating a foundation chain of single crochets (or however many stitches you wish). Then, make three double crochets into the first loop or space of the foundation chain. This will form your first cluster. To complete the stitch, yarn over and pull through all five loops on your hook at once. This will join the three double crochets together and create a solid base for your design.
Continue working in this pattern along your entire row or round, making three double crochets into each stitch or space until you reach the end. When you have completed your row, join the last two loops with a slip stitch. This will help keep the edges of your project nice and even.
The cluster stitch is a great way to add texture and dimension to any crochet project. With a little practice, you’ll be able to create gorgeous garments or home decor items in no time! Give it a try today and see the amazing results for yourself.
Explaining the Cluster Stitch and Its Construction
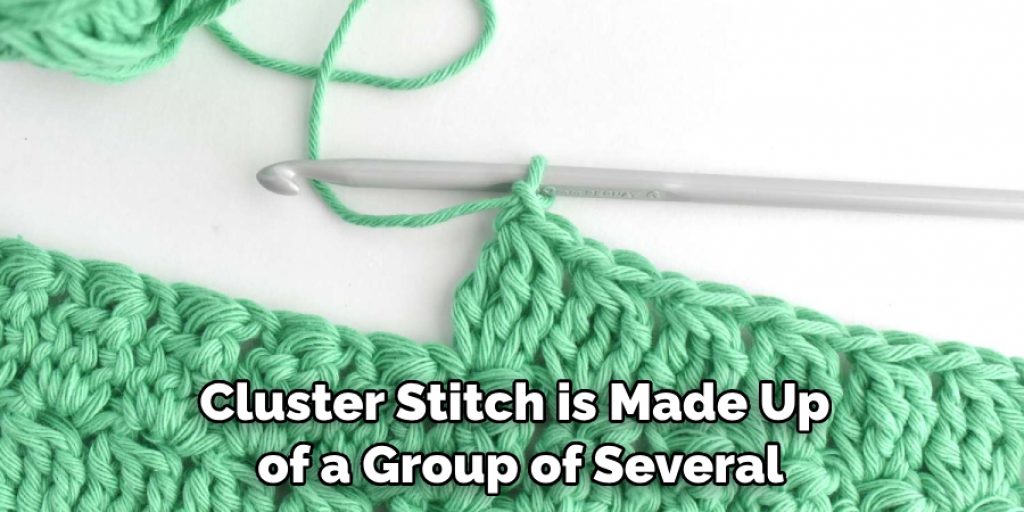
The cluster stitch is made up of a group of several crochet stitches that are all worked together in the same space. This makes it look like one larger stitch, even though it is composed of multiple stitches. To make this stitch, you will alternate between a single crochet and a double crochet. You will start with a chain that is an even number to begin crocheting the cluster stich.
To construct the cluster stitch, start by making a single crochet into the second chain from your hook. Then, make another single crochet into each of the following chains until you reach the end. Afterward, you will need to turn your work around and begin making double crochets into each chain until you get back to where you started. When you reach the end of your row, make a slip stitch to join the end of the row back to the beginning.
Once you have finished crocheting the cluster stitch, you will need to chain 1 in order to move onto the next row. This is because when you turn your work around at the end of each round, this counts as one single crochet that needs to be accounted for when continuing on with your project. After chaining 1, repeat all steps from before until desired length is achieved and fasten off stitch.
Different Variations of Cluster Stitches
Once you’ve mastered the basics of the cluster stitch, it’s time to explore different variations of this technique. Adding different combinations of yarns and stitches can create a wide variety of textures. Here are some ideas for adding your own unique twist to the cluster stitch:
1. Create an interesting texture by working the cluster stitch with two strands held together. This will make your clusters appear bigger and puffier than usual!
2. Try using different types of yarn or thread for added visual interest. This could be solid colors or a combination of variegated and solid threads for more complexity in your design.
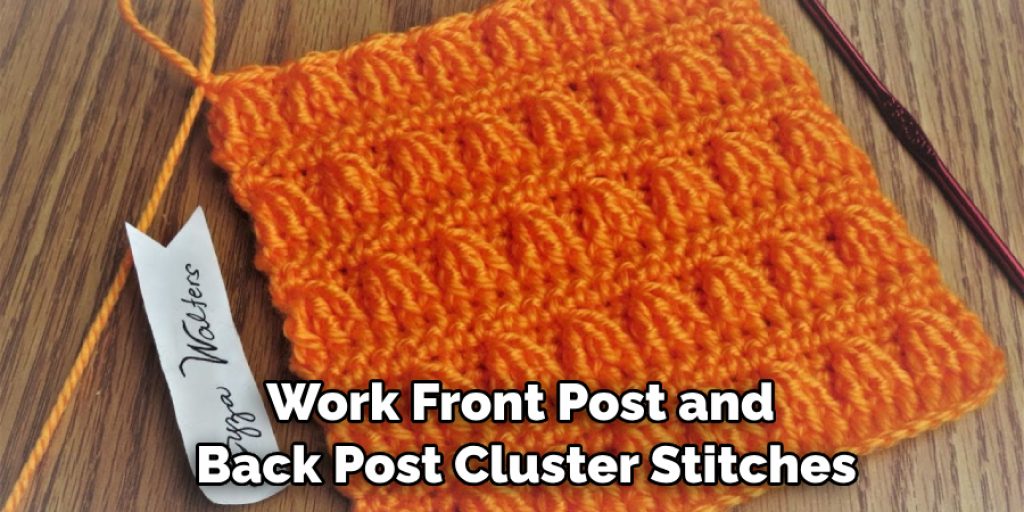
3. Work front post and back post cluster stitches into your pattern for a ribbed texture with more dimension.
4. Experiment with different styles of hooks to get a range of sizes and shapes for your clusters. This is especially useful if you want to create larger or smaller cluster stitches than the standard size.
These are just some of the many options available when it comes to creating unique cluster stitches! Add your own personal touch and have fun exploring all the possibilities this technique has to offer. With practice, you’ll be able to create beautiful pieces that showcase your individual style and creativity.
10 Steps How to Crochet Cluster Stitch
Step 1: Choose Your Yarn and Hook
Select a yarn and crochet hook that are suitable for your project. The recommended yarn weight and hook size should be specified in your pattern or project instructions.
Step 2: Create a Foundation Chain
Start by creating a foundation chain of the desired length. This chain will serve as the base for your cluster stitch pattern. To do this, make a slip knot on your crochet hook and chain the desired number of stitches. Generally speaking, there should be an odd number of stitches. When you are finished, turn your work so that the wrong side is facing up.
Step 3: Identify the Stitch for the Cluster
Review your pattern to determine which stitch or space you need to work the cluster stitch into. It could be a single crochet (sc), double crochet (dc), or any other stitch specified in your pattern. However, you’ll need to know what the stitch is in order to proceed. Once you know which stitch it is, mark that spot with a stitch marker or piece of contrasting yarn to make sure you don’t miss it.
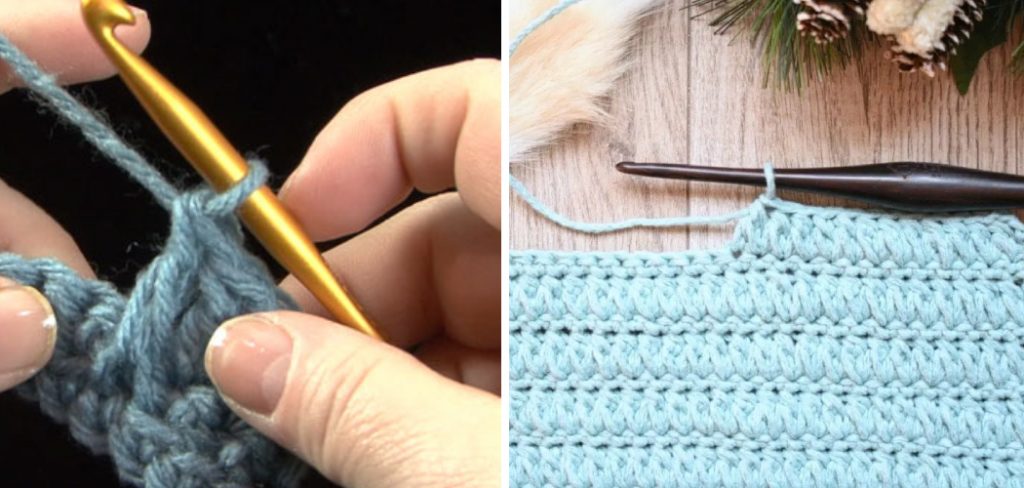
Step 4: Yarn Over and Insert Hook
Yarn over your hook, then insert the hook into the designated stitch or space. Make sure to insert the hook from front to back. To ensure the correct stitch is being used, make sure to insert the hook under both loops of the designated stitch or space. However, if the pattern specifies a certain loop to use, then make sure to follow those instructions.
Step 5: Yarn Over and Draw Through
Yarn over the hook again, then draw the yarn through the stitch or space. You should now have three loops on your hook. When working in a row of clusters, the last yarn over and draw through will be done in the next stitch.
Although clusters may look like they are in the same stitch, each stitch will have its own crochet cluster. To keep the correct stitch count, be sure to yarn over and draw through in each stitch.
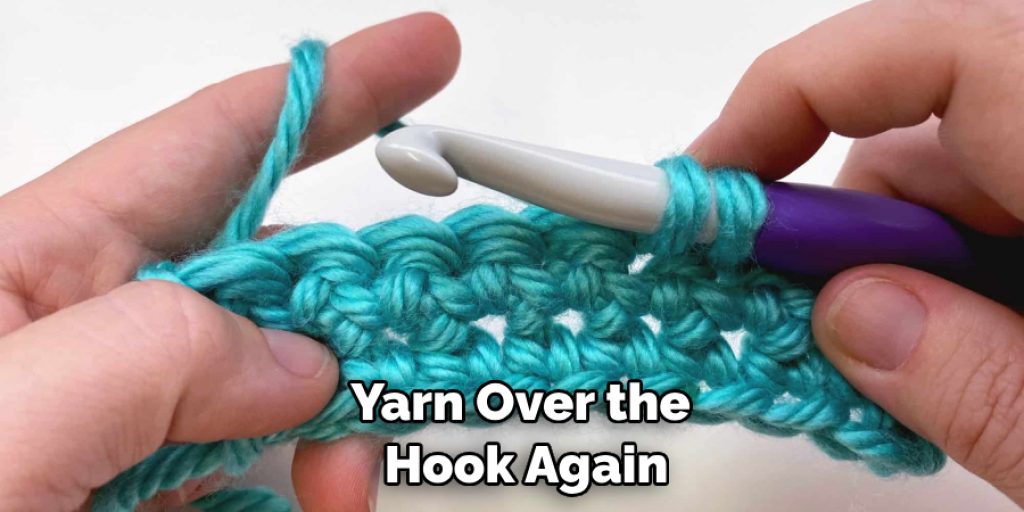
Step 6: Yarn Over and Pull Through Two Loops
Yarn over the hook once more, then pull the yarn through the first two loops on your hook. You should have two loops remaining on your hook.
Step 7: Repeat Steps 4 to 6
Repeat steps 4 to 6 the number of times specified in your pattern for creating the cluster. This could be two, three, or more repetitions, depending on the desired effect. When you finish, your work should look like a series of V-shapes. Now that you know how to crochet the cluster stitch, you can use it to make gorgeous crocheted items like afghans and shawls.
Step 8: Yarn Over and Pull Through all Loops
Yarn over the hook once again, then pull the yarn through all the loops on your hook. This completes the cluster stitch. You can now chain 1 or start the next crochet stitch in your pattern.
Repeat these steps to work additional cluster stitches across your row/round. The number of cluster stitches in a row/round will depend on your pattern.
Step 9: Continue the Pattern
Continue working the cluster stitch as instructed in your pattern. You may need to work additional stitches or chains before beginning the next cluster, depending on the specific design.
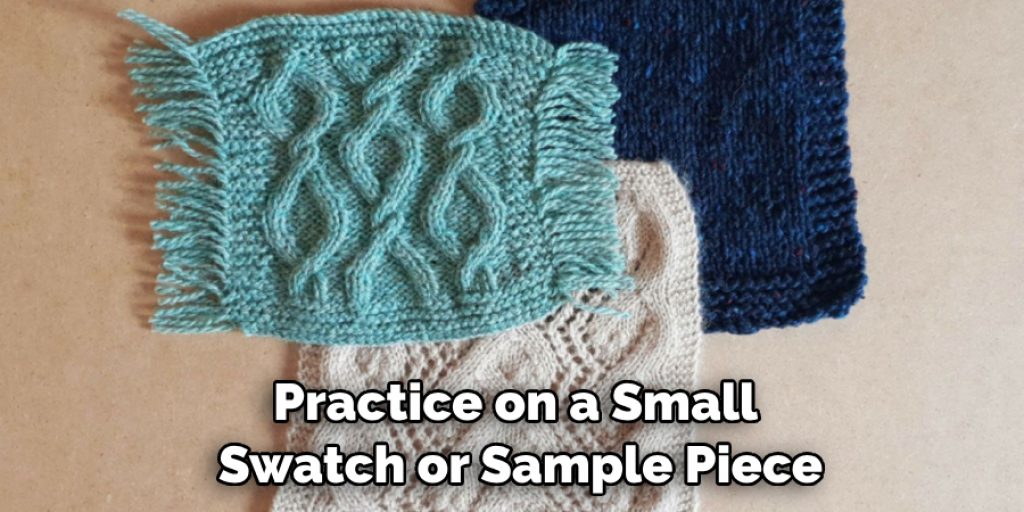
Step 10: Practice and Experiment
To become comfortable with the cluster stitch, practice on a small swatch or sample piece. Experiment with different yarns, hook sizes, and cluster configurations to achieve different textures and effects. With practice, you’ll gain confidence and be able to incorporate clusters creatively into your own crochet projects.
Conclusion
To conclude, learning how to crochet the cluster stitch is a great way to create fantastic-looking pillows and blankets! It’s almost magical how texture and design can be created with just a few basic stitches. Plus, the joy of handcrafting something as beautiful as this piece of art is one that all crocheters should experience.
Now you know how to crochet cluster stitch, so get your yarn and hook ready – it’s time to make something unique and special. With a little bit of practice even beginners can making amazing projects! Make sure to keep looping the yarn after pulling it through each stitch, this will ensure beautiful finished pieces in no time. Happy Crocheting!
Nancy Behan
Nancy is an embroidery artist, fashion blogger and a full time editor at DIY quickly. Nancy edits the fashion section on DIY quickly, focusing on the embroidery and cross stitch articles, alongside with fabric and other costume design elements. She graduated from the University of Michigan with a Bachelor of Arts in Art History. She loves to work on her own projects, read books and watch romantic movies in her spare time.