
How to Crochet Crab Stitch
The crab stitch, also known as reverse single crochet, is a decorative stitch that adds a beautiful finishing touch to crocheted projects. While it may seem intimidating at first, mastering the crab stitch can open up a world of creative possibilities in your crochet repertoire. This unique stitch creates a distinctive braided or rope-like edging that is perfect for adding borders to blankets, scarves, hats, and more.
Unlike traditional crochet stitches, the crab stitch is worked in the opposite direction, giving your projects a neat and polished look. In this article, we will delve into the world of the crab stitch, providing step-by-step instructions and helpful tips on how to crochet crab stitch. Whether you’re a beginner or an experienced crocheter, learning how to crochet the crab stitch will enhance your crochet skills and enable you to add an elegant and professional touch to your handmade creations.
The Unique and Decorative Crab Stitch in Crochet
When it comes to crocheting, the crab stitch is one of the most unique and decorative stitches available. Unlike other crochet stitches such as single crochet or half double crochet, the crab stitch does not require any increase or decrease in order to create the desired look. Instead, it creates an interesting wavy pattern that gives projects a unique texture.
To create this stitch, you will need to know how to chain and make single crochets. The basic steps involve starting with a foundation chain and then making single crochets into each loop from right to left instead of left to right like normal stitching patterns. Then on the next row, you will reverse your work by going back across in the opposite direction from left to right. This creates a wavy pattern that will look like the shell of a crab on the finished product.
The crab stitch can be used to add interest to any crochet project. It can be used as an edging for blankets, scarves, and other garments or added directly into a pattern for more texture and interest. You can also use it to make decorative items such as coasters or place mats. With its unique look, this stitch is sure to bring your projects to life!
So don’t be afraid to give it a try – you just might find that the crab stitch is one of your favorites! With some patience and practice, you’ll soon have beautiful creations with this special crochet stitch. So get creative and start stitching! You’ll be glad you did.
Its Alternative Name, Reverse Single Crochet
The crochet crab stitch is also known as the reverse single crochet. It is worked in the opposite direction of typical crochet stitches, which gives it a unique appearance. It is often used to edge projects and create decorative borders, but it can also be used as an all-over stitch pattern in many designs.
The crab stitch creates a raised texture when worked on both sides of the project, making it great for items like afghans or blankets that require some extra warmth and coziness. Its appearance is similar to the look of a row of reverse shells, hence its other name – the reverse single crochet. When worked properly, this stitch has a beautiful lacy effect with alternating v-shaped stitches when seen from afar.
This can be further emphasized by using different colors within each row or repeating rows over and over again to create an intricate design. With practice and patience, anyone can learn how to crochet the crab stitch and incorporate it into their projects.
10 Steps How to Crochet Crab Stitch
Step 1: Understand the Basic Concept
Before diving into crocheting the crab stitch, it’s essential to understand its fundamental concept. Unlike traditional crochet stitches that are worked from right to left (or left to right for left-handed crocheters), the crab stitch is worked in the opposite direction, from left to right (or right to left for left-handed crocheters). This reverse motion creates a distinctive look and texture.
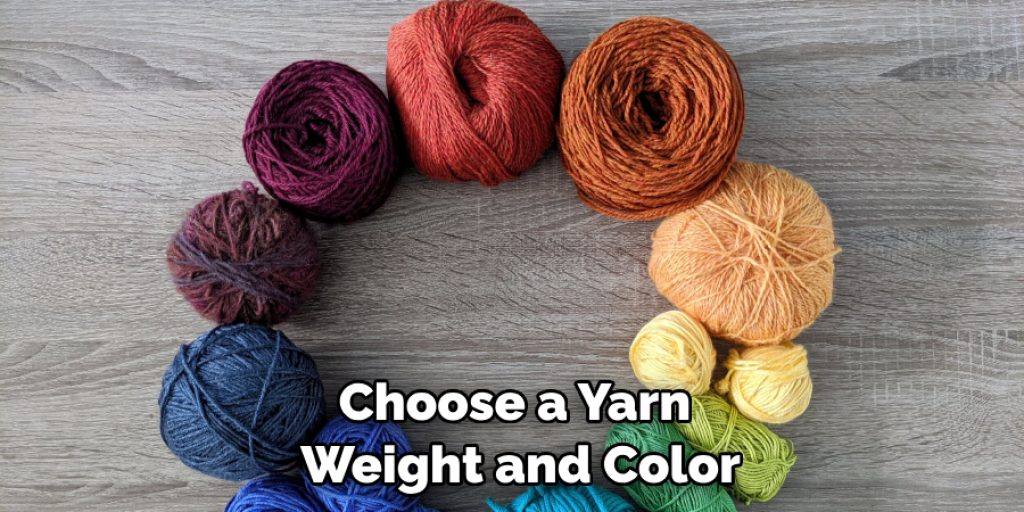
Step 2: Choose Your Project and Yarn
Select a crochet project where you want to incorporate the crab stitch. It works well as an edging or border for blankets, scarves, hats, or even potholders. Choose a yarn weight and color that complements your project and a crochet hook that is appropriate for your yarn. If your pattern doesn’t specify a crochet hook size, look at the yarn label for suggested hook sizes.
Step 3: Start with a Foundation Row
Begin by crocheting a foundation row according to the pattern or project you’re working on. This row will serve as the base for the crab stitch edging. If you are unsure of how to crochet a foundation row, there are many tutorials and instructions online that can help!
However, the basic idea is that you will need to chain a certain number of stitches and then crochet in them according to the pattern or instructions. Try to keep your tension even as you crochet.
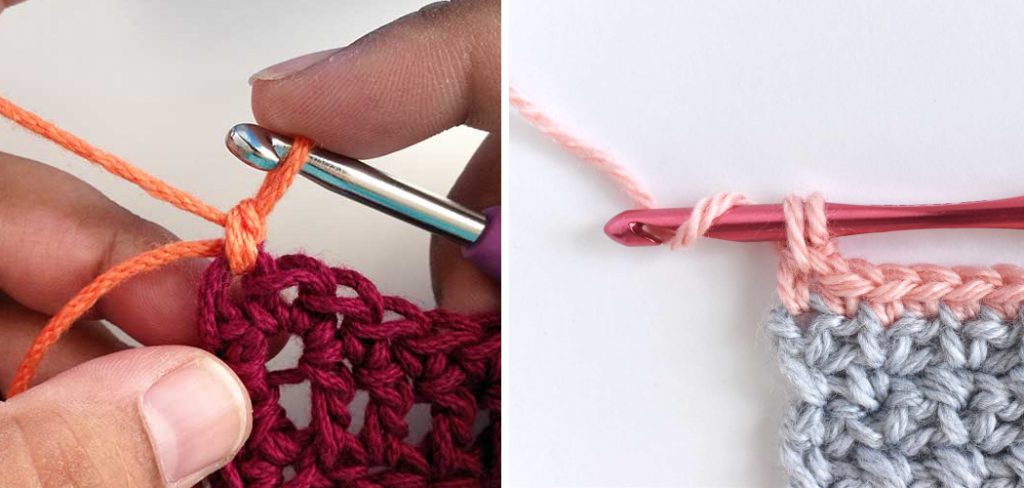
Step 4: Insert Hook into the First Stitch
Identify the first stitch on the edge of your project where you want to start the crab stitch. Insert your crochet hook from the front to the back of the stitch, ensuring that you’re working from the wrong side of the project. Grab the yarn with your hook and pull it through in order to create a loop. Continue this process until all of your stitches are complete.
Step 5: Yarn Over and Pull Through
Yarn over your hook, just like you would for a regular single crochet stitch. Then, pull the yarn through the stitch, creating a loop on your hook. You should have two loops on your hook after this step. Pull the yarn over and through the two loops to complete one crab stitch. Although it may look different than a regular single crochet stitch, the motion is still the same. Once you get the hang of it, you’ll be able to crochet crab stitch quickly and easily.
Step 6: Create the Crab Stitch
Now, here’s where the magic happens. Instead of pulling the loop through the stitch on your hook, pull the loop directly through the stitch you inserted your hook into. Essentially, you’re working in reverse, moving from left to right (or right to left for left-handed crocheters).
To create a single crab stitch, pull your loop through the stitch and chain one. This completes the first crab stitch. To create more stitches, simply insert your hook into the stitch or space you want and pull the loop through. Chain one after each stitch to secure it in place.
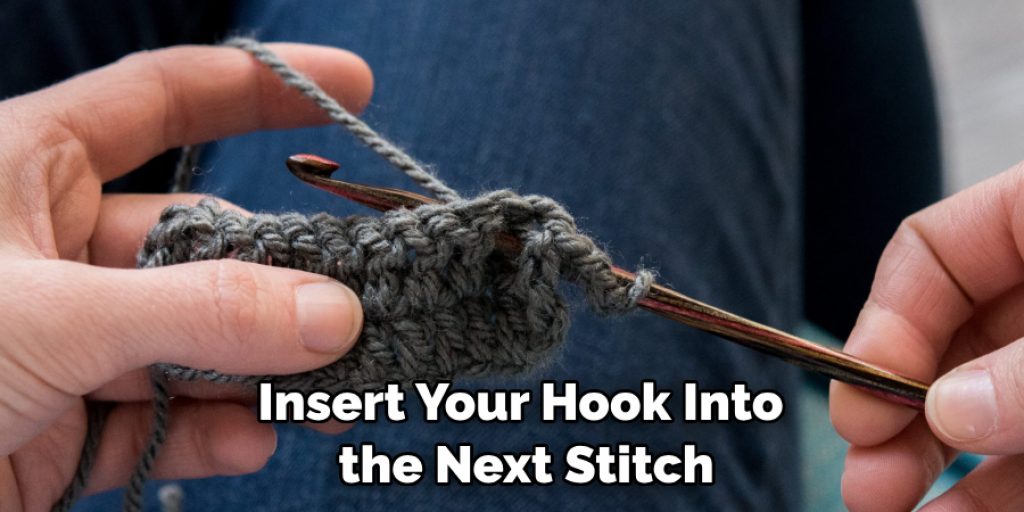
Step 7: Continue Working Across the Row
Repeat steps 4 to 6 for each stitch along the edge of your project. Insert your hook into the next stitch, yarn over, pull through the stitch, and then pull the loop directly through the stitch, working in the opposite direction. Repeat this process in each loop across the row. When you have worked your way to the last stitch, finish off your project with a slip stitch, pulling the yarn through both loops on your hook.
Step 8: Maintain Tension and Consistency
As you crochet the crab stitch, it’s crucial to maintain an even tension and consistent stitch size. This will ensure a uniform and neat appearance throughout the project. To maintain even tension, make sure the loops of each stitch are the same size.
If they get too tight, it can cause gaps between stitches and the project will look uneven. If the loops are too loose, it can also lead to gaps and give an unfinished appearance. Make sure to check your work as you go to make sure it’s even and consistent.
Step 9: Practice and Experiment
Like any new stitch or technique, practicing is key to mastering the crab stitch. Start with a small swatch or practice piece before applying it to your main project. Experiment with different yarn weights and hook sizes to achieve the desired look and texture. You can also use the crab stitch to create interesting details in your work, such as edging, textures and patterns. With patience and practice, you will be able to create beautiful and unique pieces with the crab stitch.
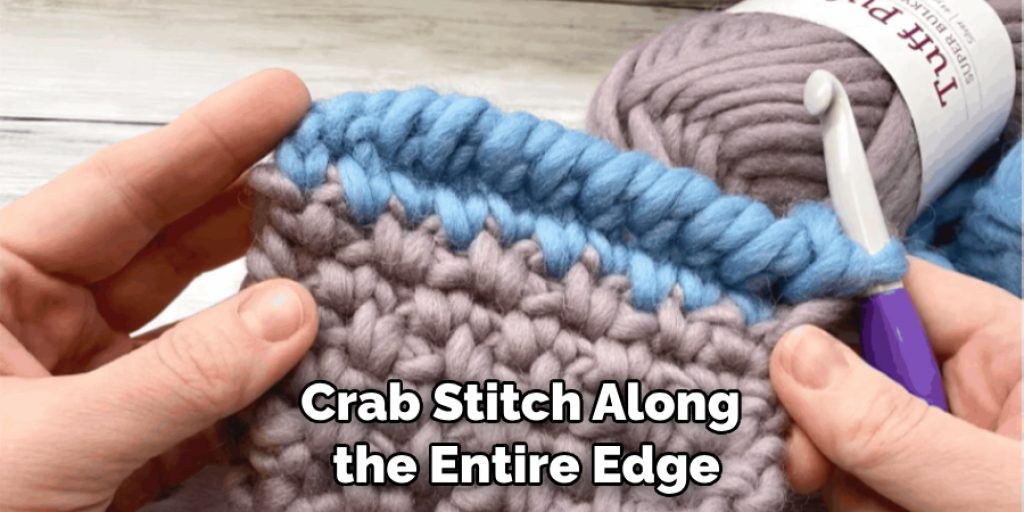
Step 10: Finish the Edging
Continue crocheting the crab stitch along the entire edge of your project until you reach the desired length or complete the designated number of stitches. Fasten off the yarn, weave in any loose ends, and admire your beautifully finished crab stitch edging. Congratulations, you did it!
Conclusion
The creative possibilities to make using the crab stitch are virtually endless! Whether you’re crocheting an infinity scarf, a cowl, or any other project, learning the techniques of crab stitch provide a nice dimension of texture and visual appeal. To perfect your ability in mastering this fun and unique stitch, continue to practice and learn from experienced crochet enthusiasts who can share their wisdom with you!
We hope that this guide has been helpful in showcasing how to crochet crab stitch and that we’ve inspired you to go ahead and give it a try. With consistency comes confidence so keep going until the pattern is part of your crochet repertoire – You never know what wonderful projects you might come up with!
Nancy Behan
Nancy is an embroidery artist, fashion blogger and a full time editor at DIY quickly. Nancy edits the fashion section on DIY quickly, focusing on the embroidery and cross stitch articles, alongside with fabric and other costume design elements. She graduated from the University of Michigan with a Bachelor of Arts in Art History. She loves to work on her own projects, read books and watch romantic movies in her spare time.


