How to Cross Stitch on Linen
Cross Stitch can be a wonderful and fun way to create beautiful pieces, and the great thing is that you don’t have to limit yourself to just stitching on cloth. Nowadays there are plenty of materials out there such as linen that offers unique textures and looks you won’t get when cross stitching on fabric.
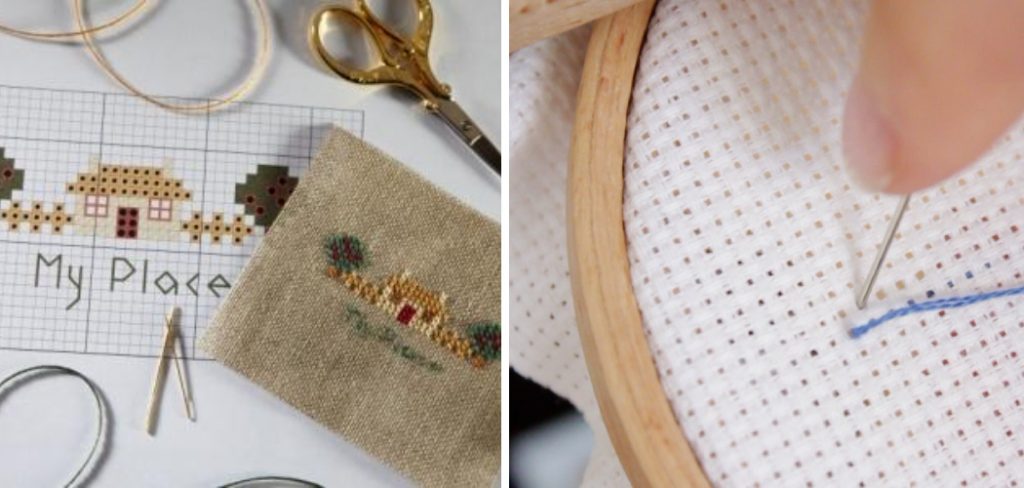
From adding dimension and detail to your handcrafted creations, learning how to Cross Stitch on Linen will make your works of art stand out from the rest. By following some simple instructions in this blog post, anybody can learn this exciting craft. So let’s dive deeper into the fibre arts world together – take out those scissors, needles, supplies & get ready for some fabulous new stitching!
The Beauty and Charm of Cross Stitching on Linen Fabric
Cross stitching on linen fabric offers a unique and beautiful way to create intricate works of art. With its natural texture, strong weave, and luxurious look, linen is the perfect backdrop for cross-stitch designs. The resulting artwork is both elegant and timeless.
Cross stitching on linen is a great way to add a classic touch to any craft project. It’s an age-old tradition that you can use to create beautiful pieces of art. Whether you’re creating a wall hanging, a framed work of art, or embellishing clothing, cross stitching on linen will give your project the extra special touch it needs.
When using linen fabric for cross stitch projects, it is important to choose the right thread as well. Depending on the thickness of your fabric, you may need to use thicker or thinner floss. For best results, it’s important to choose a thread that is strong and durable enough to hold up the stitches.
When stitching on linen fabric, extra care must be taken when pushing the needle through. Linen can be more delicate than other fabrics so it’s important to take extra care when sewing. It’s also important to maintain an even tension while stitching so the fabric won’t be damaged by pulling too tight or loose.
Benefits and Considerations when Working with Linen for Cross Stitch Projects
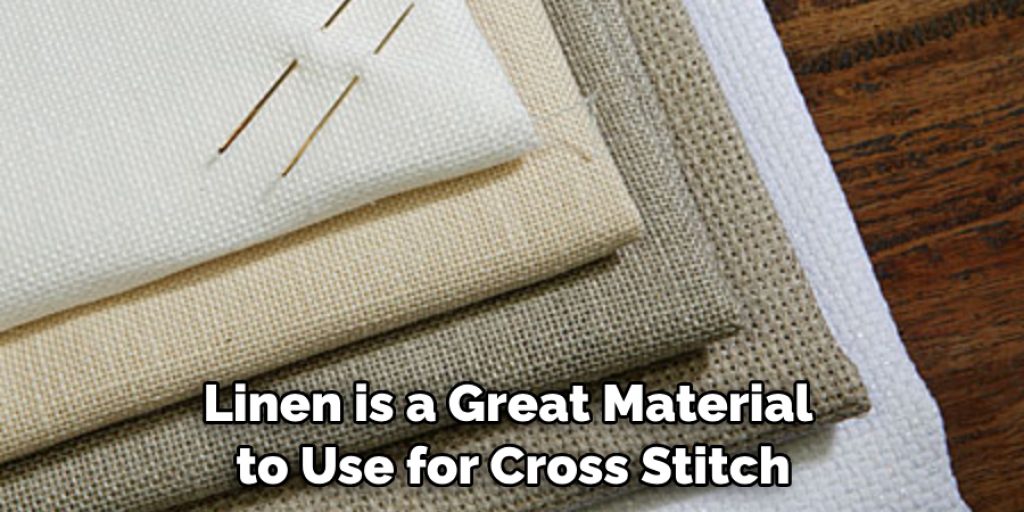
Linen is a great material to use for cross stitch projects because of its strength and texture. This fabric also provides wonderful visual effects when stitched with different colors or materials, making it perfect for both decorative pieces and heirloom items.
However, there are some things to consider before embarking on a cross stitch project using linen. Firstly, linen is much stiffer than other fabrics such as cotton or Aida cloth, so stitching can be more difficult as the fabric does not allow the needle to slide through quite as easily.
Secondly, linen has very little ‘give’, which means that any mistakes can be difficult to undo or fix without damaging the surrounding stitches. It’s therefore important to double-check each stitch before moving onto the next.
On the other hand, linen is highly durable and can be washed and ironed without significant damage to the stitches. This means that cross stitch projects on this fabric will last for years with proper care. Additionally, because of its strength, large projects can easily be completed on linen if there are enough supplies available. These include larger needles, a frame that fits the project size, and plenty of thread or yarn for each color used in the design.
In conclusion, linen is an ideal material to use for cross stitching due to its aesthetic beauty and durability. However, it does require more practice than softer fabrics such as cotton or Aida cloth before beginning any kind of project – particularly those involving intricate patterns and designs. With proper preparation, cross stitching on linen can be a rewarding experience that results in beautiful pieces to enjoy for many years to come.
Selecting the Appropriate Linen Fabric for Cross Stitching
When selecting linen fabric for cross stitching, there are several important factors to consider. The weight and thickness of the fabric should match the size of the stitches you’re creating. A fine linen fabric is suitable for small and delicate cross stitch projects, while a more robust fabric can support larger and heavier stitching.
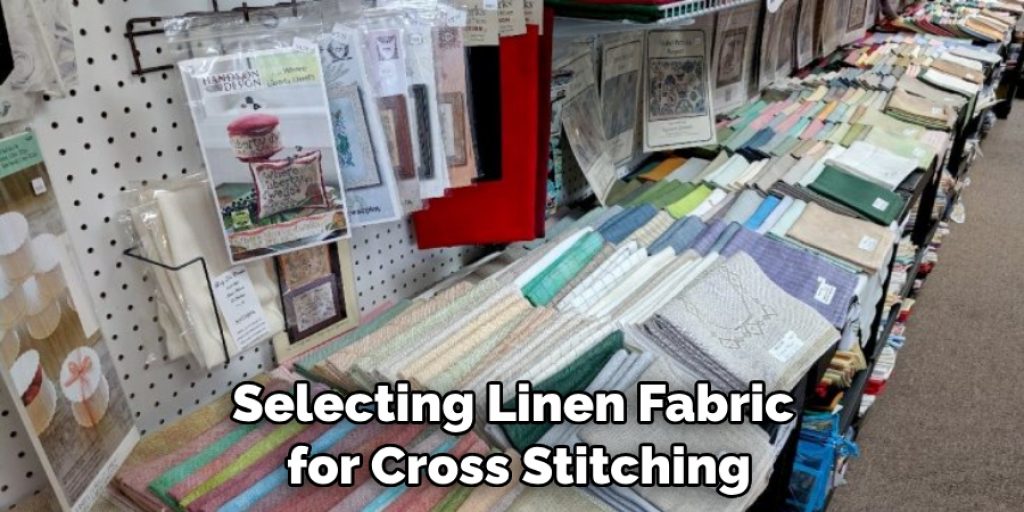
Additionally, thread count is important; higher thread counts will create a smoother surface for stitching on, and lower thread counts may make it difficult to create even stitches. Finally, choose a color of linen that complements the colors of your pattern; off-white or beige are popular choices because they allow the colors in the pattern to really stand out. With these tips in mind, you’ll be sure to find the perfect linen fabric for your next cross stitch project!
Once you’ve chosen the right linen fabric for your project, washing it before use is highly recommended. This prevents the fabric from shrinking or warping when you begin stitching. To wash your linen fabric before use, machine-wash it on a delicate cycle with cold water and mild detergent, then air dry it flat.
If desired, press it with a warm iron to remove any wrinkles. And remember — always check the manufacturer’s instructions for washing linen fabric as different fabrics may require unique care instructions!
Now that you’ve chosen an appropriate linen fabric and prepped it for use, you’re ready to start cross stitching! With the right material, you can create beautiful pieces of stitched art that will last for many years to come.
10 Methods How to Cross Stitch on Linen
Method 1: Prepare Your Materials
Before beginning your cross stitch project on linen, gather all the necessary materials. These include your chosen linen fabric, embroidery floss in your desired colors, embroidery needles, an embroidery hoop, and a pair of embroidery scissors. Ensure that the fabric and floss are compatible in terms of weight and thickness.
Method 2: Prepare the Linen Fabric
Start by washing and ironing the linen fabric to remove any creases or sizing. This step ensures that the fabric is clean and ready for stitching. If necessary, use a hoop to secure the fabric tautly, providing stability for your stitches.
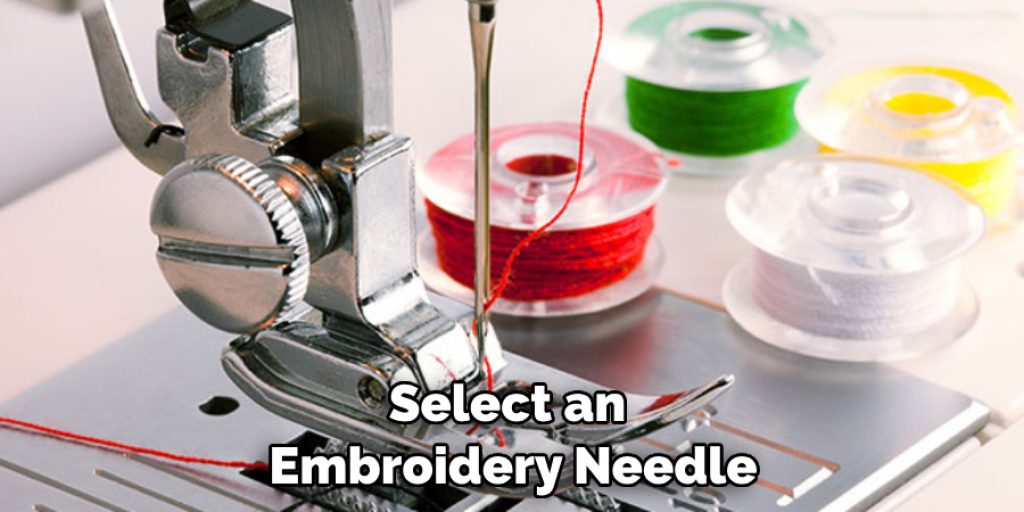
Method 3: Choose the Right Needle
Select an embroidery needle that suits the thread count and weave of your linen fabric. Opt for a sharp needle with a small eye, as this will minimize damage to the fabric and allow for easier stitching through the tight weave.
Method 4: Start with Waste Knot or Away Knot
To begin your stitching, secure the thread by either using a waste knot or an away knot. A waste knot involves making a knot at the end of the thread and stitching over it. An away knot involves making a knot away from the starting point and then securing it with a few initial stitches.
Method 5: Work from the Center Outwards
For larger designs, it is advisable to start stitching from the center of the fabric. This method ensures that your design remains centered and balanced. Find the center point of your fabric by folding it in half both horizontally and vertically and marking the intersection with a temporary fabric marker or thread.
Method 6: Use Short Stitches
When cross stitching on linen, shorter stitches are recommended to maintain the fabric’s delicate nature. Ideally, aim for stitches that are approximately 1/4 inch or smaller. Shorter stitches ensure that the fabric remains intact and reduce the visibility of the fabric’s grid.
Method 7: Be Mindful of Fabric Tension
Maintaining consistent tension while stitching on linen is crucial to achieve uniform and even stitches. Avoid pulling the thread too tightly, as it can distort the fabric and lead to uneven stitches. Experiment with tension until you find a balance that works for you.
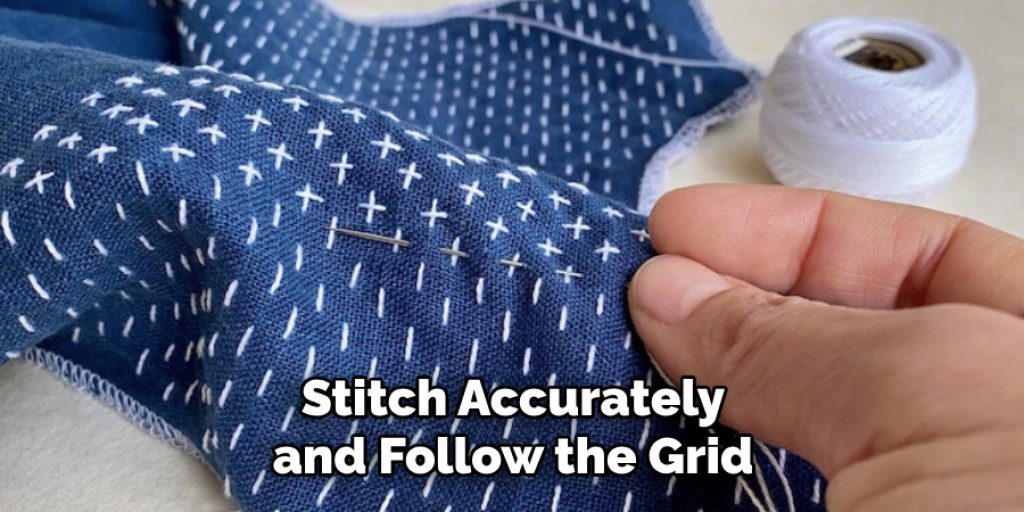
Method 8: Mind the Grid
Unlike other fabrics, linen often has a visible grid that can guide your stitches. Ensure that your stitches are aligned with the grid to maintain a neat and organized appearance. Take your time to position each stitch accurately and follow the grid lines as closely as possible.
Method 9: Handle Fractional Stitches with Care
In intricate designs, fractional stitches may be necessary to achieve detailed elements. When working on linen, handle these fractional stitches with extra care, as the tight weave can make them more challenging to execute. Use a smaller needle and work the fractional stitches with precision.
Method 10: Finishing and Washing
Once your cross-stitch project on linen is complete, it’s essential to finish and preserve your work. Remove the fabric from the hoop and gently press it with a warm iron to eliminate any creases. If needed, frame your finished piece to protect it from dust and display it proudly. If washing is required, follow the manufacturer’s instructions or hand wash delicately using mild detergent.
Conclusion
Cross-stitching on linen is a beautiful way to create stunning works of art. With the steps outlined above, you can create a wonderful piece that will be cherished for years to come. Practice makes perfect, and with time and patience, any level cross-stitcher can learn the skill. Be sure to keep a few extra pieces of linen handy while you practice, just in case you make a mistake with your stitches.
Remember – count your stitches, tighten your threads, and use a magnifying loop for precision! Take time to enjoy the process of mastering this craft. Follow these simple instructions outlined in this blog post about how to cross stitch on linen, and you’ll be able to get the job done with ease.
Nancy Behan
Nancy is an embroidery artist, fashion blogger and a full time editor at DIY quickly. Nancy edits the fashion section on DIY quickly, focusing on the embroidery and cross stitch articles, alongside with fabric and other costume design elements. She graduated from the University of Michigan with a Bachelor of Arts in Art History. She loves to work on her own projects, read books and watch romantic movies in her spare time.