
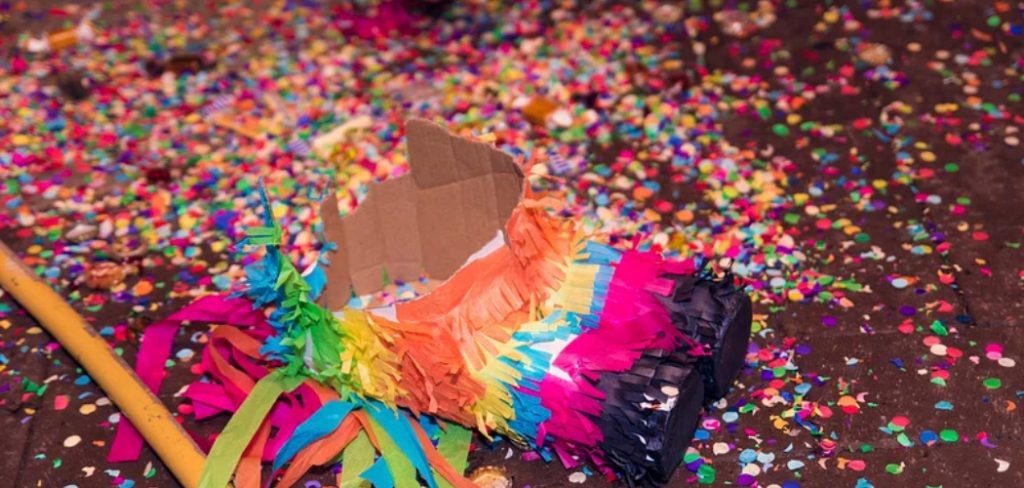
How to Decorate a Pinata With Tissue Paper
Decorating a pinata with tissue paper is a fun and easy way to add some extra flair to your next party or celebration. Whether it’s for a birthday, graduation, or Cinco de Mayo fiesta, a pinata covered in colorful tissue paper will be sure to stand out and make a statement. In this guide, we will go over the step-by-step process of how to decorate a pinata with tissue paper.
Materials Needed
Before we dive into the steps, here are the materials you will need for this project:
- A pinata (can be purchased or homemade)
- Tissue paper in various colors
- Scissors
- Glue (white school glue or a glue stick both work well)
- Paintbrush or sponge brush
- Optional: Additional decorations such as glitter, stickers, or ribbon
12 Steps on How to Decorate a Pinata With Tissue Paper
Step 1: Prepare the Pinata
If you are using a pre-made pinata, skip to step 2. If you are making your own pinata, start by creating a basic shape out of cardboard or paper mache and let it dry completely before moving on to the next step.
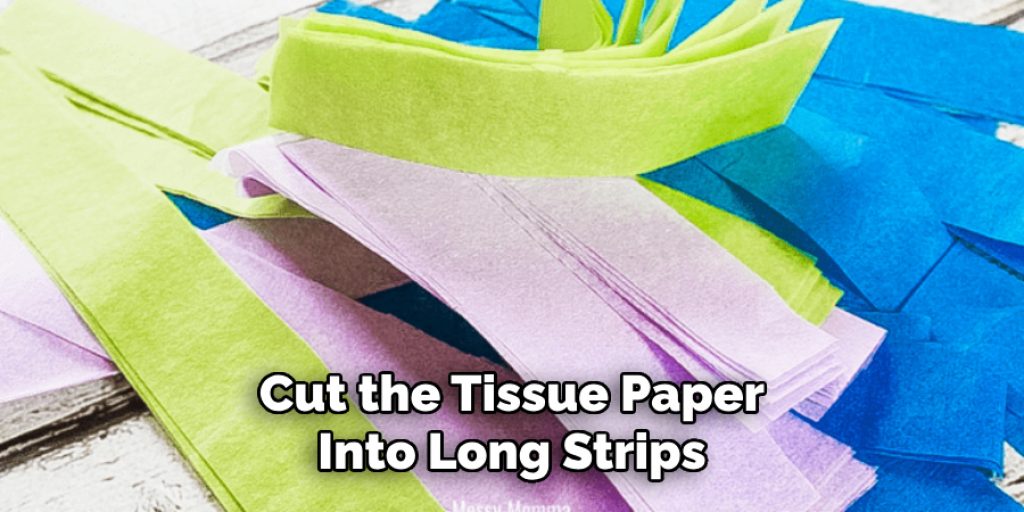
Step 2: Cut Tissue Paper into Strips
Cut the tissue paper into long strips, approximately 1 inch wide and 8-10 inches long. These will be used to cover the pinata. And don’t worry about making the strips perfect; a little bit of variation will add texture and interest to the finished product.
Step 3: Prepare Glue
If you are using white school glue, mix it with a small amount of water to make it easier to spread. If you are using a glue stick, simply unwrap it and have it ready for use. Also, lay down some newspaper or a drop cloth to protect your work surface.
Step 4: Apply Glue
Using a paintbrush or sponge brush, apply a thin layer of glue to the section of the pinata where you want to start decorating. It’s best to work in small sections so that the glue doesn’t dry out before you have a chance to add the tissue paper.
Step 5: Add the First Layer of Tissue Paper
Take a strip of tissue paper and place it onto the glue, gently pressing it down to adhere. Leave a small amount of overhang at the bottom so that you can trim it later. As you add more strips, make sure they overlap slightly to create a seamless look.
Step 6: Continue Adding Layers
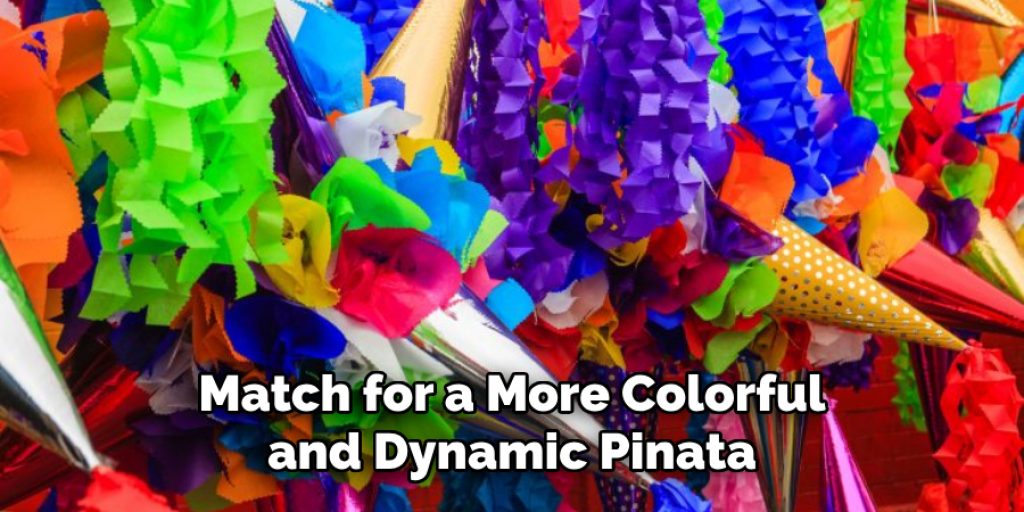
Repeat step 5 until the entire section is covered with tissue paper. You can use all one color or mix and match for a more colorful and dynamic pinata. So go ahead and let your creativity shine! Keep in mind that the more layers you add, the sturdier the pinata will be.
Step 7: Repeat for Other Sections
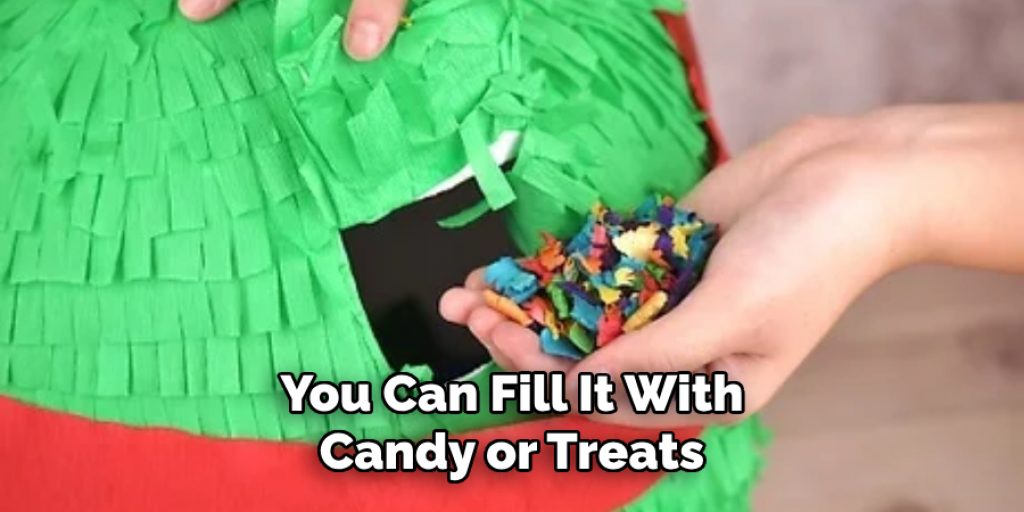
Continue steps 4-6 for each section of the pinata until it is completely covered. You can leave a small opening at the top to fill with candy or treats if desired. So, don’t cover the top section completely if you plan on filling it.
Step 8: Trim Excess Tissue Paper
Once all sections are covered, use scissors to trim any excess tissue paper along the bottom edges of the pinata. This will give it a clean and finished look. While you’re at it, you can also trim any jagged edges or excess paper from the other sections to make them look more uniform.
Step 9: Add Additional Decorations
If desired, now is the time to add some extra decorations such as glitter, stickers, or ribbon. You can use these to add more pops of color and texture to your pinata. However, be careful not to weigh it down too much, as you don’t want it to collapse while hanging.
Step 10: Let Dry
Once all decorations are in place, let the pinata dry completely. This can take a few hours or overnight, depending on how thick your layers of tissue paper are and how humid the environment is.
Step 11: Fill with Candy or Treats
Once your pinata is completely dry, you can fill it with candy or treats through the opening at the top. Then, seal it up by adding a layer of tissue paper and glue like you did in previous steps. When it’s time to break the pinata, make sure to have some adults supervise and use a stick or bat to gently hit it until all the treats come out.
Step 12: Hang Up and Enjoy!
Now it’s time to hang up your beautifully decorated pinata and enjoy the party! Make sure to take lots of pictures, as this will be a memorable centerpiece for any celebration. And don’t forget to save the pinata for future parties or even as a decorative piece in your home.
Decorating a pinata with tissue paper is an easy and affordable way to add some extra pizzazz to your next party. With just a few materials and some simple steps, you can create a colorful and eye-catching centerpiece that will be sure to impress your guests. So go ahead and give it a try at your next celebration!
9 Safety Measures to Keep in Mind When Decorating a Pinata
While decorating a pinata with tissue paper is a fun and creative activity, it’s important to keep safety in mind. Here are some tips to ensure that everyone has a good time without any accidents:
1) Use Child-Friendly Materials
If children will be participating in the decorating process, make sure to use child-friendly materials such as non-toxic glue and scissors with blunt edges. Then, supervise them closely to avoid any accidents.
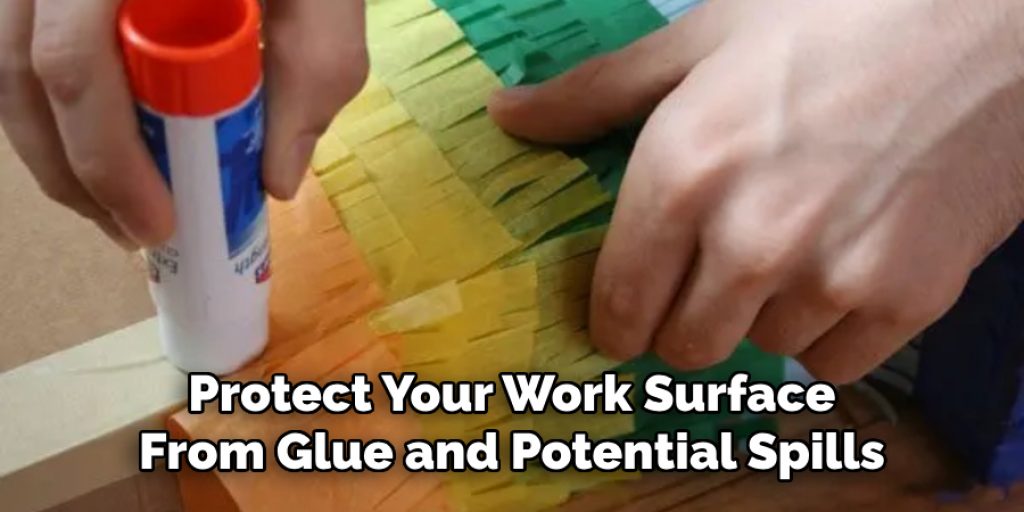
2) Protect Your Work Surface
Lay down newspaper or a drop cloth to protect your work surface from glue and potential spills. This will also make clean-up easier afterward. So be prepared and save yourself some trouble later. As they say, an ounce of prevention is worth a pound of cure.
3) Work in a Well-Ventilated Area
Make sure to work in a well-ventilated area when using glue or other materials with strong fumes. This will prevent any potential headaches or respiratory issues. If working indoors, open some windows or use a fan to circulate fresh air.
4) Take Breaks
If you feel yourself getting overwhelmed or tired, take a break. Decorating a pinata can be time-consuming and may require some patience, so it’s important to pace yourself. Plus, taking breaks will also give the glue time to dry before adding more layers.
5) Use Caution When Using Sharp Objects
When trimming excess tissue paper with scissors, make sure to use caution. It’s easy to accidentally cut yourself or others when working in close proximity. So, take your time and be mindful of where your hands are while cutting.
6) Avoid Overloading the Pinata
While it may be tempting to add as many decorations as possible, be mindful not to overload the pinata. Too much weight can cause it to break prematurely or even collapse while hanging. So, use lightweight decorations and don’t go overboard.
7) Know Your Limits
If you’re not comfortable using sharp objects or working with certain materials, it’s okay to ask for help. Don’t put yourself in a situation that could potentially be dangerous or uncomfortable. And remember, there’s no shame in asking for assistance.
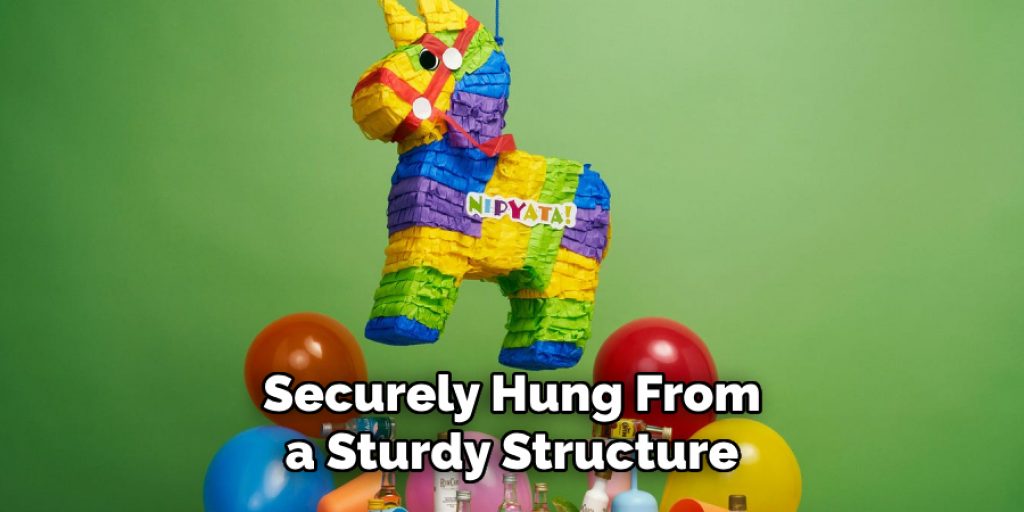
8) Hang the Pinata Securely
Before filling the pinata with candy or treats, make sure it is securely hung from a sturdy structure. You don’t want it to fall and potentially hurt someone. So take the extra time to properly hang it up before enjoying the party.
9) Keep an Eye on Children
During the party, make sure to keep an eye on children around the pinata. It’s easy for them to get excited and run towards it while others are trying to break it. So, have some adults supervise and remind children to wait their turn.
By keeping these safety measures on how to decorate a pinata with tissue paper in mind, you can ensure that decorating a pinata with tissue paper is a safe and enjoyable activity for everyone involved. So have fun and create some memorable moments with your beautifully decorated pinata!
8 Things to Avoid When Decorating a Pinata
While decorating a pinata with tissue paper is a fun and creative activity, there are some things you should avoid to ensure the best possible outcome. Here are eight things to keep in mind:
1) Using Too Much Glue
When adding layers of tissue paper, make sure not to use too much glue, as it can cause the paper to become soggy and tear. Use a thin, even layer of glue on each piece of tissue paper for the best results.
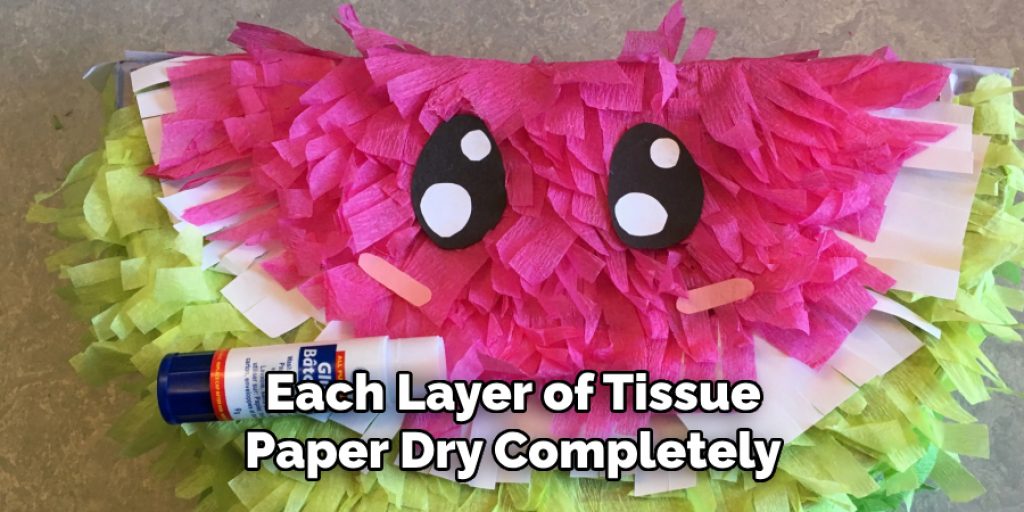
2) Rushing the Drying Process
It’s important to let each layer of tissue paper dry completely before adding another one. Rushing the drying process can cause the layers to stick together and create a lumpy or uneven surface. So be patient and let the pinata dry thoroughly.
3) Not Sealing the Opening
Make sure to seal the opening at the top of the pinata securely after filling it with candy or treats. If not properly sealed, the contents may fall out prematurely or during transportation to the party location. And nobody wants a broken pinata before the party even begins.
4) Using Heavy Decorations
Avoid using heavy decorations, such as beads or glitter, as they can weigh down the pinata and cause it to break too soon. Stick to lightweight materials like tissue paper and ribbons for a safe and long-lasting pinata.
5) Overloading with Candy
While it may be tempting to fill the pinata with as much candy as possible, be mindful not to overload it. Too much weight can cause the pinata to break too easily or even collapse while hanging. So, use a moderate amount of candy and spread it out evenly.
6) Neglecting Safety Precautions
As mentioned before, safety should always be a top priority when decorating a pinata. Neglecting safety precautions like using child-friendly materials or hanging the pinata securely can lead to accidents and injuries. So, always err on the side of caution.
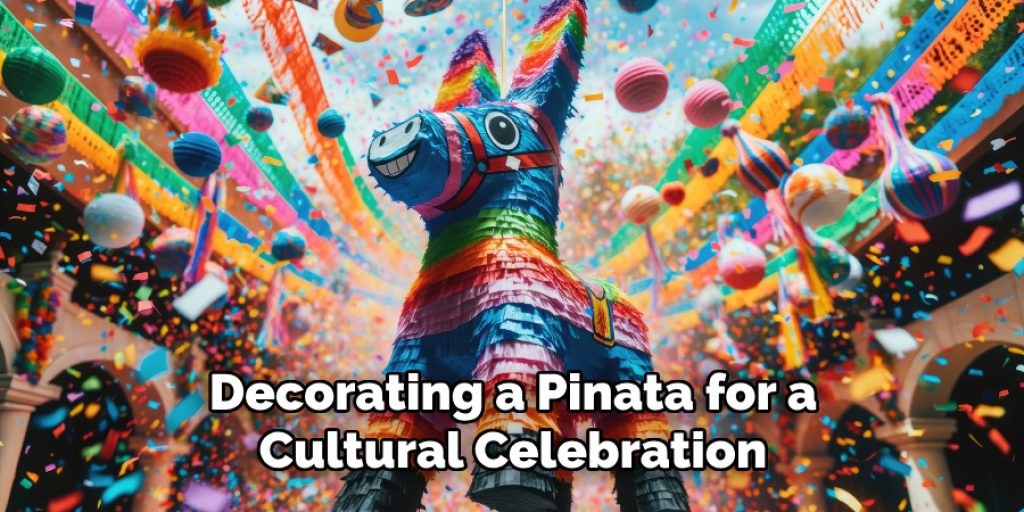
7) Not Being Mindful of Cultural Appropriation
If you are decorating a pinata for a cultural celebration, make sure to research the traditional designs and symbols associated with that culture. Avoid appropriating or misrepresenting the culture in your pinata decorations.
8) Being Too Critical of Your Decorating Skills
Remember, decorating a pinata is supposed to be a fun and creative activity! Don’t put too much pressure on yourself or others to make it perfect. Embrace imperfections and enjoy the process with friends and family. After all, it’s the memories made that truly matter in the end.
By avoiding these pitfalls and following safety measures, you can create a beautifully decorated pinata that will be a hit at any party. So gather your supplies, enjoy the process, and have a blast with your one-of-a-kind pinata creation!
8 Additional Tips for Decorating a Pinata
In addition to the safety measures and things to avoid, here are eight more helpful tips for decorating a pinata with tissue paper:
1) Use Different Colors and Patterns
Get creative with your tissue paper choices and use different colors and patterns to add depth to your pinata. You can even mix and match colors or create a gradient effect for a unique and eye-catching design.
2) Cut the Tissue Paper into Strips
Instead of using full sheets of tissue paper, try cutting them into strips. This will give your pinata a more textured and layered look while also making it easier to cover curves or angles in the surface. Just be careful not to cut the strips too thin, as they may tear more easily.
3) Experiment with Shapes and Designs
Don’t limit yourself to just adding layers of tissue paper. Get creative and experiment with different shapes and designs, such as flowers or animals, to personalize your pinata. You can even add other materials like glitter or feathers for a more unique touch.
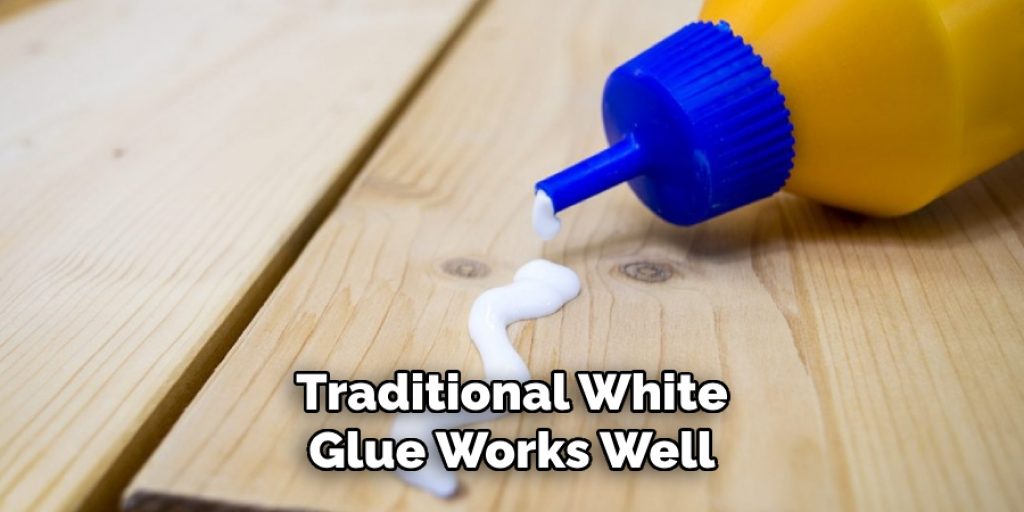
4) Use Different Types of Glue
While traditional white glue works well for attaching tissue paper, you can also try using a hot glue gun or spray adhesive for quicker and more secure results. Just make sure to use these types of glue in a well-ventilated area and to take proper precautions when handling hot glue.
5) Let Your Creativity Flow
There are no rules when it comes to decorating a pinata! Let your creativity flow, and don’t be afraid to try new techniques or designs. You never know; you might end up with a masterpiece that becomes the highlight of the party.
6) Involve Others
Decorating a pinata can be a fun group activity, so don’t be afraid to involve others in the process. Ask for input or let others take turns adding layers of tissue paper. It’s a great way to bond and create something special together.
7) Take Breaks
Decorating a pinata can be time-consuming, so don’t forget to take breaks when needed. This will help prevent frustration and allow you to step back and assess your progress. Plus, it’s always good to rest your hands and eyes when working with small pieces of tissue paper.
8) Add a Personal Touch
Lastly, don’t forget to add a personal touch to your pinata. Whether it’s adding the birthday person’s name or including a special message, this will make the pinata even more meaningful and memorable. So go ahead and get creative!
With these additional tips on how to decorate a pinata with tissue paper, you can take your pinata decorating skills to the next level and create a one-of-a-kind masterpiece that will be the talk of the party. There’s always room for creativity and personalization when it comes to decorating a pinata. So don’t be afraid to let your imagination run wild and have fun with it!
Frequently Asked Questions about Decorating a Pinata
Can I Use Other Types of Paper Besides Tissue Paper?
While tissue paper is the most commonly used material for decorating pinatas, you can also use other types of paper, such as crepe paper or construction paper. Just keep in mind that these papers may not have the same smooth and lightweight texture as tissue paper.
How Do I Hang the Pinata Safely?
Hanging a pinata safely is crucial to avoid accidents and injuries. Make sure to use a strong rope or string and securely tie it to a sturdy support beam or tree branch. It’s also a good idea to have adults hang the pinata, especially for a children’s party.
Can I Decorate a Pinata in Advance?
Yes, you can decorate a pinata in advance. However, it’s best to do so no more than a day or two before the party to prevent the tissue paper from losing its shape or fading. You should also store the pinata in a cool and dry place to avoid any damage.
Can I Reuse My Pinata?
If the pinata is still in good condition after the party, you can definitely reuse it for future celebrations. Just make sure to carefully remove any candy or treats and store it in a safe place until the next use.
How Do I Dispose of a Pinata Properly?
When it’s time to say goodbye to your pinata, make sure to dispose of it properly. Cut open the top or bottom of the pinata to remove any leftover candy or treats, then recycle the cardboard base and tissue paper. You can also save some of the decorations for future projects if desired. Overall, just be mindful of your local recycling guidelines when disposing of a pinata.
How Can I Make My Pinata Stand Out?

To make your pinata stand out even more, try using unique or unconventional materials for decoration. Instead of tissue paper, you can use items like fabric, ribbons, or even painted designs. Just make sure to still follow safety precautions and have fun with the process!
Conclusion
Decorating a pinata is a fun and creative activity that can add excitement to any party. By following these tips on how to decorate a pinata with tissue paper and being mindful of safety measures, you can create a stunning pinata that will be the highlight of the celebration. So gather your supplies, let your imagination run wild, and have fun decorating! Remember, there are no limits when it comes to creating a unique and personalized pinata.
Angela Ervin
Angela is the executive editor of DIY quickly. She began her career as an interior designer before applying her strategic and creative passion to lifestyle and home. She has close to 15 years of experience in creative writing and online content strategy for housekeeping, home decorations as well as other niche efforts. She loves her job and has the privilege of working with an extraordinary team. She lives with her husband, two sons, and daughter in Petersburg. When she's not busy working she spent time with her family.


