
How to Decorate a Wooden Crate
Decorating a wooden crate can transform a simple storage solution into a stylish piece of home decor. Whether you’re aiming for a rustic, shabby, chic, or modern look, a wooden crate offers a versatile canvas to express your creativity. Not only is this project budget-friendly, but it also provides an opportunity to upcycle and personalize your space.
In this guide on how to decorate a wooden crate, we’ll explore various techniques and ideas to inspire you to decorate your wooden crate in ways that enhance its functionality and aesthetic appeal. From selecting the right materials to applying the final touches, we’ll walk you through the process step by step, ensuring your decorated crate becomes a reflection of your personal style and a focal point in your home.
What is a Wooden Crate?
A wooden crate is a sturdy container made of wood that is typically used for storage and transportation purposes. It can be made from various types of wood, such as pine, oak, or plywood, and comes in different sizes and shapes. Wooden crates are often used in industries like agriculture, manufacturing, and shipping to pack and transport goods. However, with a little creativity, they can also be repurposed for home decor and organization.
Importance of Wooden Crates in Home Decor
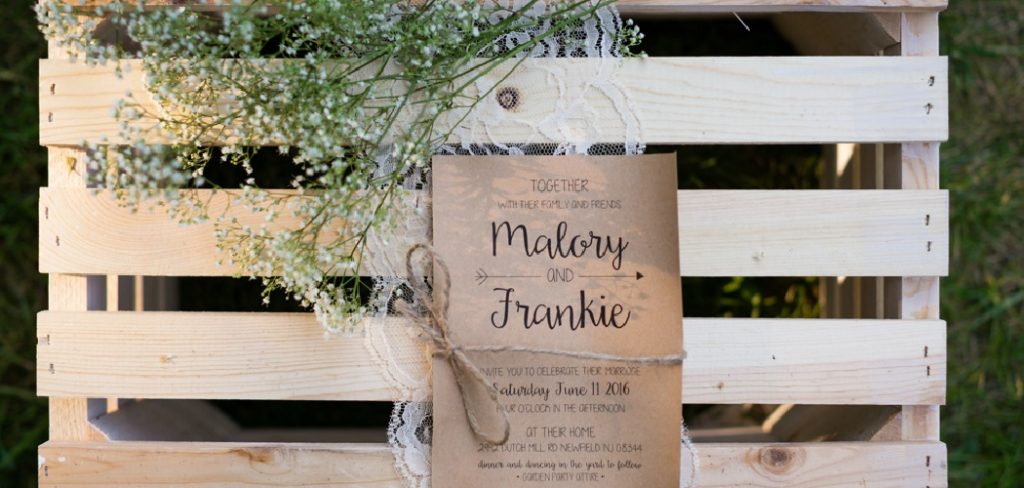
Wooden crates have become increasingly popular in home decor due to their rustic charm and versatility. They offer a unique and natural aesthetic that can enhance any room in your home. From living rooms to bedrooms, kitchens, and even bathrooms, wooden crates can be incorporated into different spaces for both functional and decorative purposes. Additionally, decorating with wooden crates is an eco-friendly way to add character and organization to your home, as they can be easily upcycled and repurposed.

You can use wooden crates as shelving units, side tables, planters, or even as a base for your coffee table. They are also great for storing and organizing items in small spaces, such as books, magazines, toys, or kitchen supplies. With a little imagination and the right materials, you can transform a plain wooden crate into a stylish and functional piece of home decor.
Materials Needed
To decorate a wooden crate, you’ll need the following materials:
Wooden Crate:
You can purchase a new crate from a craft store or thrift shop or simply upcycle one that you already have at home. You can also build your own crate using wood boards and nails or screws.
Sandpaper and Wood Stain:
If you’re starting with a new wooden crate, sanding it down will give it a smooth finish. You can then apply wood stain to enhance the natural color of the wood or give it a different tint.
Paint and Brushes:
Painting your wooden crate is an easy and affordable way to add a pop of color or pattern to your decor. You can use acrylic, spray paint, or chalk paint, depending on the look you want to achieve. Make sure to choose high-quality brushes for a smooth and even finish.
Decorative Materials:
This is where you can let your creativity shine. From washi tape and decals to fabric, wallpaper, and stencils, there are endless options for adding a unique touch to your wooden crate. You can also use accessories like knobs, handles, or hooks to enhance its functionality.
11 Step-by-step Guidelines on How to Decorate a Wooden Crate
Step 1: Clean the Crate
Start by wiping down the wooden crate with a damp cloth to remove any dirt or dust. Let it dry completely before moving on to the next step. The cleaner the surface, the better your decorations will adhere to it.
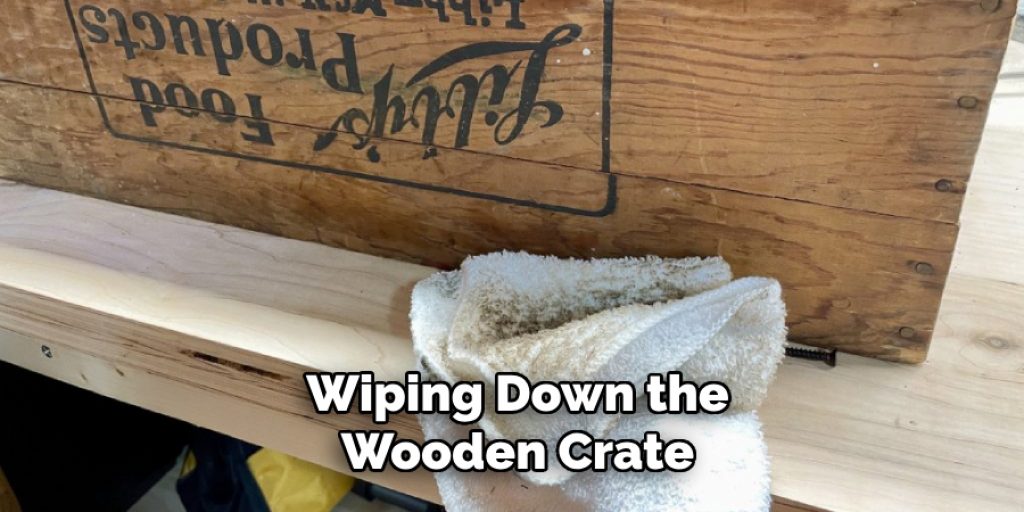
The same goes for a new crate – make sure to sand it down before decorating. You can also apply a coat of primer for better paint adhesion. The type of primer you use will depend on the type of paint you’ll be using. It’s always best to read the instructions on your paint can before starting.
Step 2: Choose a Design or Theme
Before you start decorating, it’s important to have a vision in mind. Think about the style and theme you want to achieve – do you want a rustic look with distressed wood or a more modern and colorful design? This will help guide your choice of materials and techniques. The possibilities are endless, so have fun and let your creativity flow!
Step 3: Prepare Your Decorative Materials
If you’re using materials like fabric or wallpaper, cut them to the appropriate size beforehand. This will make it easier to apply them to the crate later on. It’s always best to measure and cut slightly larger than needed, as you can trim off any excess later. You can also prepare any stencils or decals you’ll be using by cutting them out and setting them aside. But don’t worry if you’re using paint – we’ll get to that in the next steps.
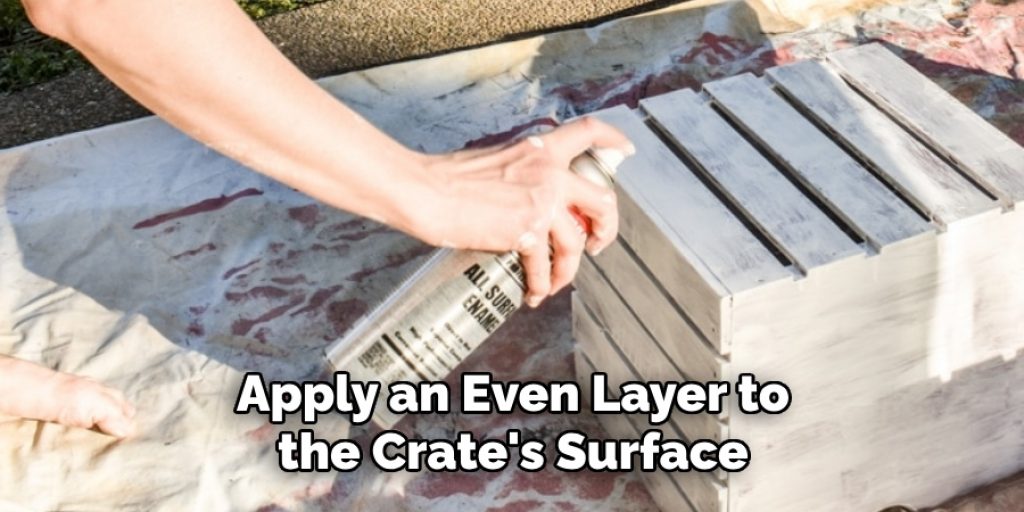
Step 4: Apply Paint or Stain (Optional)
If you want to change the color of your wooden crate, now is the time to do so. Dip your paintbrush into the paint and apply an even layer to the crate’s surface. You may need to do two or three coats, depending on the type of paint you’re using. Let each coat dry completely before applying the next one.
If you want a distressed look, use sandpaper to lightly sand down some areas after the paint has dried. You can also use a dry brush technique to achieve a similar effect. If you’re using wood stain, apply it with a cloth or brush in the direction of the wood grain. You can then wipe off any excess and let it dry.
Step 5: Add Decals or Stencils (Optional)
If you want to add designs or patterns to your crate, now is the time to do so. You can use pre-made decals or cut out your own designs using contact paper. Apply them to the crate and make sure they are stuck on firmly. If you’re using stencils, secure them in place with tape and use a sponge or brush to apply paint over them. This may require multiple layers for a more vibrant color.
Step 6: Apply Decorative Materials
Time to add your chosen materials! You can wrap fabric or wallpaper around the crate and use glue or mod podge to secure it. Make sure to smooth out any air bubbles as you go. You can also use washi tape to create patterns or cover the entire surface of the crate with different colors and designs. Get creative and see what works best for your design. You can also add knobs or handles at this point for a functional touch.
Step 7: Add Handles or Knobs (Optional)
If you want to use your crate as a storage unit or side table, adding handles or knobs can make it easier to move around. You can find these at hardware stores or repurpose old ones from furniture you no longer use. It’s always a good idea to pre-drill holes before screwing them in place. But don’t worry if you’re not comfortable using power tools – there are plenty of adhesive options available as well.
Step 8: Let It Dry
If you’ve used any glue, paint, or mod podge in the previous steps, make sure to let your crate dry completely before using it. This may take a few hours or even overnight depending on the materials you’ve used. You don’t want to ruin all your hard work by moving it too soon! Although it may be tempting to speed up the process with a hairdryer, it’s best to let it dry naturally. It will be worth the wait, trust us.
Step 9: Final Touches
Take a step back and look at your creation. Are there any areas that need touching up? Do you want to add any extra designs or details? Now is the time to make those final touches and perfect your design. But remember, perfection is subjective – embrace any imperfections and unique characteristics of your wooden crate. The handmade touch is part of its charm. It’s also a great opportunity to personalize your crate by adding names or quotes using stencils.
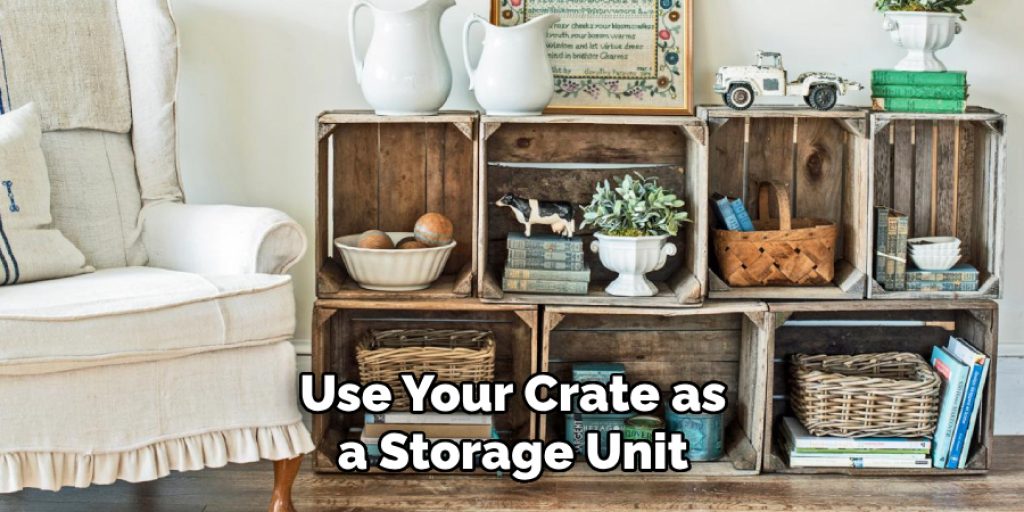
Step 10: Use and Enjoy!
Congratulations, you’ve successfully decorated a wooden crate! Now, it’s time to put it to use. Whether it’s as a storage unit, side table, or home decor piece, enjoy your unique creation and show it off to your friends and family. You can also switch up the decorations for different seasons or occasions – the possibilities are endless!
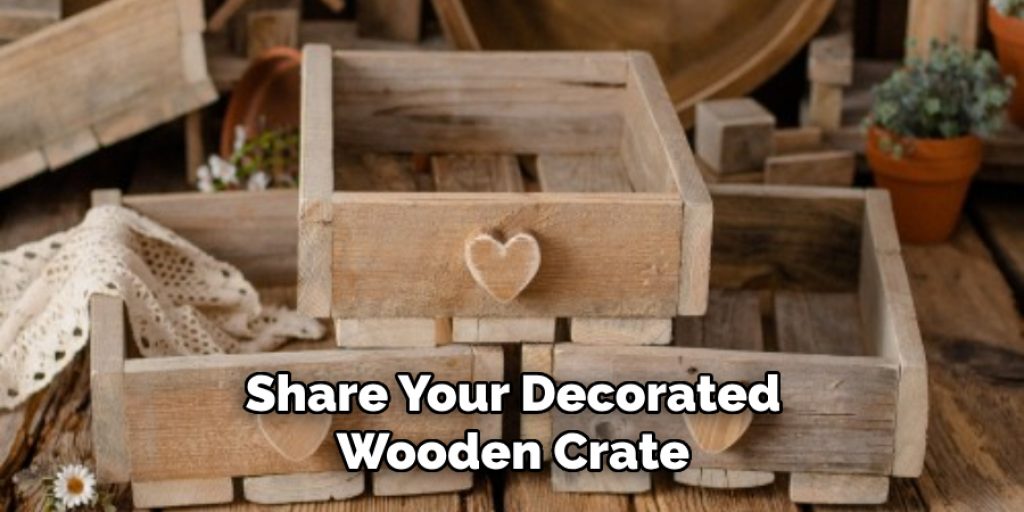
Step 11: Share Your Creation
Don’t forget to share your decorated wooden crate on social media! Use hashtags to connect with other DIY enthusiasts and inspire others to get creative. You never know; your unique design may spark someone else’s creativity. And who knows, you might even start a trend! Have fun decorating and don’t be afraid to try new techniques and materials – the only limit is your imagination.
Following these steps on how to decorate a wooden crate, you can easily transform a plain wooden crate into a one-of-a-kind piece that reflects your personal style and creativity. So go ahead, grab a wooden crate and let your imagination run wild! Happy decorating!
DIY Projects for Wooden Crate Decor
If you’re looking for inspiration on how to decorate a wooden crate, here are three DIY projects to get you started:
1. Floating Shelf Crate:
Using a wooden crate as a floating shelf is an excellent way to save space and add storage to your home. Simply attach brackets or L-shaped hooks to the bottom of the crate and mount it securely onto the wall. You can paint or stain the crate to match your decor and add decorative items like plants or books on top.
2. Painted Crate Storage Bin:
For a fun and colorful storage solution, paint your wooden crate in a bright hue or use stencils to create a pattern. You can then use it to store items like toys, blankets, or shoes. Add wheels to the bottom of the crate for easy mobility.
3. Flower Planter Crate:
Add a touch of nature to your home by turning a wooden crate into a flower planter. First, line the inside of the crate with plastic sheeting to protect it from water. Then, fill it with potting soil and plant your favorite flowers or herbs. You can also paint the outside of the crate to match your garden decor.
Tips for Success
- Before starting your project, make sure to clean and dry the wooden crate thoroughly.
- If you’re using paint or stain, apply a primer first for better adhesion.
- Don’t be afraid to experiment with different materials and techniques until you find the perfect look for your crate.
- Consider the intended use and placement of your crate before decorating to ensure it fits seamlessly into your home decor.
- Don’t limit yourself to one style or theme – mix and match materials, colors, and patterns for a unique look.
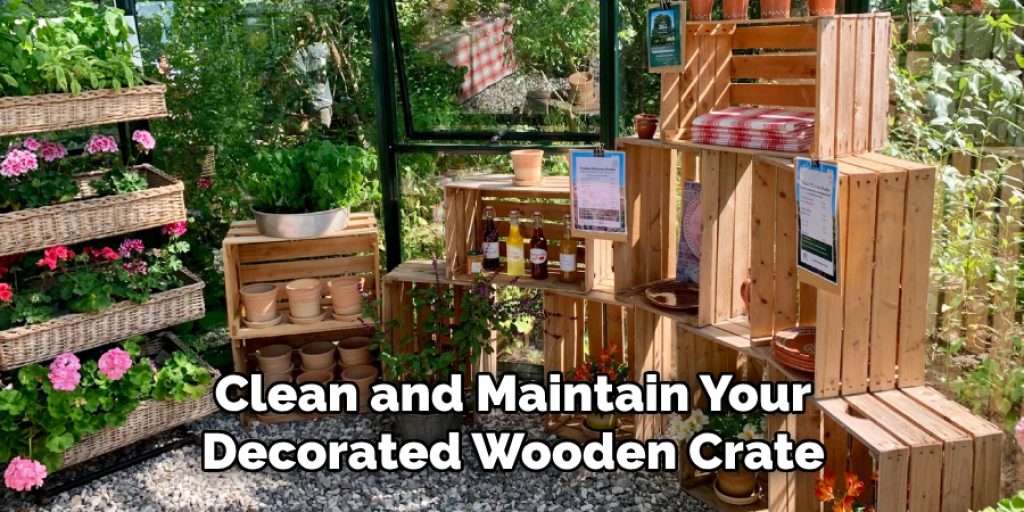
- Regularly clean and maintain your decorated wooden crate to keep it looking its best.
- Have fun and let your creativity guide you! Decorating a wooden crate is all about personal expression, so don’t be afraid to think outside the box.
Frequently Asked Questions
Q: Can I Use Any Type of Wooden Crate for This Project?
A: Yes, you can use any type of wooden crate as long as it is sturdy and in good condition. You can purchase new crates from craft stores or online, or you can repurpose old ones that you may have lying around. The size and shape of the crate will also depend on your personal preference and intended use. You can choose from small, medium, or large crates with varying dimensions and designs. The key is to select a crate that suits your needs and can hold the items you want to store or display.
Q: What Materials Do I Need to Decorate a Wooden Crate?
A: The materials you’ll need depend on the decorating technique or style you choose. Some general supplies include paint, stain, decoupage glue, scrapbook paper, stencils, washi tape, and embellishments like knobs and handles. You may also need tools such as sandpaper, paintbrushes, and a hot glue gun. It’s always a good idea to plan ahead and make a list of the materials you’ll need for your specific project to ensure you have everything on hand before getting started.
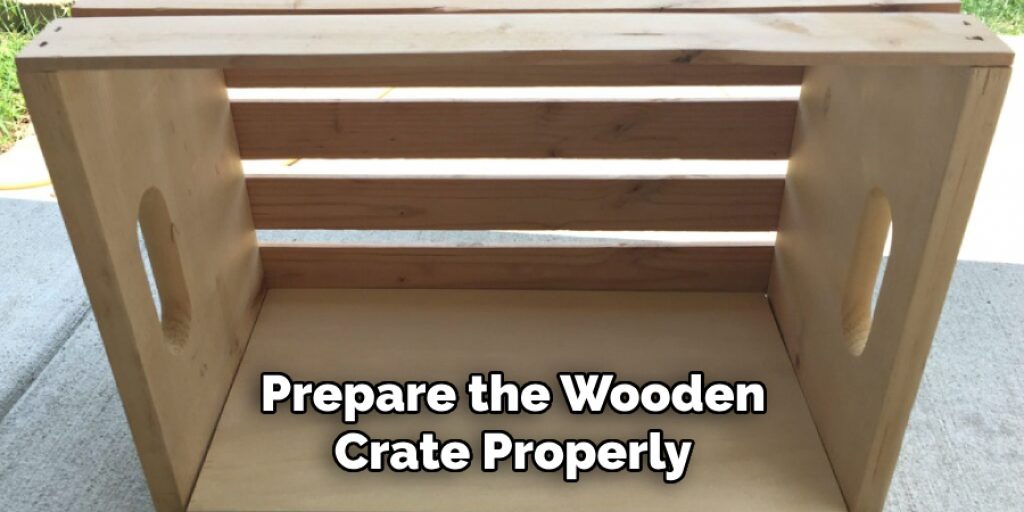
Q: How Do I Prepare the Wooden Crate for Decorating?
A: Before starting any decorative techniques, it’s essential to prepare the wooden crate properly. Begin by sanding the surface of the crate to smooth out any rough spots and create a clean canvas for your design. This step also helps remove any previous paint or finish and allows new materials to adhere better. Once sanded, wipe the crate down with a damp cloth to remove any dust or debris. If you plan on painting or staining, it’s best to prime the crate first to ensure an even and long-lasting finish.
Q: What Are Some Ideas for Decorating a Wooden Crate?
A: The possibilities for decorating a wooden crate are endless, but here are some ideas to get you started:
- Paint the crate in a solid color or create patterns with stencils.
- Use scrapbook paper and decoupage glue to cover the crate for a colorful and textured look.
- Stain the crate for a natural, rustic feel.
- Add knobs or handles to create a drawer-like effect.
- Use washi tape to create patterns or borders on the crate’s surface.
- Create a mosaic design using small tiles or broken pieces of ceramic or glass.
- Personalize the crate with initials, quotes, or images using vinyl decals or stencils.
Q: Can I Use the Decorated Wooden Crate for Storage?
A: Absolutely! One of the main benefits of decorating a wooden crate is that it can serve as both functional storage and stylish decor. You can use it to store books, magazines, toys, linens, kitchen supplies, and more. The key is to choose a decorating technique that allows for easy access to the items stored inside. For example, if you plan on using the crate as a bookshelf, avoid covering the front with paper or tape, as it may make it difficult to remove books.
Conclusion
Decorating a wooden crate is a fun and creative way to add personality and functionality to your home. With the right materials, tools, and techniques, you can transform a simple crate into a unique piece of decor that reflects your personal style.
Whether you choose to paint, stain, or use other decorative elements, the key is to have fun and let your creativity shine. We hope this guide on how to decorate a wooden crate has inspired you to start your own wooden crate decorating project and make the most out of this versatile storage solution.
Angela Ervin
Angela is the executive editor of DIY quickly. She began her career as an interior designer before applying her strategic and creative passion to lifestyle and home. She has close to 15 years of experience in creative writing and online content strategy for housekeeping, home decorations as well as other niche efforts. She loves her job and has the privilege of working with an extraordinary team. She lives with her husband, two sons, and daughter in Petersburg. When she's not busy working she spent time with her family.


