
How to Decorate Water Bottles
Decorating water bottles is not only a fun and creative way to express your personality, but it also promotes the use of reusable bottles, contributing to environmental conservation. Personalized water bottles have become increasingly popular, serving as a trendy accessory for both adults and children alike.
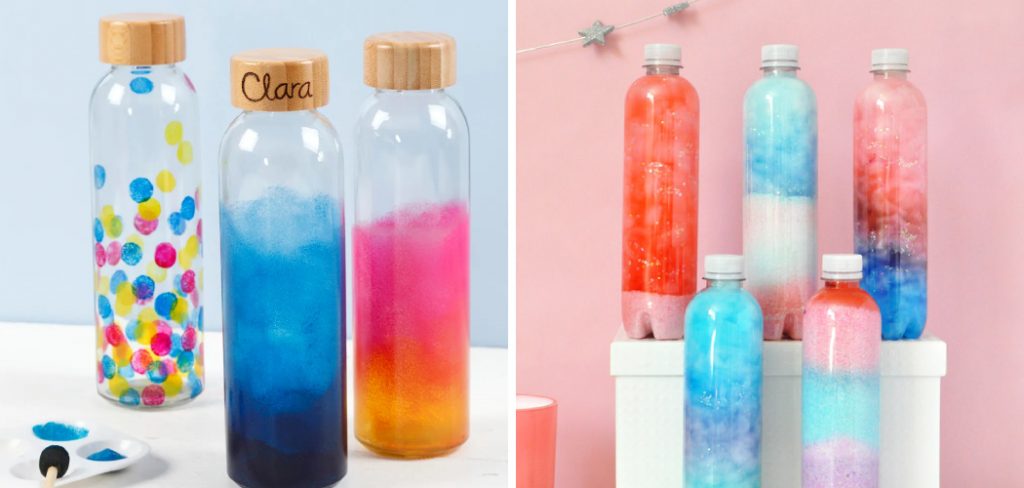
This guide on how to decorate water bottles will walk you through various decoration methods – from simple DIY stickers to more intricate painting techniques, ensuring there’s an option for everyone.
Whether you’re looking to add a personal touch to your daily hydration vessel or searching for a unique gift idea, you’ll find inspiration and step-by-step instructions to transform ordinary water bottles into personalized works of art.
What is the Best Water Bottle to Decorate?
The best water bottle to decorate is one made of clear plastic or glass. This allows for maximum visibility and makes it easier to apply various decoration methods, such as stickers or painting. Additionally, consider using a water bottle with a smooth surface for optimal adhesion of decorations.
You can also use stainless steel water bottles, but keep in mind that the surface may be more difficult to decorate due to its texture. However, there are specialized paints and markers available for decorating metal surfaces.
What Are Some Popular Decoration Ideas for Water Bottles?
Some popular decoration ideas for water bottles include:
Customized Stickers:
This is an easy and affordable way to personalize your water bottle. You can either purchase pre-made stickers or create your own using waterproof materials, such as vinyl or laminated paper.
Paint and Markers:
For those looking for a more hands-on approach, painting and using permanent markers are great options. You can draw designs or write inspirational quotes directly on the bottle or use stencils for more intricate patterns.
Decoupage:
This is a fun technique that involves gluing paper cutouts onto your water bottle. You can use any type of decorative paper, such as tissue paper, scrapbook paper, or even magazine clippings, to create unique and colorful designs.
Benefits of Decorating Water Bottles
Apart from being a fun activity, decorating water bottles has several benefits:
Personalization:
You can express your creativity and individuality by decorating your water bottle. It becomes a unique accessory that reflects your personality and style.
Environmental Conservation:
By decorating and reusing a water bottle, you are reducing the number of plastic bottles being thrown away, which ultimately helps in preserving the environment.

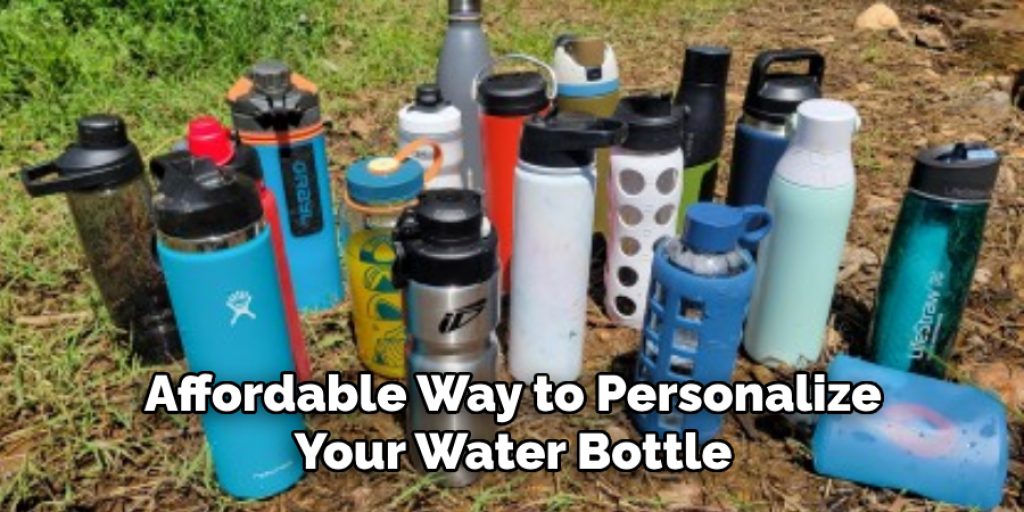
Cost-Effective:
Buying pre-decorated water bottles can be expensive, but by decorating your own, you save money and have the freedom to customize it according to your preferences.
Hydration Reminders:
Personalized water bottles help you stay hydrated by serving as a constant reminder to drink enough water throughout the day. You can even use motivational quotes or images on your bottle to keep you motivated.
Needed Materials
To decorate your water bottle, you will need the following materials:
Clear Plastic or Glass Water Bottle (Preferably With a Smooth Surface):
As mentioned earlier, this provides the best surface for various decoration methods.
Decoration Materials:
Choose from stickers, paint, markers, or decoupage materials depending on your preference and skill level.
Optional Accessories:
You can also use additional accessories such as ribbons, beads, or charms to add more flair to your water bottle.
11 Step-by-step Guides on How to Decorate Water Bottles
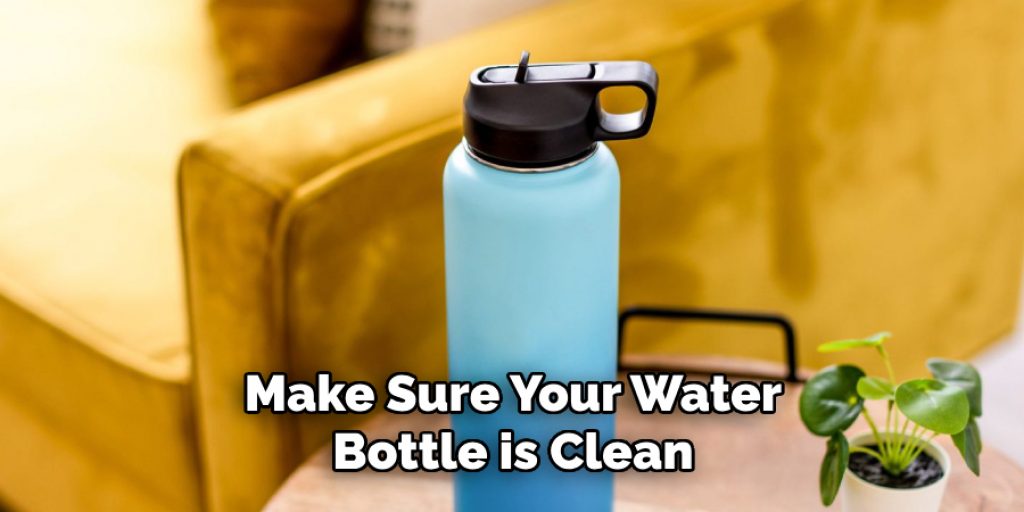
Step 1: Preparations
Before beginning the decoration process, make sure your water bottle is clean and dry. Remove any labels or stickers that may be on it. You can also wipe the surface with rubbing alcohol to ensure it’s free of any oils or residue. It’s also a good idea to protect your work surface with a plastic sheet or newspaper. Thoroughly read and understand the instructions for each decoration method before starting.
Step 2: Customized Stickers
If you’re using pre-made stickers, simply peel them off and stick them onto your water bottle. If you’re creating your own stickers, use waterproof materials and cut them to your desired shape and size. Peel off the backing and carefully stick them onto your bottle. It’s important to smooth out any air bubbles for a clean finish. You can also add a layer of clear adhesive tape over the stickers for extra durability.
Step 3: Paint and Markers
For painting or using markers, decide on a design or pattern before beginning. Sketch it out lightly with a pencil if necessary, then fill it in with paint or markers. Allow drying time in between layers if using multiple colors. You can also use stencils for more intricate designs. But be careful not to smudge the paint or markers while removing the stencil. The final step is to seal the design with a clear, waterproof sealant.
Step 4: Decoupage
Tear or cut your chosen paper into small pieces. Brush a thin layer of decoupage glue onto the surface of your water bottle and carefully place the paper pieces onto it. Continue to layer and overlap the paper until you have your desired design. Once complete, brush another layer of glue over the entire surface for a smooth finish. Allow it to dry completely before using. It’s recommended to use waterproof decoupage glue for longer-lasting results.
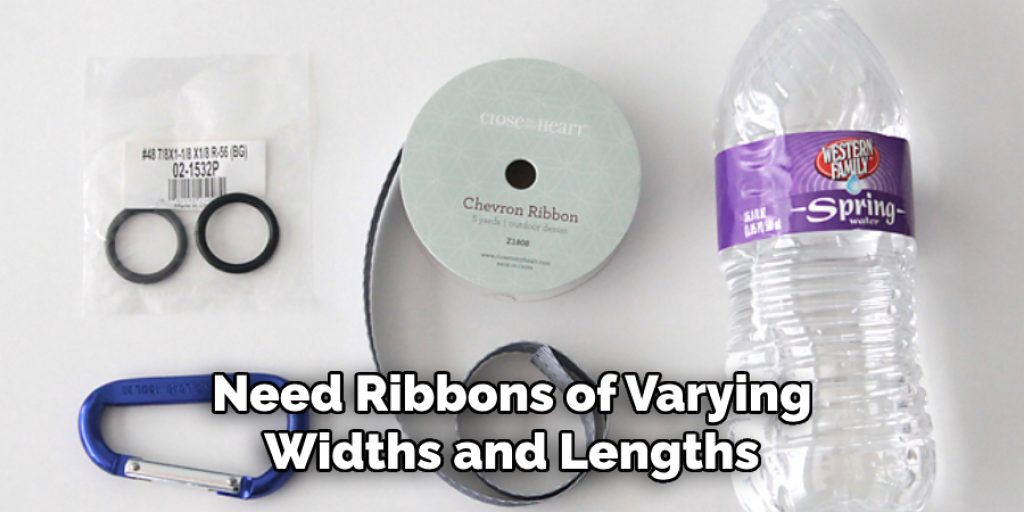
Step 5: Using Ribbons
For this method, you will need ribbons of varying widths and lengths. Cut them into strips according to your preferred design. Tie the ribbons onto the neck of your water bottle, leaving a few inches for dangling. You can also braid or weave the ribbons for a more intricate look. You can also add other accessories like beads or charms to the ribbons for more decoration. But make sure they’re securely tied or glued on.
Step 6: Beads and Charms
Similar to the ribbon method, you will need beads and charms with small holes that can be threaded onto the neck of your water bottle. You can use a thin wire or string to thread them on, then tie the ends securely. Be creative with your bead and charm placement for a unique look. You can also use different types of beads and charms to create a theme, such as beach or nature-inspired designs. It’s important to make sure the beads and charms are tightly secured to prevent them from falling off.
Step 7: Painting Techniques
To add more texture and dimension to your painted water bottle, you can use different techniques such as sponge painting, splatter painting, or using a toothbrush to create splatter effects. You can also use painter’s tape to create clean lines and shapes on your bottle. Let your creativity run wild and experiment with different techniques for a unique result. You can also use a combination of painting and markers for more intricate designs.
Step 8: Using Washi Tape
Washi tape is a decorative adhesive tape that comes in various colors and patterns. Simply cut small pieces of different washi tapes and stick them onto your water bottle in a desired pattern or design. You can also use the tape to create borders or frames for stickers or pictures. It’s easy to remove and reposition washi tape, making it great for experimenting with different designs. But make sure to seal it with a clear, waterproof sealant for longevity. The possibilities are endless with washi tape, so let your creativity shine.
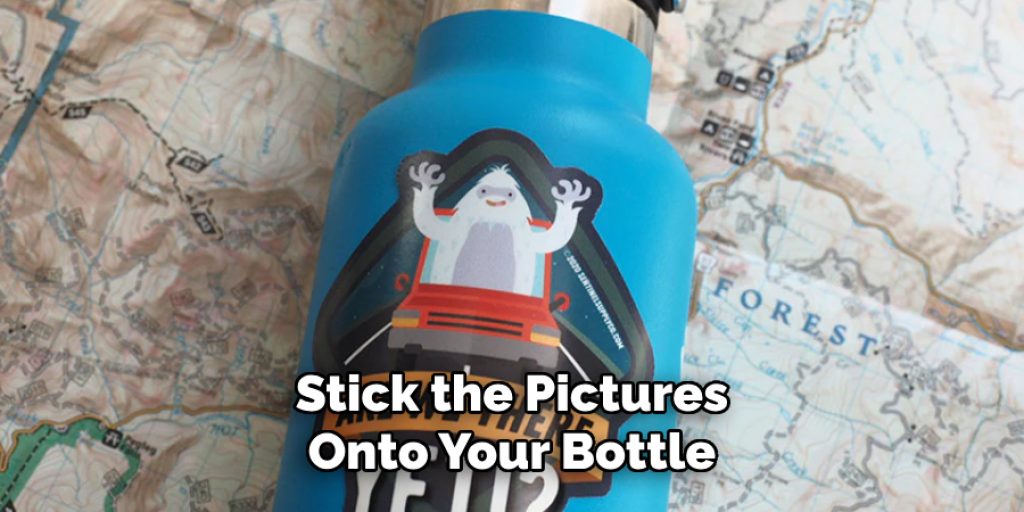
Step 9: Adding Photos
If you have a clear water bottle, you can personalize it by adding your own photos. Simply print out pictures that fit the size of your bottle and cut them to shape. Use clear adhesive tape or decoupage glue to stick the pictures onto your bottle. You can also use a layer of clear tape or sealant over the photos for extra protection. It’s a great way to showcase your favorite memories or loved ones.
Step 10: Embellishments
This step is all about adding small details and final touches to your water bottle. You can add small gemstones, glitter, or even small trinkets to your water bottle. Use glue or tape to secure them onto the surface. It’s important not to add too many embellishments as it can make the bottle feel heavy and difficult to hold. A few accents here and there will give just the right amount of sparkle. Although it’s optional, adding a layer of clear sealant over the entire bottle will help keep the embellishments in place.
Step 11: Maintenance
To ensure your water bottle stays looking fresh and vibrant, make sure to hand wash it only. Avoid using harsh chemicals or abrasive materials on the decorated surface. If your decoration involves stickers, be gentle when cleaning around them to prevent peeling or lifting.
If you plan on using your water bottle for outdoor activities, make sure to choose a decoration method that can withstand moisture and heat. With proper care, your personalized water bottle will continue to brighten up your day and make staying hydrated more enjoyable.
So go ahead and get creative with decorating your water bottle! There are endless possibilities and it’s a fun way to express your personality while also being environmentally friendly by reusing a water bottle.
Following these steps on how to decorate water bottles, you can create a unique and personalized water bottle that will bring a smile to your face every time you see it. So gather your materials and let your creativity flow! Share your creations with others and inspire them to make their own decorated water bottles. Happy crafting!
Care and Maintenance
In order to ensure the longevity of your decorated water bottle, it’s important to properly care for it. Here are some tips to keep in mind:
Hand Wash Only:
Avoid putting your decorated water bottle in the dishwasher as it can damage or peel off any decorations.
Use Gentle Cleaning Products:
When cleaning your water bottle, avoid using harsh chemicals or abrasive materials on the decorated surface.
Avoid Direct Heat and Sunlight:
If your decoration involves stickers or certain types of paint, it’s best to avoid leaving your water bottle in direct sunlight or near sources of heat. This can cause decorations to fade or peel.
Be Gentle Around Decorations:
When cleaning around any decorations, be gentle to prevent peeling or lifting.
Choose Decoration Methods Wisely:
If you plan on using your water bottle for outdoor activities, it’s best to choose a decoration method that can withstand moisture and heat.
Following these simple tips will help keep your decorated water bottle looking vibrant and beautiful for a long time. So make sure to take proper care of it and enjoy showing off your creativity!
Exploring Creative Applications
Decorating water bottles isn’t just limited to personal use. Here are some ways you can use this fun and creative activity in different settings:
Parties and Events:
Create personalized water bottles as party favors for birthdays, weddings, or other special occasions.
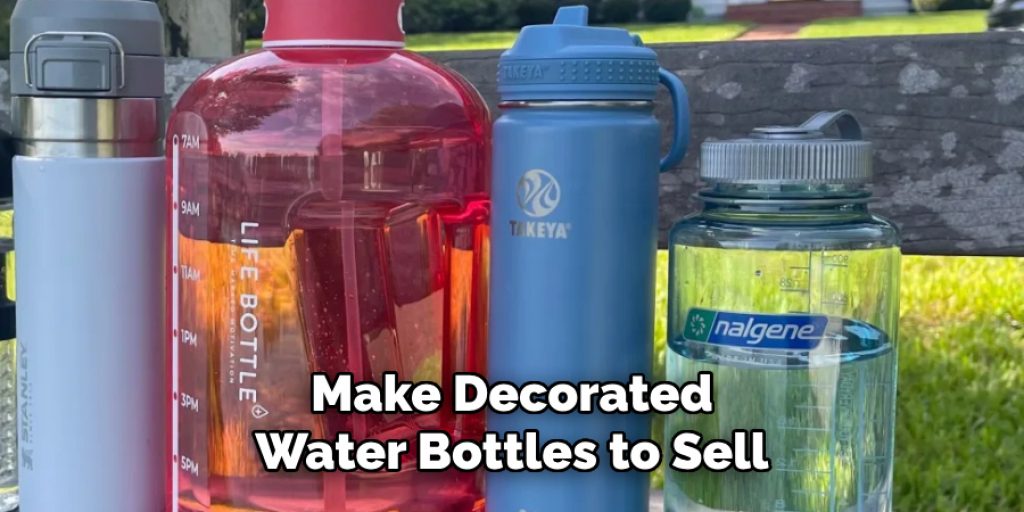
Fundraisers and Charity Events:
Make decorated water bottles to sell at fundraising events or donate them as prizes to raise money for a cause you care about.
Team Building Activities:
Use decorating water bottles as a team-building activity for your workplace or community groups. It’s a fun and creative way to bring people together while also promoting sustainability.
Gifts:
Personalized water bottles make great gifts for friends and family. You can even customize them with inside jokes, quotes, or photos to make them extra special.
School Projects:
Get creative with school projects by incorporating decorated water bottles. It’s a fun way for students to express themselves while also promoting reusable and eco-friendly practices.
The possibilities are endless when it comes to decorating water bottles. So don’t limit yourself and let your imagination run wild! Remember to have fun, be creative, and stay hydrated.
Additional Tips
- When choosing materials to decorate your water bottle, make sure they are safe and non-toxic. Avoid using materials that can leach harmful chemicals into your drinking water.
- Consider using a reusable straw with your decorated water bottle for added convenience and sustainability.
- If you want to change up the design on your water bottle, use rubbing alcohol or nail polish remover to remove any permanent markers or tape residue. Then, start over with a clean surface to decorate on.
- Take your time and enjoy the process of decorating your water bottle. Don’t worry about making it perfect; embrace imperfections and have fun! So go ahead and get started on creating your own personalized water bottle. Stay hydrated and stay creative!
Frequently Asked Questions
Q: Can I Decorate a Metal Water Bottle?
A: Yes, you can decorate a metal water bottle using specialized paints or markers designed for metal surfaces. It may require a bit more effort due to the textured surface, but the end result can be just as eye-catching. But keep in mind that not all decoration methods are suitable for metal, such as stickers.
Q: Is It Safe to Use Decorated Water Bottles for Drinking?
A: Yes, as long as the decorations do not come into direct contact with the water. It’s important to avoid using materials that may be toxic or harmful if ingested, such as regular markers or adhesive glue. You can also seal your decorations with a clear, waterproof sealant to ensure they stay intact and safe for drinking.
Q: How Do I Clean My Decorated Water Bottle?
A: For most decorations, simply hand washing with mild soap and warm water should suffice. However, for more delicate decorations or those made with specialized materials, follow the cleaning instructions provided by the manufacturer. It’s also recommended to avoid putting decorated water bottles in the dishwasher to prevent damage to the decorations. So, it is important to choose materials that are durable and can withstand regular hand washing.
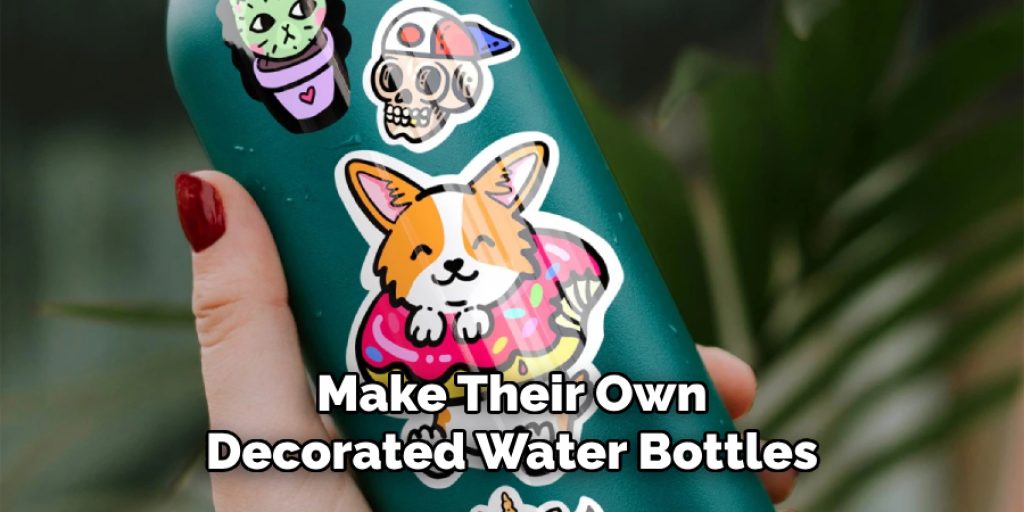
Q: Can Children Decorate their Own Water Bottles?
A: Absolutely! Decorating water bottles can be a fun and educational activity for children. Just make sure to supervise them, especially when using potentially hazardous materials such as paints or scissors. You can also opt for child-friendly decoration methods, such as stickers or pre-made designs, to ensure their safety while still allowing them to express their creativity. So, it can be a great bonding activity for parents and children alike.
Conclusion
Water bottles are not just functional items but also a canvas for self-expression. With the different decoration methods and materials available, you can personalize your water bottle to reflect your unique style and personality. Additionally, decorating water bottles can also serve as a reminder to stay hydrated and make a positive impact on the environment by reducing single-use plastic waste. So, get creative and have fun decorating your water bottle today!
Remember to always prioritize safety when choosing materials and cleaning your decorated water bottle. And don’t be afraid to experiment and come up with your own unique ideas for decorating water bottles – the possibilities are endless! So, go ahead and show off your personalized water bottle wherever you go. Thanks for reading this article on how to decorate water bottles.
Angela Ervin
Angela is the executive editor of DIY quickly. She began her career as an interior designer before applying her strategic and creative passion to lifestyle and home. She has close to 15 years of experience in creative writing and online content strategy for housekeeping, home decorations as well as other niche efforts. She loves her job and has the privilege of working with an extraordinary team. She lives with her husband, two sons, and daughter in Petersburg. When she's not busy working she spent time with her family.


