
How to Design Fabric Prints
Fabric printing is a great way to add some personality and customization to your wardrobe. Whether you’re looking for a unique print for a special occasion or just want something different than the standard solid colors, designing your own fabric prints is a fun and easy project.
In this post, we’ll show you how to design fabric prints and provide some tips on how to create beautiful prints that will make your clothes stand out from the crowd. So get ready to unleash your creative side and start printing!
Can You Design Fabric Prints?
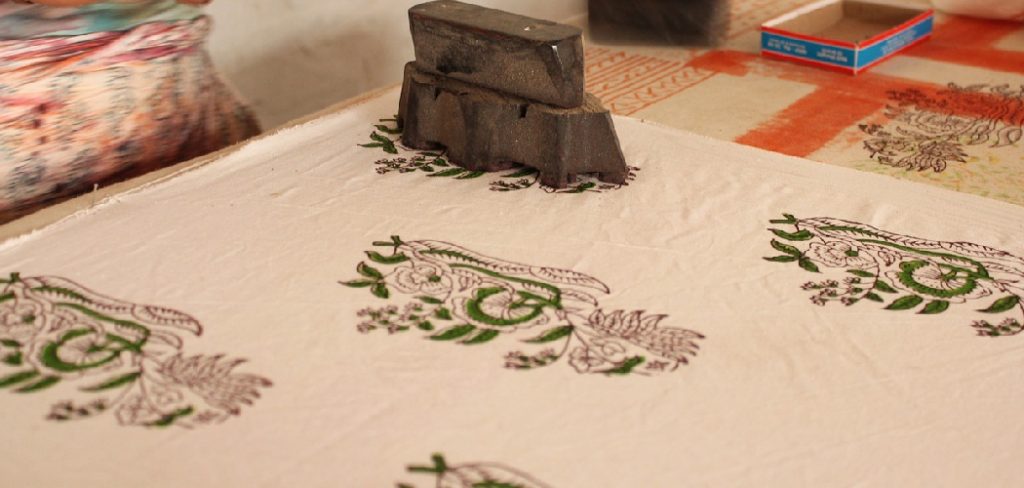
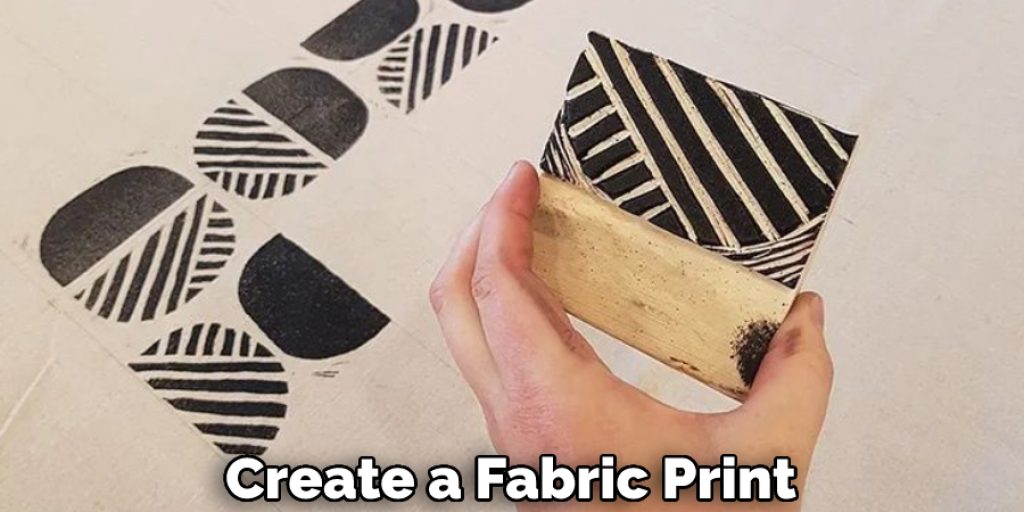
Yes, you can design your own fabric prints! There are a few different ways to go about doing this, depending on the look you’re going for. You can use a stamping method if you want a more traditional printed fabric. This involves carving a design into a piece of foam, dipping it in ink, and then pressing it onto the fabric.
You can also use stencils and paint to create a printed fabric. Simply apply the paint to the stencil and then press it onto the fabric. For a more modern look, you can try using digital printing. This method involves creating a design on your computer and then printing it onto the fabric using special inks.
Whichever method you choose, designing your own fabric prints is a fun way to add a personal touch to your home décor.
Why Should You Design Fabric Prints?
Fabric printing is an essential part of the design process, whether you’re creating a new line of clothing or simply personalizing a t-shirt. But with so many printing methods available, it can be difficult to decide which one is right for your project. Here are just a few reasons why digital fabric printing is a great option for any fabric design:
Digital fabric printing is extremely versatile, allowing you to print on various fabrics, including silk, linen, and cotton. The prints can be as simple or complex as you like, and the colors are always vibrant and accurate.
Digital fabric printing is also very efficient, with minimal waste. You can print exactly the amount of fabric you need without any leftover material.
Finally, digital fabric printing is extremely cost-effective, especially when compared to traditional screen printing methods. You can print small batches of fabric at a fraction of the cost, making it a great option for new designers or anyone working on a tight budget.
How to Design Fabric Prints in 7 Easy Steps
Step 1. Know Your Audience
The first step in designing any fabric print is to know your target audience. What age group are you designing for? What style do they prefer? What colors do they like? Knowing the answers to these questions will help you narrow down your design options and create a fabric print that appeals to your target market.
Step 2. Keep It Simple
When it comes to fabric prints, less is definitely more. Complicated designs can be difficult to reproduce on fabric and can also be a turn-off for potential customers. Stick with simple patterns and shapes that will easily translate onto fabric.
Step 3. Use Bold Colors
Bright, bold colors are always a good choice for fabric prints. They make the design pop and help it stand out from the other fabrics on the market. Plus, they can help you create a statement piece that will be sure to turn heads!
Make sure to use colors complimenting each other and avoid anything too garish. If you are unsure, consult with a professional colorist who can provide insight and advice. With the right combination of colors, your prints will be unforgettable.
Step 4. Choose Appropriate Fabrics
Now that you have your design ready, it’s time to select the right fabric for your print. Various types of fabric can give a unique look and feel to a design, and different weights and textures will affect how it appears when printed.
Consider factors such as breathability, durability, and cost before deciding. If you are unsure, consult with a fabric specialist who can advise on the right choice for your project.
Step 5. Consider Placement Options
Where you place your design on the fabric will also have an effect on its appearance and overall impact. Think carefully about where to position it, as this can help your design to stand out and draw the eye.
Step 6. Print It Out
Once you have decided on a design, fabric, and placement option, it’s time to print! If you are printing in-house, ensure you have a high-quality printer that is up to the job. If not, it may be worth investing in a professional printing service that produces the highest quality results.

Step 7. Consider the Repeat
Once you have sketched your design, take a step back and think about the repeat. This is the distance between one instance of your design and the next instance of your design.
A small repeat means that your design will be printed over a smaller area, while a large repeat means that it will be printed over a larger area. Choose a repeat size that makes sense for your design; too small and it might get lost in the fabric; too large and it might overwhelm the eye.
That’s it! You’ve now learned how to design fabric prints in just seven easy steps. Get creative and experiment with different color combinations, fabrics, and placements to create something truly unique. With the right approach, you can create beautiful fabric prints that will make a lasting impression on your customers. Good luck!
Things You Need to Know Before Design Fabric Prints
When it comes to fabric printing, there are a few things you need to know in order to get the best results. First, it’s important to choose the right kind of fabric. Different fabrics absorb ink differently, so it’s important to select a fabric that will work well with your chosen printing method.
Secondly, you need to consider the design of your print. If you’re planning on using a complex design, it’s important to make sure that the file you’re using is high-resolution and that the print will be big enough to see all the details. Finally, you need to take care of the finished product.
Most fabrics need to be heat-sealed in order to set the ink, so be sure to follow the manufacturer’s instructions carefully. With a little planning and attention to detail, you can create beautiful fabric prints that will last for years.
Benefits of Design Fabric Prints
There are many benefits to designing fabric prints. First, they can add a personal touch to any room. Whether you choose a colorful print for your living room or a more subdued pattern for your bedroom, fabric prints can help create a unique and inviting space.
Second, fabric prints can disguise furniture or walls’ flaws. If you have an old chair that is starting to show its age, covering it with a printed fabric can give it new life.
Similarly, if you have a wall with a few cracks or chips, hanging a fabric print over it can help conceal the imperfections. Finally, fabric prints can add visual interest to any space.
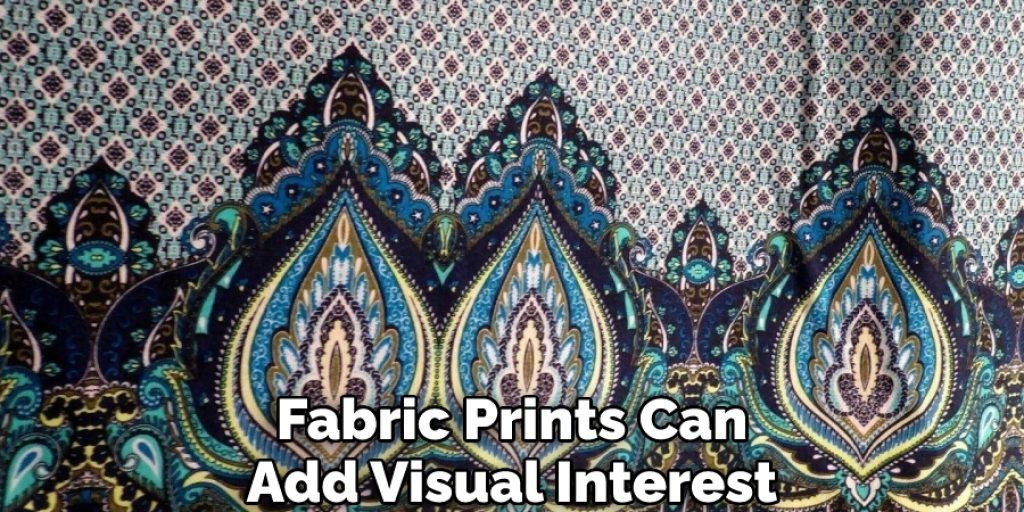
Whether you use them to brighten a dull corner or add a pop of color to an otherwise neutral room, fabric prints can help breathe new life into any home.
Some Common Mistakes People Make When Trying to Design Fabric Prints
Fabric printing is a complex process that requires a great deal of care and attention to detail. Unfortunately, many people make simple mistakes that can ruin their fabric prints. Here are some of the most common mistakes people make when designing fabric prints:
One common mistake is using the wrong type of fabric. Certain fabrics, such as silk, are not meant to be printed on. Printing on the wrong type of fabric can result in the colors bleeding or the design looking distorted. Another mistake people often make is not pre-washing the fabric.
This can cause the colors to run or bleed when the print is applied. Finally, many people underestimate the importance of choosing the right ink. Using low-quality ink will result in a faded or blurry design. If you take the time to avoid these common mistakes, you will surely create a beautiful fabric print.
How to Create a Custom Fabric Design
If you’ve ever wanted to put your own personal stamp on a piece of fabric, creating a custom design is the way to do it. The process is relatively simple, and the results can be stunning. All you need is a blank piece of fabric and some fabric markers.
To start, sketch out your design on a piece of paper. Once you’re happy with it, begin tracing the outline onto the fabric with a pen or pencil. Then, fill in the details with the fabric markers.
You can use as many colors as you like, and there’s no need to be neat – this is your chance to be creative! When you’re finished, let the design dry completely before handling the fabric.
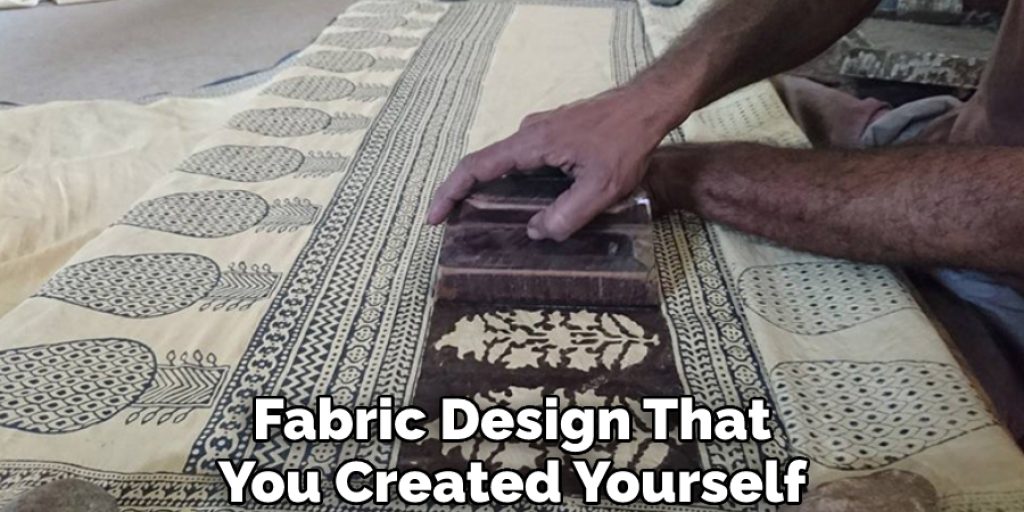
Now you have a one-of-a-kind fabric design that you created yourself! You can use it to make clothing, accessories, home decor items, or anything else you can dream up. So get creative and see what you can create!
Conclusion
Designing your own fabric prints is a great way to add a personal touch to your sewing projects. By using the right tools, understanding the basics of design, and experimenting with different techniques, you can create unique designs that are sure to make your creations stand out.
With a bit of practice and patience, you’ll be creating beautiful fabric prints in no time! Thanks for reading our post about how to design fabric prints.
Nancy Behan
Nancy is an embroidery artist, fashion blogger and a full time editor at DIY quickly. Nancy edits the fashion section on DIY quickly, focusing on the embroidery and cross stitch articles, alongside with fabric and other costume design elements. She graduated from the University of Michigan with a Bachelor of Arts in Art History. She loves to work on her own projects, read books and watch romantic movies in her spare time.


