
How to Draw a Piece of Paper
Drawing a piece of paper is simple. Start by drawing a small box and then making the top horizontal line shorter than the bottom one, as this will help to give it perspective. Once you have drawn out your rectangle, draw in the three lines that make up the edges of your sheet of paper and its corners.
There are no hard and fast rules about how many sheets should be on an A4 size page, but I’ve suggested five below for those who enjoy experimenting with design ideas. For those who wish to include space for writing on their sheet of paper or sketching out some drawings, you can either leave a blank area on one side or simply use boxes around it. In this post, we’ll go over the basics of how to draw a piece of paper that will eventually become your new skill to brush upon.
3 Methods to Draw a Piece of Paper
In this section of the article, we’ll go over different styles for drawing a piece of paper. You can use these drawings as a basis for your own art and craft projects, so have fun with them. These three methods are considered the easiest for drawing a piece of paper, though we have included some tips and tricks to help you draw a sheet of paper more accurately.
Method 1: Normal Paper
Good for a beginner or a child to use. Shows the basic dimensions of a regular-sized piece of paper. Of course, it can be modified to meet your own specifications.
Step 1:
Draw a horizontal line, and then join it to an obtuse triangle with a vertical line that is on top of the horizontal line.
Step 2:
Add on some more lines on the right side to give it depth.
Step 3:
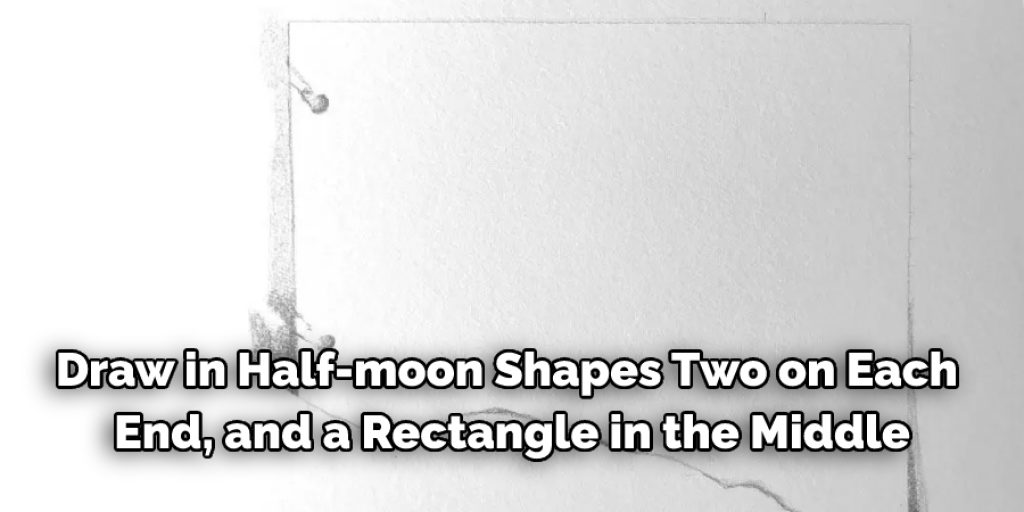
Draw in half-moon shapes, two on each end and a rectangle in the middle.
Step 4:
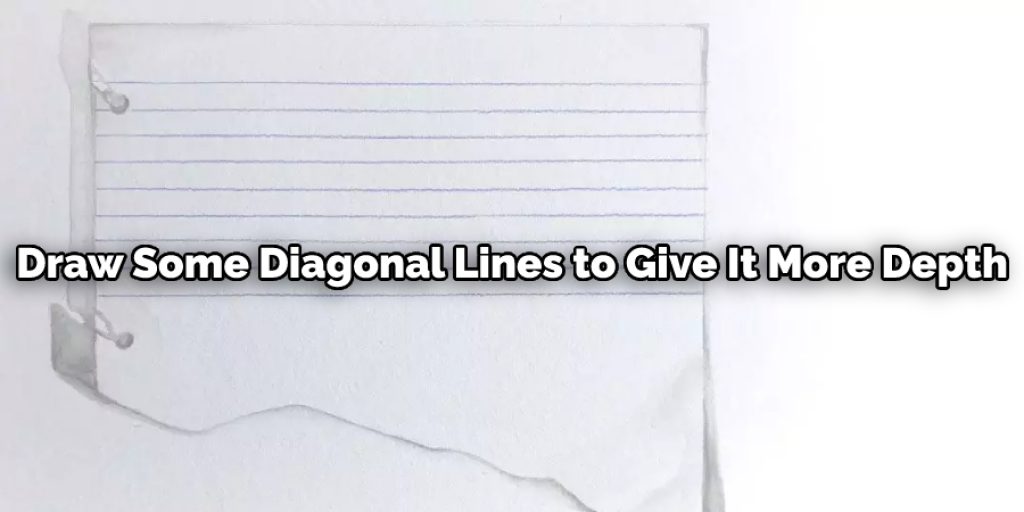
To make your paper look three-dimensional, draw some diagonal lines on it. Add two little shapes at the end of each triangle to make one corner of your paper stand out.
Method 2: Paper with Lines
This is good for children who are just learning how to draw objects, especially if you want them to draw lines on a regular piece of paper.
Step 1:
Get a piece of paper, like the one you would use in math class. It should be 8 ½” by 11″ (A4 Size), which is slightly bigger than most American papers.
Step 2:
Draw two diagonal lines across the page, dividing it into four parts, horizontally and vertically. The four shapes they form should look like little boxes.
Step 3:
Draw two diagonal lines in each box, giving you eight lines in all. These are the lines that are going to be crossed when you have your child draw on the paper.
Step 4:
Get a ruler and put it across one of the diagonal lines so they know which lines to draw on.
Step 5:
Have your child color the paper. They can draw on it with a pencil, crayon, marker, or paintbrush when done.
Method 3: Paper Folded in Half

This is how you’d want to show your child how to fold a piece of paper if you wanted them to cut out something symmetrical and need to be folded in half.
Step 1:
First, fold the paper in half and make a crease with your thumbnail. It’s important to get the fold crisp and straight. A dull crease will not cut very well. Once you’ve made a nice, crisp line (the fold side is completely horizontal), unfold it and lay it flat again. Fold it in half in the opposite direction, meeting the edge of the crease you just made.
Step 2:
Now take your scissors and cut along this line (the folded edge) all the way across. This is how it should look when finished.
Step 3:
You will then open it up so that both halves are flat again. Take some scissors and cut from the inside of one half to the other, about an inch away from the fold. Make sure that you don’t poke through the other side, or you’ll have a weird-looking rectangle on your paper.
Step 4:
Fold this piece of paper in half again along the line you just cut, and it should look like this.
Step 5:
Now take some more scissors and poke it into the crease you just made, not cutting all the way through but making sure you get close to the edge on both sides. Don’t worry if your cuts don’t line up perfectly. Just try to do your best. This is what it should look like after you have done this.
Step 6:
Now open it up again so that the crease is in the center with both halves laying flat. Fold it in half one more time, then carefully cut along the edges of all four sides of your paper piece (the two outermost ones won’t get you anything). Cut only about 1/8″ away from the creases, and make sure that you don’t poke through on the other side. After this, unfold it; you should have a square cut out of your paper!
Some Tips and Suggestions:
1. Begin with drawing a rectangle. You can make it any size you want, but ensure that when it’s folded in half, the width is at least the height of the paper.
2. It doesn’t have to be perfect! Folding paper can be hard! If you don’t get it right the first time, that’s okay! Just keep trying.
3. Draw the lines that are caused by the folds between each section of the paper. If you want to, you can draw a squiggly line along the edges for decoration!
4. Make sure to cut out your piece of paper along the fold lines to make it look like real paper.
5. Make sure to color your paper! You can make it a solid color or you can go ahead and add doodles and other decorations.
6. Finally, you should cut out your piece of paper along the fold lines to look like real paper!
Conclusion
Drawing a piece of paper is an easy process that can be done by following these steps. You first want to fold the sheet of paper in half, so it creates two sheets, one on top and one underneath. Next, draw your desired shape with the pencil onto the bottom layer of paper before flipping it over to reveal what has been created.
It’s important not to press too hard when drawing, or this will cause thick lines, which are difficult for someone else to interpret clearly. Finally, cut out the figure from both layers of paper using scissors and then unfold them back into their original positions.
If you still have any questions about how to draw a piece of paper or something specific, feel free to contact us! We would love to help make your drawing experiences much more fun and enjoyable!
You May Also Read Our Other Article On – How to Draw Mehndi Designs Step by Step on Paper
Elizabeth Davis
Elizabeth is a creative writer and digital editor based in the United States. She has a passion for the arts and crafts, which she developed from a young age. Elizabeth has always loved experimenting with new mediums and sharing her work with others. When she started blogging, she knew that DIYquickly would be the perfect platform to share her tutorials and tips. She's been writing for the blog from the beginning, and her readers love her helpful advice and easy-to-follow instructions. When she's not writing or editing, Elizabeth enjoys spending time with her family and friends.


