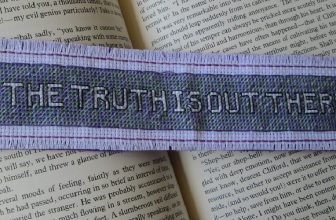
How to Do an Outline Stitch
Do you need help completing an outline stitch on your next craft project? If so, look no further! Outline stitches are commonly used in crochet and knitting projects to reinforce the shape of a pattern. With this helpful guide, you’ll be able to effectively complete any outline stitch technique with confidence. We’ll start by discussing what an outline stitch is and why it is beneficial for various crafting tasks.
Next, we will go through the steps needed to execute a perfectly placed cut and finally review tips and tricks that can help you achieve success with ease. Don’t hesitate – to grab your materials today!
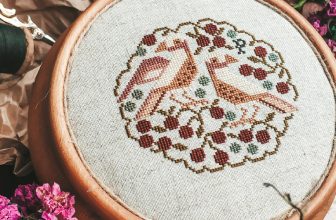
Outlining your embroidery project can seem daunting if you’re a stitching beginner, but it doesn’t have to be! With the right materials and knowledge, learning how to do an outline stitch will quickly become second nature. In this blog post, we’ll explain how to do an outline stitch. Whether you want advice on prepping fabric or tips on finishing stitches in one neat line — there’s something here for everyone who wants to bring out the best detailing of their projects!
Why May You Want to Do an Outline Stitch?
1. To Add Dimension to Fabric Pieces
One of the most common uses for an outline stitch is to add extra dimension and texture to fabric pieces. An outline stitch can be used to create interesting designs that draw attention, while also making the piece more durable.
2. To Secure Different Pieces of Fabric Together
Another reason why you might want to do an outline stitch is to secure two or more different pieces of fabric together. Also known as an overcast stitch, this type of stitch is used to join two pieces of fabric and prevent them from fraying.
3. To Reinforce Seams
An outline stitch can also be used to reinforce seams in a garment or other item made out of fabric. This will help ensure that the seams are secure and last longer than they would without reinforcement.
Overall, an outline stitch can be used for a variety of different purposes and can add a unique look to any fabric item. It is a great way to make sure that your project lasts longer and looks better than ever before. So if you’re looking to give your fabric projects a little extra something special, consider giving an outline stitch a try!
How to Do an Outline Stitch in 5 Easy Steps
Step 1: Gather All The Tools You Will Need
The very first step is to gather the necessary tools you will need for the outline stitch. You’ll want a sharp needle, embroidery floss, and a piece of fabric that has been cut to size.
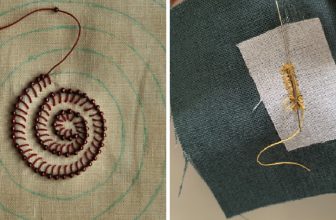
Step 2: Create Your Outline
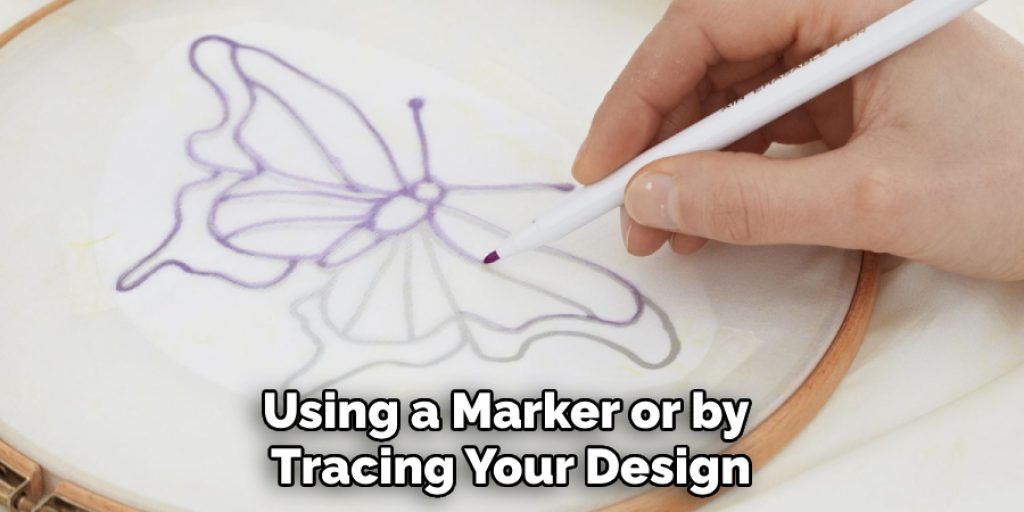
The next step is to create your outline. This can be done either by using a marker or by tracing your design onto the fabric. If you are hand tracing, be sure to use a ruler or other straight edge for accuracy. Also, make sure that the lines you draw are as smooth and even as possible.
Step 3: Begin Stitching
Once your outline is complete, it’s time to begin stitching. Start at one end of the design and use a basic running stitch or backstitch to follow your outline all the way around. Make sure to pull the thread tight after each stitch so that your stitches are even and the fabric doesn’t bunch up.
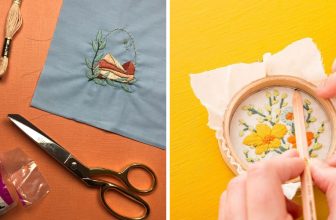
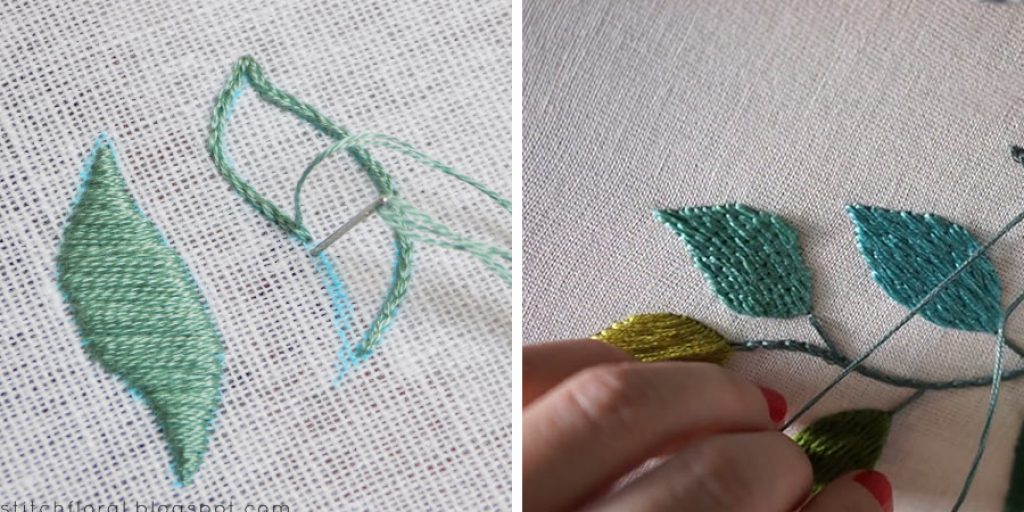
Step 4: Fill In The Design
Once your outline is complete, it’s time to start filling in the design with a variety of stitch patterns. Use simple backstitches or running stitches to fill in smaller areas, and longer chain stitches for larger areas. You can also use split stitches, French knots, and other decorative stitches to add texture and interest to your design.
Step 5: Secure Your Threads
When you are finished with the embroidery, it’s important to secure all of the threads so that they don’t come undone. To do this, tie a knot at the end of each thread before trimming off the excess.
Some Extra Tips to Do an Outline Stitch
1. Do Not Pull Too Tightly
When doing an outline stitch, it is important to make sure that the thread is not pulled too tightly. The idea is for the stitches to be even and uniform in size and shape. If the thread is too tight, it may cause puckering in the fabric or distort the outline of the stitches.
2. Check Your Tension
When you are stitching, it is important to check your tension. The tension should be set so that the stitches do not come undone easily. If they are too loose, the stitches may become unraveled and unprofessional looking.
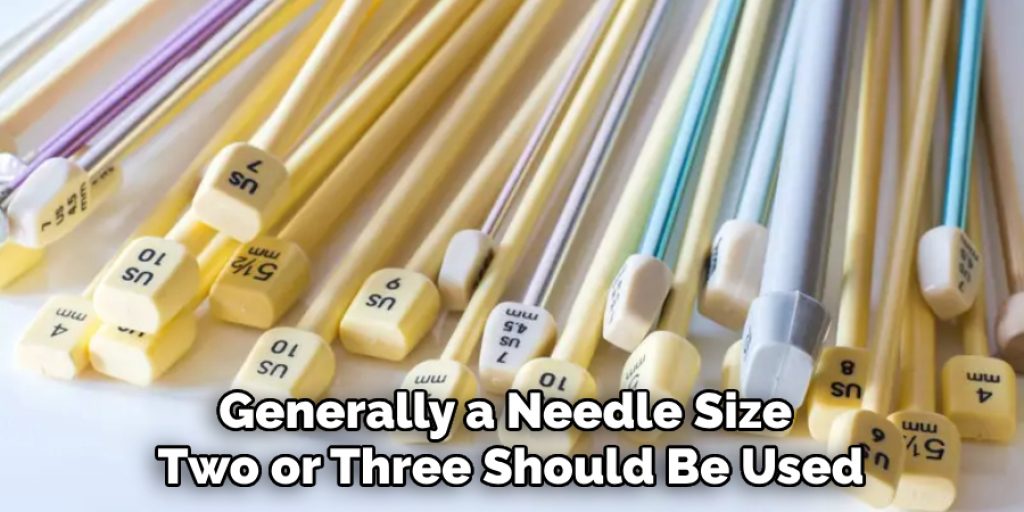
3. Adjust Your Needle Size
The size of the needle used for an outline stitch can vary depending on the type of fabric being used. Generally, a needle size two or three should be used for lightweight fabrics, such as cotton or silk. When working with heavier fabrics, like denim or canvas, a larger needle may be needed to ensure that the stitches are properly secured through the multiple layers of fabric.
4. Plan Your Stitch Directions
When doing an outline stitch it is important to plan out your stitch directions. You will need to decide in which direction you want the stitches to go, as well as how many stitches you will use for each section of the outline. Doing this ahead of time will help ensure that the pattern looks even and professional when completed.
5. Practice Makes Perfect
Last but not least, practice makes perfect. Don’t be afraid to make mistakes and take the time to practice before beginning your project. Doing an outline stitch can take some time, so make sure you have enough of it to finish the job correctly!
With just a few simple tips and lots of practice, you will be able to master the art of the outline stitch in no time. Good luck!
Frequently Asked Question
What Precautions Should I Take Before Doing an Outline Stitch?
Before you begin any sewing project, it is important to take safety precautions such as wearing eye protection and gloves. Additionally, ensure that the fabric for the project is properly secured on the machine and that your needle is sharp and in good condition. This will help ensure your stitches turn out even and neat. Also, it is important to check the tension of your thread before beginning.
What Type of Thread Should I Use for an Outline Stitch?
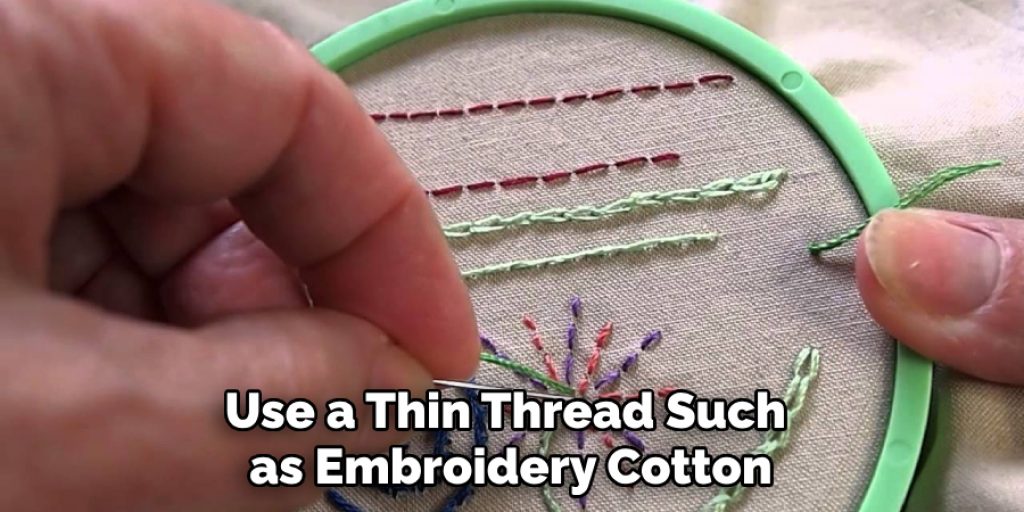
Typically, you should use a thin thread such as embroidery cotton or silk when completing an outline stitch. These types of threads are lightweight and will not make the fabric too bulky. Additionally, they provide a neat finish and make the stitching look more professional.
How Do I Secure the Thread After Finishing an Outline Stitch?
After finishing your outline stitch, it is important to secure the thread on the back side of your fabric. To do this, simply tie a small knot at the end of your thread and cut off any excess. This will help ensure that your stitches remain secure and in place.
What Types of Projects Can I Use an Outline Stitch For?
An outline stitch is a great option for a variety of projects, including quilting, embroidery, clothing, and home decor. The additional detail the stitching provides can make any project look more finished and polished. Additionally, you can use different colors of thread to create interesting designs and patterns.
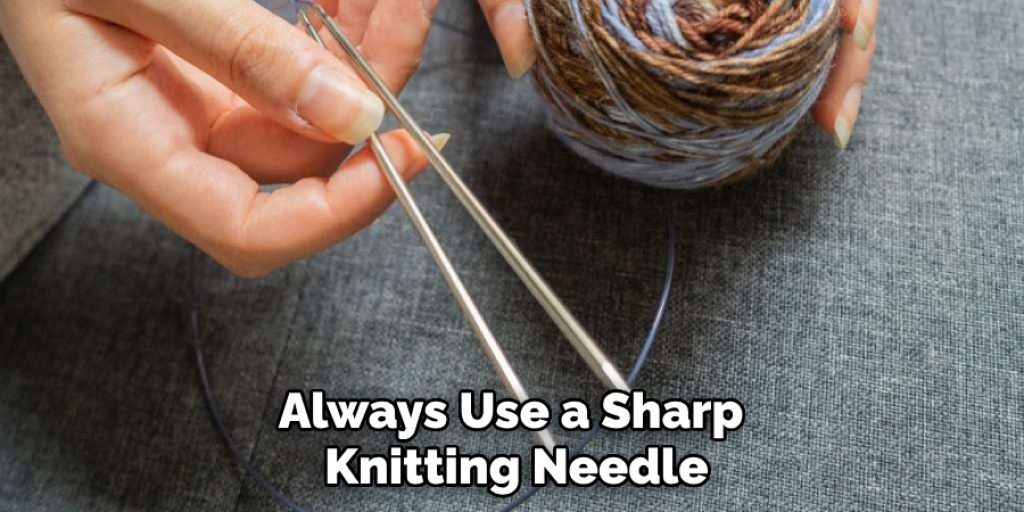
What Are Some Tips for Doing an Outline Stitch?
Always use a sharp needle. This will make the stitching easier and neater. Test your tension beforehand to ensure that it is not too tight or too loose. Before beginning, draw out the pattern you want to stitch onto the fabric. This will help you keep your stitching consistent and even. Additionally, always use a hoop or frame to hold your work in place while stitching. Finally, take your time and be sure to backstitch at the end of each stitch line to secure it in place.
These tips can help make sure your outline stitching turns out to look neat and professional!
Conclusion
Now you know how to do an outline stitch! Outline stitching is a great technique to help add texture and dimension to your projects. With a bit of practice, you can create beautiful designs that are sure to stand out from the crowd. Don’t be afraid to try different thread colors and stitch sizes for different looks.
The possibilities are almost endless when you enjoy time spent in the creative zone! Why not start today by picking up some thread colors and sketches that inspire you? Doing something small every day can help bring forth an amazing result and turn your ordinary fabric into something extraordinary! So get out there and let your imagination run wild with outline stitching!
Nancy Behan
Nancy is an embroidery artist, fashion blogger and a full time editor at DIY quickly. Nancy edits the fashion section on DIY quickly, focusing on the embroidery and cross stitch articles, alongside with fabric and other costume design elements. She graduated from the University of Michigan with a Bachelor of Arts in Art History. She loves to work on her own projects, read books and watch romantic movies in her spare time.