
How to Do Miniature Art
Do you love miniature art? Or are you interested in learning more about it? In either case, this blog post is for you! We’ll provide some basic tips on how to do miniature art and share some inspiring examples. So whether you’re a beginner or an experienced artist, keep reading to learn more!
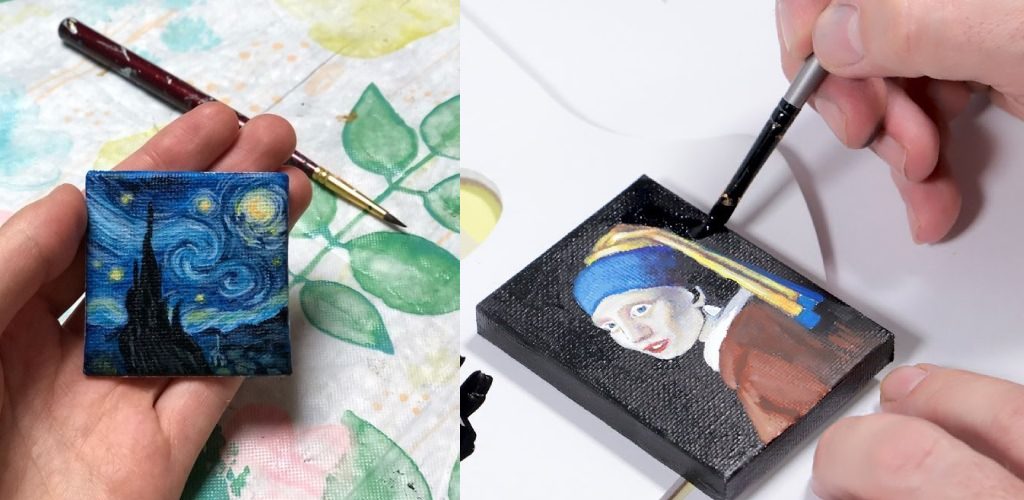
Miniature art is a unique and engaging way to create small works of art. While it may seem daunting at first, you can create amazing pieces in a very small space with some practice and patience. In this blog post, we’ll go over the basics of miniature art, from choosing your subject matter to adding the finishing touches. So get ready to be inspired, and start creating some miniature masterpieces of your own!
12 Ways on How to Do Miniature Art
01. Plan your Drawing
Before you jump right in, plan your drawing. Sketch out the design on paper before starting it on the miniature stage. More planning beforehand saves time and effort in the long term. In addition, it is easier to avoid mistakes if you know what you will make before you make it. Step 2. Create the Base The base is the foundation of your creation. It needs to be strong enough to support your castle while also being easily removed from the surface it is on. This is accomplished by using a hot glue gun and cardboard.
02. Project Time
Most of the time, the average miniature artwork takes a week or two, depending on how detailed it is and your experience level. In general, expect a couple of hours every day for several weeks. Of course, the larger the project, the longer it will take. How do you seal a painted miniature? One of the most important things to do with painted miniatures is sealing. Miniatures need to be sealed to protect the paint job, and make them look their best.
03. Choose Your Subject
You can choose anything to draw as long as it fits your miniatures’ scale! For example, I like to do food because it’s fun and challenging to make it realistic. It’s not easy, but it can be done! There are also a lot of online tutorials out there that can help you get started.
04. Paint the Grass
You can use a thin paintbrush or a spatter brush for this part. Dip the thin paintbrush into the grass color and then tap it against the side of your container to remove excess paint. Next, brush just above the miniature’s surface to create grass tufts. Use several different colors of green, brown, and yellow to make a realistic-looking grass color. The colors will blend together to make grass. You can add a drop of water to your grass paint to help it spread, if desired. You can also use a toothpick or other sharp object to dab individual tufts of grass into the paint and then place them on the miniature.
05. Paint the Rocks
Draw a circle around where you want your rocks to be using a pencil or an eyeliner pencil. Use the spatter technique to make dirt areas under and around the rocks. Paint some of the rock brown for a realistic look and use black for shadows. It will have a great effect if you use a lighter shade for the middle of the rocks.
06. Add Details to Your Miniature
Draw some low-lying plants using the leaves technique and color them with green paint. Then add details to your scenes, such as a log, a bird’s nest, or other small objects to make them more realistic. You can also add people or animals if you want to give it an anthropomorphic touch! Here are some examples of low-lying plants that you could use in your drawings: Ferns, Mosses, Lichens, Liverworts, Cycads, Palm trees.
07. Create Underpainting
This step is optional, but it’s a good idea to create an underpainting before you paint in any solid colors. Make sure that your Underpainting complements the lighting and mood of your miniature! Use this time to practice painting values and color temperatures. You can also experiment with different painting techniques like dry brushing and sponging.
08. Paint Your Miniature With Colors
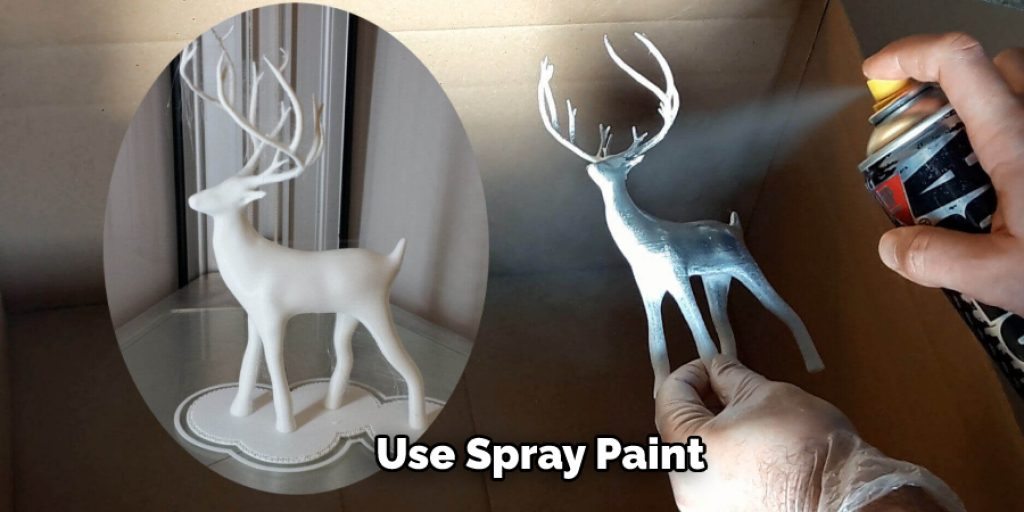
To paint your miniature, you can use either acrylic or spray paints. Make sure to give your small plenty of time to dry before touching it; otherwise, it might smudge! When painting with acrylics, thin the paint with water to make it easier to work with. You can also use a hairdryer on the lowest heat setting to speed up the drying process.
09. Make It Sparkle
After applying your first coat of paint, let it dry completely before applying another coat. Then, once that layer has dried, add shiny details with either spray paint or nail polish. If you want to add a metallic sheen, use spray paint. Otherwise, go for the nail polish, and be sure to seal it with a clear topcoat so that it doesn’t rub off.
10. Varnish and Frame it
When you have completed your miniature painting, let it dry for a couple of days before varnishing it. After that, you can use acrylic matte medium or spray varnish to seal the paint and protect it from damage. Once the varnish is completely dry, display it in an acrylic case so that people can see all sides of it. If you don’t like how it looks, take a picture instead and edit it to become an art piece on your computer!
11. Add sky, Trees, and Hedges
Use the same spatter technique with green paint to create long grass; it looks like hedges. Use different shades for different kinds of plants and trees. Use lighter colors for plants and darker ones for trees.
12. Enrich the Colors
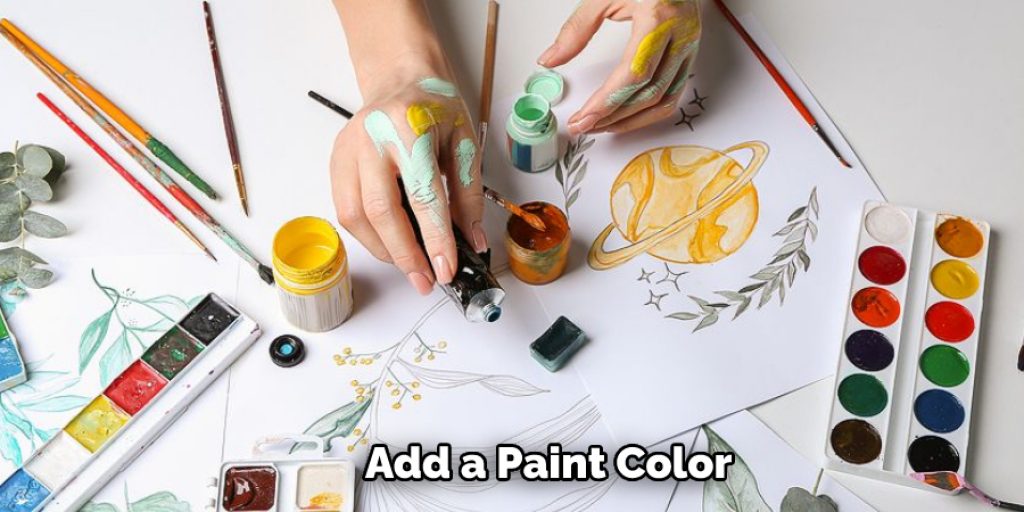
Use different shades of green for grass, browns for bushes and other plants, yellows, or white for flowers. You can also add color to the sky! Do this by choosing a shade lighter than the darkest color you used for your trees, and then paint a gradient. You can use the sky as a backdrop to create interesting color contrasts between your trees and other plants.
Some Tips and Suggestions
Here are some tips and suggestions on how to do miniature art.
1. To paint small, you need a magnification device. We recommend using a magnifying lamp.
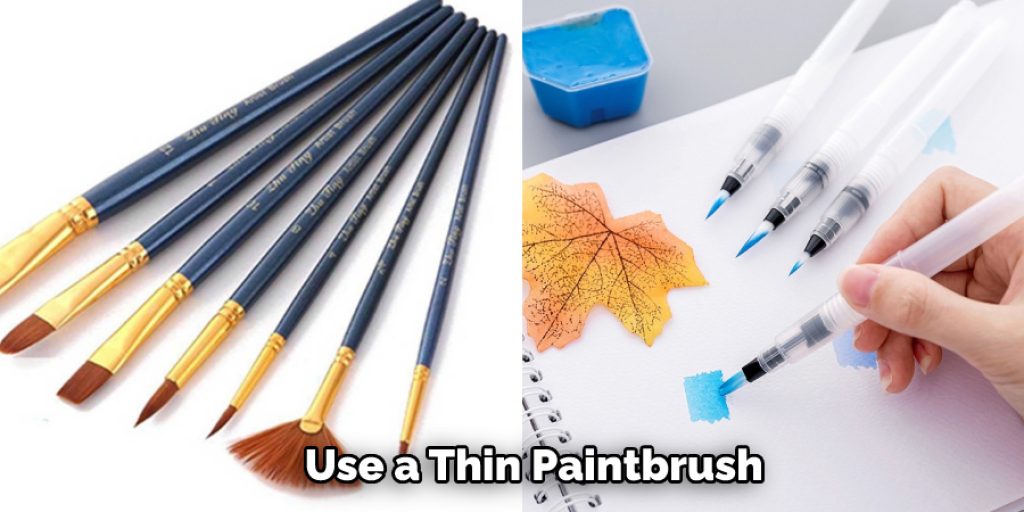
2. Use brushes made for painting miniatures and other small artworks. You can find high-quality miniature brushes in most art stores, especially in places that sell supplies for model train building and similar hobbyists. They’re often around the same price as larger brushes, but they’re much smaller and thus better for miniature artwork.
3. You can use standard tabletop paints on your miniatures, but you might have to thin them out a bit; add in some distilled water until it’s about the same thickness as your normal paints. Also, keep in mind that miniatures are usually meant to be painted on with two strokes: the first is the basecoat, and the second adds detail.
4. Keep your brush clean! If you’re unsure how to do this, dab it on some paper towel each time you switch colors.
5. Have a steady hand! You can’t have bad handwriting when painting miniatures. Take your time placing the brush on the miniature so that it doesn’t shake and leave unwanted paint behind.
6. Don’t forget to clean your hands before you start working!
7. If you don’t have red ink, you can mix a bit of orange with blue for the same color.
What Do You Need to Make Miniatures?
You don’t need much to make miniature art. You can start right away if you have some paper, a pencil, and an eraser. For the best results, though, press a sharp pencil into a block of white beeswax about the size of a crayon. Then, rub it across a sheet of good drawing paper. The waxed surface will hold your soft pencil marks better than plain paper.
It would help if you also had something to make tiny marks with a thin paintbrush, pin, or needle. Again, keep these marks as small as possible, but don’t worry if they’re bigger than the head of a pin-they’ll still look tiny when you’re finished.
How Much Do Miniature Artists Make?
Miniature artists work on tiny pieces of art that fit into the palms of their hands. They often use small tools such as tweezers and paintbrushes, which can be tricky to handle even when the artist’s hands are big enough for them. In addition, these miniature works of art can be impossible to make out with the naked eye and would need a powerful magnifying glass or a microscope
Miniature art is a particularly competitive market because so many artists are vying for the same spaces in galleries and art fairs worldwide. It’s also a prevalent genre, which means even if you take a lot of time to produce your work, it could end up being overlooked. It’s a good idea to find your niche within the genre or experiment with different styles if you want some sure-fire way of standing out from the crowd.
What Are the Main Features of Miniature Painting?
Miniature art comprises many different drawing styles, subjects, and techniques. Some artists favor realism while others are abstract. Some artists focus on historical art, while others are fantasy artists.
Miniature painting can be challenging because of the small size of its canvas. There is also usually a short time limit to complete the piece due to the challenges of painting on this scale. This may require numerous hours of concentration and patience for very small details.
Conclusion
Art is a way to express creativity and explore new ideas. You can create beautiful artwork that expresses your style and personality with the right mediums. It’s important to experiment with different types of art to decide which one best suits what you want to accomplish as an artist. Miniature arts are very popular because they’re small but still detailed enough for incredible detail work on each miniature piece.
This blog post has given some tips on how to do miniature art pieces at home! The small scale of these art pieces makes them perfect for people with limited space, and the materials are easy to find. So, with a bit of patience and skill, you can create your miniature masterpiece!
Elizabeth Davis
Elizabeth is a creative writer and digital editor based in the United States. She has a passion for the arts and crafts, which she developed from a young age. Elizabeth has always loved experimenting with new mediums and sharing her work with others. When she started blogging, she knew that DIYquickly would be the perfect platform to share her tutorials and tips. She's been writing for the blog from the beginning, and her readers love her helpful advice and easy-to-follow instructions. When she's not writing or editing, Elizabeth enjoys spending time with her family and friends.


