
How to Draw Cool Things on Graph Paper
Drawing cool things on graph paper can be a lot of fun and not as difficult as you might think. In this blog post, we will explore different ways how to draw cool things on graph paper using nothing but a sheet of graph paper and a pencil.
In the first section, we’ll give you some tips for adding detail that makes your drawing look more realistic. In the second section, we’ll go over how to draw an object from one side so it looks like it’s coming out from behind another object in your drawing.
Finally, in the third section, we’ll discuss making simple objects look more interesting by adding details such as shadows or highlighting lines. If you want to learn more about these techniques, continue reading this blog post.
What is Graph Paper?
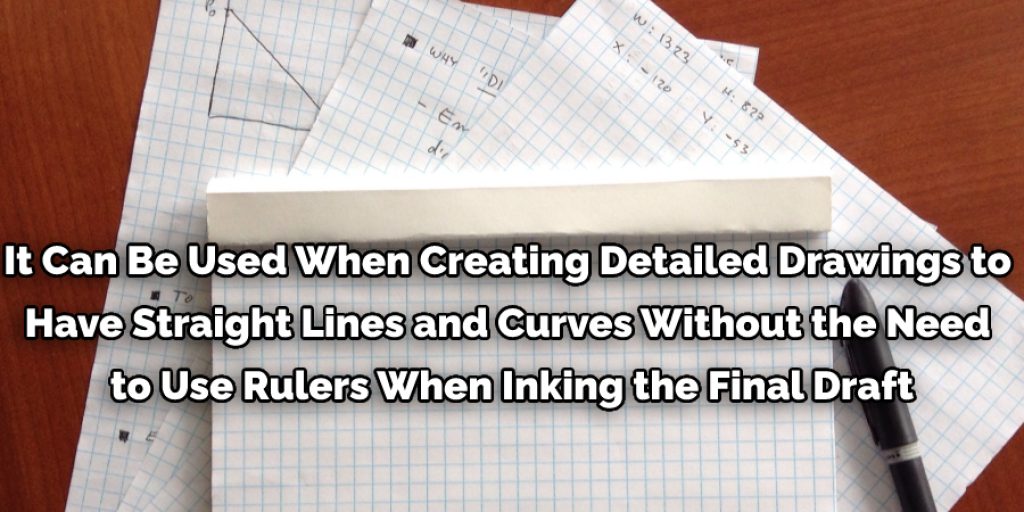
Graph paper, or grid paper, is a drawing medium consisting of a sheet of graph paper with small uniform grids printed on it. It can be used when creating detailed drawings with straight lines and curves without using rulers when inking the final draft. It’s also useful for architects who want to draft blueprints.
Graph paper is available in different shapes, sizes, and grid densities. The more dense the grid lines are on the paper, the finer your drawings will be when using pencils or ink pens. However, less dense grids are better when using markers or paints not to fill up too quickly.
8 Cool Things To Draw on Graph Paper
1. The Angry Birds
The student should first draw a thin, skinny triangle for the body of one bird. The triangle should be large enough to fit all the characters in front of it. Next, the student should sketch out the bird’s arms by drawing short, thin lines coming from the sides of the triangle where the student determines that the bird’s hands should be.
Draw little circles for their heads and beaks, and add little dots for their eyes if you like. Draw the same triangles (but with larger dimensions) above and below the other bird to indicate its wings.
2. The Mario Brothers
For the first brother, draw a circle for his head. Outline his body by making a line that goes around it about an inch away from its edge. Draw two lines vertically down the circle to indicate where his arms should be placed on either side of his body, parallel with each other. You can sketch out the outline of one leg and indicate the other by drawing a line next to it.
3. The Minecraft Guy
Draw a box for each of his legs and place one line on either side of them parallel with each other to create his arms. His head should be made up of two circles, and then you can add dots for his eyes and mouth if desired. He may have a pickaxe in one hand, so you can use your discretion to draw it.
4. The Funky Ones
Draw thin, elongated rectangles for the upper and lower halves of the body. To create a midsection that resembles the game’s icon for this character, draw a series of smaller rectangles (with two parallel sides) within each rectangle.
Outline the head by drawing a long rectangle about the width of the body and two lines at either side of it to indicate its arms. Sketch out dots for eyes, and draw little squares if you like (or feel free to omit them entirely).
5. Mario and Luigi
Draw a circle for each of their heads and another one on either side of them to indicate the rest of their bodies. Draw two lines on each head for arms, and detail them with little circles. You can also draw a little square representing a belt buckle if you like.
6. The Princess Peach
Sketch out an upside-down triangle for her cap. Draw a line around it to indicate how high it should be in terms of the height of her head. Sketch a small upside-down triangle above the larger one to represent her hair, and then add two lines on either side of her head for arms.
7. The Ninja Turtles
Draw a small rectangle for their heads and then draw two lines on either side to indicate the arms. Add a line that goes around their faces right below where you’d expect their mouths to be, and sketch out another rectangle representing the shell. Detail it using little circles if you like, or simply leave it as is.
8. The Mega Man
Sketch out a box-like figure for his head and then draw two lines on either side of it to indicate his arms. Draw a line that goes around his face just below where you’d expect this character’s mouth to be, and outline the rest of the body by drawing an oblong shape connected to the head.
Steps To Follow: How to Draw Cool Things on Graph Paper

Step 1:
Decide on your subject matter, but we recommend choosing something with a few more details than just straight lines. You can draw anything on graph paper, though!
Step 2:
Outline what you want to make first without worrying about details or shading. It’s okay if it is not perfect, though!
Step 3:
Add details and shading to the final draft. Make it cool! If the graph paper is too distracting, you can erase it. That part’s up to you. When shading, the graph paper lines should blend into your work. If they are not, move on to step 4!
Step 4:
Add color. You can use colored pencils, pens, markers, crayons, or whatever works best for you. It’s up to you!
Congratulations! You have made something awesome on graph paper. Hopefully, you learned something new about creatively using graph paper! We hope you have fun with your new creation, and make sure to show it off!
Conclusion:
If you’re interested in how to draw cool things on graph paper, we hope the instructions and examples provided will help. The best way to start is by remembering that two types of lines are used for drawing graphs: horizontal lines and vertical ones. When choosing what line art or shapes you want to sketch out, keep these points in mind.
Start with a small dot at one end of your grid where both axes intersect. Draw an arrow from this point up diagonally until it reaches the top edge of the page, then go back down again along another diagonal line all the way across until you reach the other side horizontally below your starting point. The result should be an asymmetrical shape. If you’re looking for more information, please reach out to us! We are happy to help!
Elizabeth Davis
Elizabeth is a creative writer and digital editor based in the United States. She has a passion for the arts and crafts, which she developed from a young age. Elizabeth has always loved experimenting with new mediums and sharing her work with others. When she started blogging, she knew that DIYquickly would be the perfect platform to share her tutorials and tips. She's been writing for the blog from the beginning, and her readers love her helpful advice and easy-to-follow instructions. When she's not writing or editing, Elizabeth enjoys spending time with her family and friends.


