
How to Draw Burning Paper
Have you ever wondered how to draw burning paper? It’s a skill that can be hard to master but is also really impressive. So if you want to impress your family and friends with the next party trick, then this blog post is for you! Here we have tried to cover all the information on drawing a realistic-looking flame of fire.
There are several different techniques, but this one is for beginners and involves using only three colors. The other techniques use more colors and require drawing skills like shading so that they may be better suited for artists with some experience. You can draw any size flame you want, from small to large; the bigger the flame, the more detail is needed in your drawing.
Supplies You’ll Need:
- A pencil
- An eraser
- A sharpener
- Cardboard or thick paper for the final product
- Q-tips or cotton balls
- Some paintbrush
- Pencils and Crayons
Steps to Follow: How to Draw Burning Paper
Step 1: Draw the Paper
- Draw the side view of the paper, slightly elongated to show that it is bending away from us. Indicate some curvature in the lower right corner of the paper.
- Begin by drawing the side view of the paper. Remember to elongate the paper slightly to show that it is bending away from us. Make sure to include some curvature in the lower right corner of the paper.
Step 2: Draw the Burning Part
Draw a long smoky line across the paper. Note that this line does not cross the entire paper width, as smoke tends to stay in one place rather than traveling across a surface. The bottom part of this line should be greenish-gray and gradually fade into white at the top.
Step 3: Draw the Flames
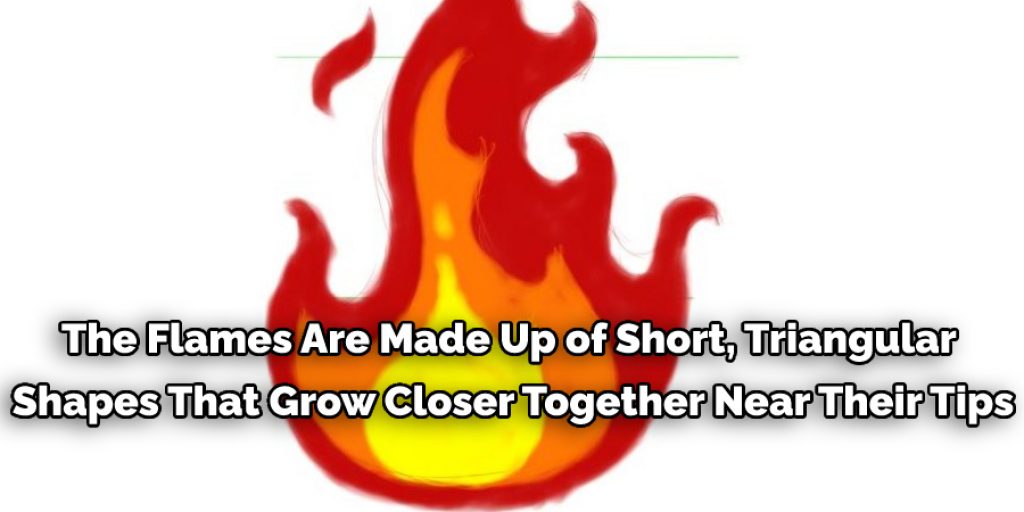
The flames are made up of short, triangular shapes that grow closer together near their tips. The shapes do not touch one another. A few of them should be jutting out into the long smoky line. These triangles are orange at their base and fade to yellow near the tip. A few small bright points of light should be visible near the base of the flame.
Step 4: Erase the Sketch Marks
Erase your sketch marks with a kneaded eraser or clean cloth to wipe away lines you do not want. Make sure your lines are complete and dark but leave a few white areas on the paper.
Step 5: Add Contrasting Values
Add contrasting values all over the drawing to deepen it. The white parts should have a light value while the rest of the paper is much darker. Use a variety of pencils in different grades of her values. These pencils should be harder than your eraser. As a result, the paper will have darker values near the burning part and gradually fade into white at the bottom. This can be accomplished by pressing harder with your pencil on the lower half of the sketch while keeping the same pressure on your pencil for lightness.
Step 6: Finish the Drawing
After you are satisfied with your contrast values, use a kneaded eraser to remove all of the marks that do not belong on the paper. The tops of the flames should have a dark value, and the darkest parts of the paper. This can be accomplished by lightly smudging those areas with a tortillon. Finally, add any shading to the flames that may be necessary and shade the dark bottom corners of the paper to give it more depth.
Some Tips and Tricks:
1. Make sure that the paper is smooth. If creases are in the paper, they will not roll up smoothly after being lit with a lighter or matches.
2. The tip of the flame is small at first but grows larger over time, so you should draw it slowly and then let it get bigger as you progress.
3. The tip is light blue or white, but it is often hard to see because of the yellow color of a burning flame, so make sure you shade the tip a little lighter than the base.
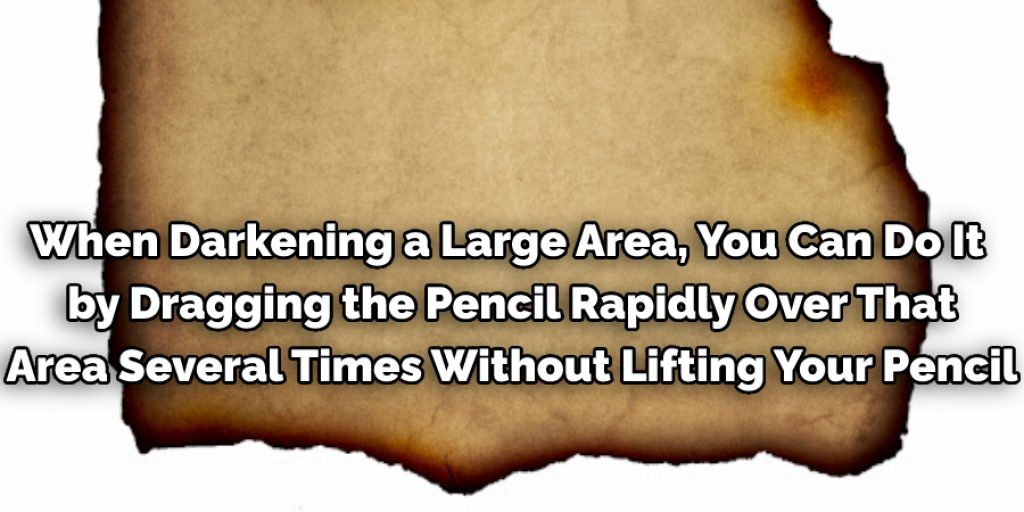
4. When darkening a large area, you can drag the pencil rapidly over that area several times without lifting your pencil.
5. Use shading to indicate where the light is coming from. Most of it will be right behind the flame, so shade that area more heavily than other areas. If there is a shadow of an object blocking some of the light (e.g., your hand), use deep and dark shading in that area instead of trying to make a “light” shadow.
6. You can use various pencils to shade with, but an HB pencil is a good all-around choice for drawing this type of picture. On the other hand, you don’t want your lead to break easily, or it will be harder to draw fine details and burn marks accurately.
7. Burn marks are small pieces of paper that have been completely charred and burned up. You can make them by drawing several tiny lines close together or scribbling a bit with your pencil at the end.
How Do You Make Paper Look Burnt?
You can use different colors depending on what you want to portray. However, using red is the most common. Using just pencils is easy, but it doesn’t look as real. A better option would be to use an ink pen or a marker that has red color on it. When drawing the lines coming from the paper, try to make them look like they are coming from the middle of the paper.
Make them all parallel with one another, and ensure they are spread across the entire sheet of paper. If you want to make it appear like fire underneath the paper, don’t draw any lines in that area. Instead, draw circles with red dots inside them. Also, draw some red dots on the sheets of paper to make them look like embers.
Conclusion:
The ability to draw a realistic burning paper is an invaluable skill for any artist. Many techniques can be used, but the most common ones involve shading and drawing little flames with different thicknesses of lines.
In this blog post, we have provided you with a step-by-step guide on how to draw burning paper. We hope that our instructions were clear and easy for you to follow! If not, feel free to reach out and ask any questions about the process. With practice, it should become second nature in no time at all. Happy burning!
You May Read Our Another Blog On – How to Make a Scared Face Drawing
Elizabeth Davis
Elizabeth is a creative writer and digital editor based in the United States. She has a passion for the arts and crafts, which she developed from a young age. Elizabeth has always loved experimenting with new mediums and sharing her work with others. When she started blogging, she knew that DIYquickly would be the perfect platform to share her tutorials and tips. She's been writing for the blog from the beginning, and her readers love her helpful advice and easy-to-follow instructions. When she's not writing or editing, Elizabeth enjoys spending time with her family and friends.


