How to Drill a Hole in a Door Frame
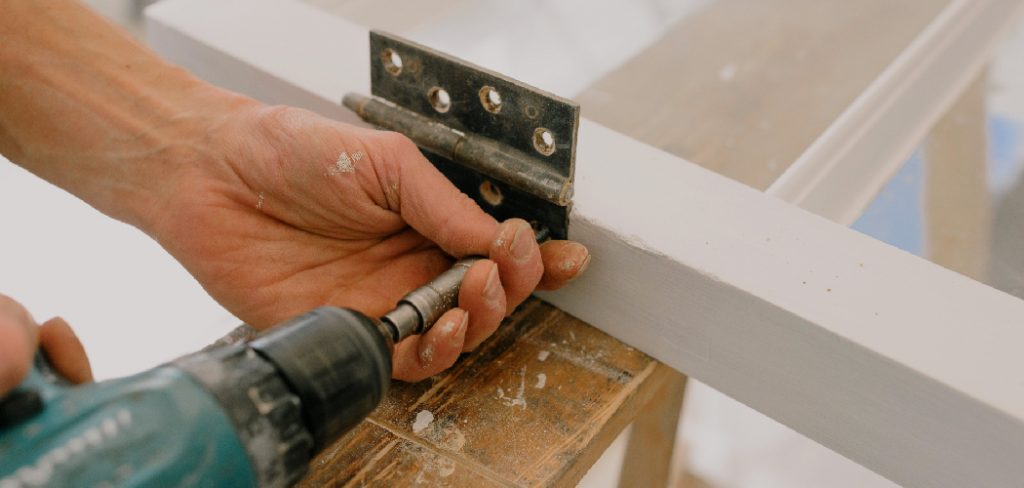
The door frames available in the market do not come with a hole in them because the manufacturers are not sure which type of lock the users will install in the door. For this reason, it is the user’s job to install the door lock, which requires a drilling a hole in the door frame. Many techniques can be followed for this purpose, and we are going to explain to you one of the most straightforward methods to drill a hole in a door frame, which will be beneficial.

Requirements
This process requires some delicate elements. Some of them are mechanical tools, and some of them are manual tools. You will need a pencil and ruler among the manual machines, which will be much more efficient in marking the dimensions. You will also require a triangular scale and square, which are needed to keep the drilling aligned. Among the automated tools, the drill machine is first required, and you have to get a circular saw to cut the hole.
Procedure
The first step of this process is to measure the size of the lock and the latch assembly. This is much important because you have to mark all the dimensions according to the latch assembly provided with the lock. For this, the latch parallels the locking socket and then marks both the object’s top and bottom with a pencil. This will provide you with the dimension of the thickness that will be needed for the drilling.

Now for a standard lock, there are two holes in the latch assembly; you have to measure the endpoint of the gaps and then apply to mark them at the door’s surface. Thus you will get the length of the latch assembly marked on the door. This is done to keep the distance of the hole that will be drilled from the edge of the door. You have to remember that the same length has to be kept form both the surfaces of the door.
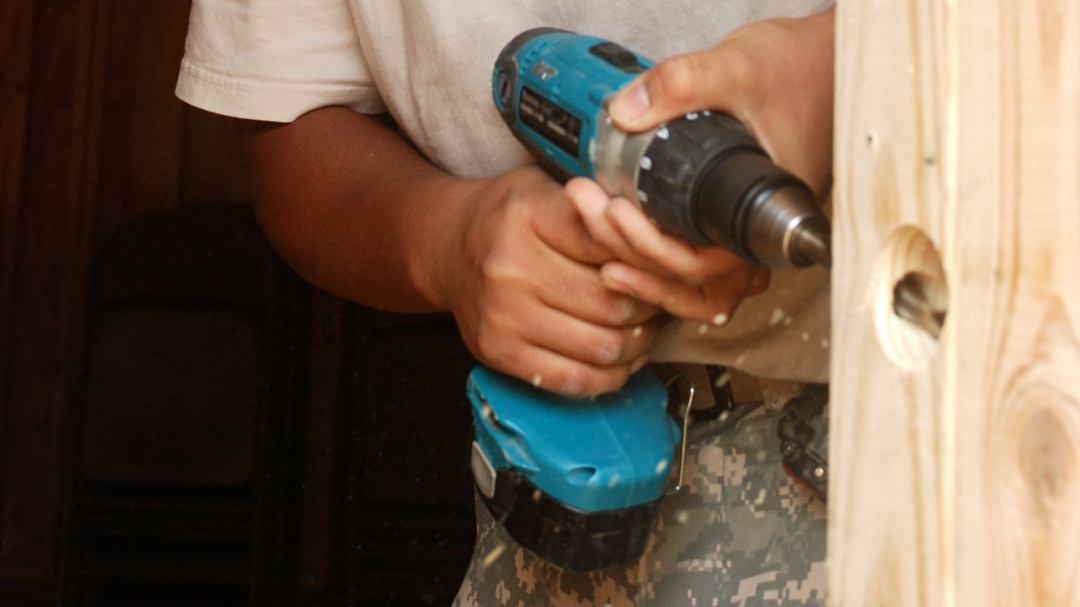
Next, you have to take the pencil and mark the center of the lock and then use a drill machine to make a ridge on that point slightly. Then attach the circular saw with the drill machine and then place the drill machine on the door and align the circular saw with a surface with a square. Now you have to start drilling the hole, and then slowly, the rotation speed should be increased.
In this manner, you must drill up to half of the door’s thickness, switch sides, and start drilling from the other side. Thus the total drilling will be complete, and the hole will be cut on the door frame for the lock. The drilling has been performed from both sides because too much pressure and vibration on the same surface may damage the door’s wood and surface coating.
Conclusion
In conclusion, we hope that the process we have mentioned here about drilling a hole in door frames has been beneficial to you. This will also make a good initiative for beginners to learn about the techniques of household artistry. The DIY skills of beginners will be highly improved. Happy crafting! Have a beautiful day!!


