
How to Dry Paper Mache Fast
Introduction:
Paper mache is just a pulp and glue mixture that you blow up into a balloon-like shape to build an object out of. It’s a magnificent thing. It dries with a skinny layer of plastic on it, so it has the ability to soak up water from wet brush equivalents (super important).
The paper part of the mix makes it light enough to let loose and gives an effect much like an airbrush because when soaking wet, there are white areas on your piece that dry with even color saturation right away! In this article, I will discuss how to dry paper mache fast. So let us get started.
Stepwise Guide on How to Dry Paper Mache Fast:
Step 1:
The first step is to make sure you have sheets of newspaper spread over your work area. After that, dip the newspaper in water and squeeze out all excess water from it before covering your entire piece by wrapping the newspaper around it as tightly as possible. You should then apply pressure using heavy objects on top of the wrapped object for 8 hours or more. This will be one of the most important steps, so make sure not to skip this one!
Step 2:
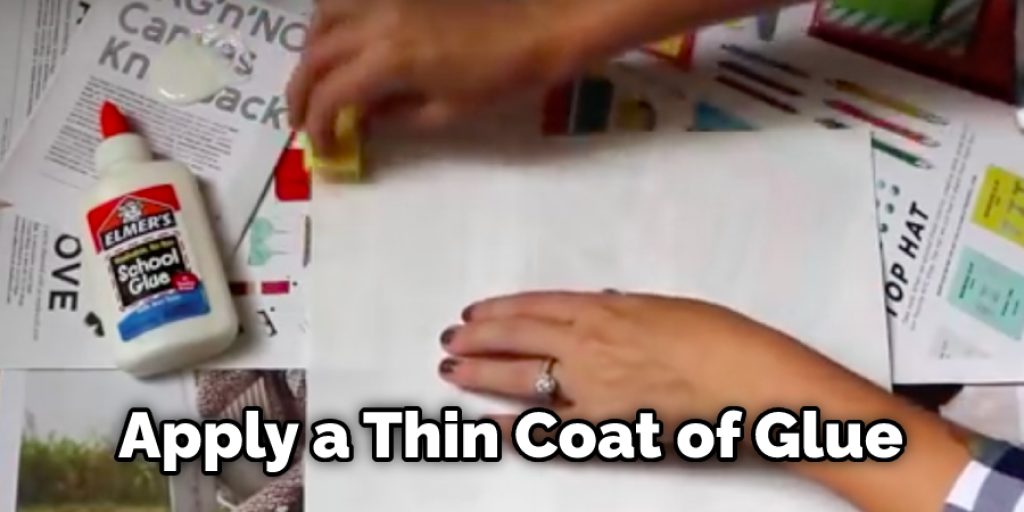
The second step towards learning is applying a coat of glue all over the entire piece. This will act as an adhesive that will make it easier for you to apply newspaper on top of the existing layer and ensure no holes or gaps are left in your project. You should then immediately wrap the newspaper around the object tightly again and apply pressure with heavy objects like books just as you did before for at least another 8 hours.
Step 3:
Move on to the third step, which involves adding another layer of newspaper. Be sure that each side gets one completely new layer of newspaper, including the bottom where you applied glue! Remember that this important step is part of why you should be collecting piles of the newspaper as soon as possible.
Step 4:
Continue moving to the next step, which is applying glue all over your project. You should do this only if you have enough newspaper available for another layer. If not, there is no harm in skipping ahead and proceeding on to the next steps like sanding or adding decorations.
But if you are ready for more paper mache, apply a thin coat of glue on every side before wrapping it in new sheets of newspaper that are just slightly moistened with water. Be sure that each side gets one complete fresh new layer of newspaper including the bottom where you applied glue! Apply pressure with heavy objects like books just as you did before for another 8 hours.
Step 5:
The fifth step involves sanding your project when the newspaper is dried. Begin with a rough grit before using finer and finer grades of sandpaper until you reach a smooth finish. Be sure to apply water or mineral spirits on the surface of your project first so that it does not absorb all the dust from sanding! Once you are done, set aside one more day for drying before moving ahead to the next steps in this tutorial.
Step 6
Repeat Step 1 through Step 4 again if needed before moving on to the next steps. After all, while applying just one thin coat of glue may seem enough, it will only form a fragile bond and fail at holding everything together as soon as the glue dries out. On the other hand, you will definitely want to have a strong bond when learning how to dry paper mache fast, so make sure you apply lots of glue for a solid final product!
Step 7:
The seventh step involves adding paint or other decorations if they are desired. The paint should be applied while it is still wet, and many projects will require multiple coats to build up a thick enough layer that makes the colors stand out.
Be sure not to let the design get ruined by brush strokes which inevitably happen when painting over dried acrylic paints that were left alone for too long because this would certainly ruin all your hard work!
Step 8:
Lastly, leave everything alone for at least a week before it is ready to be removed from the mold. Remember that you do not want to cut, pull or lift anything out of its paper mache molds until it is scorched because doing this would most likely ruin your whole project! Instead, leave everything alone and allow it to air-dry for an entire week before trying to remove them in one simple step instead of doing all these tips about how to dry paper mache fast.
Precautions While Drying Paper Mache Fast:
If you have chosen to dry your paper mache fast, then there are a few safety precautions that are important to consider. First of all: never leave children unattended in the same room as drying plaster. Second, make sure that someone else is present who can address any emergency that may arise.
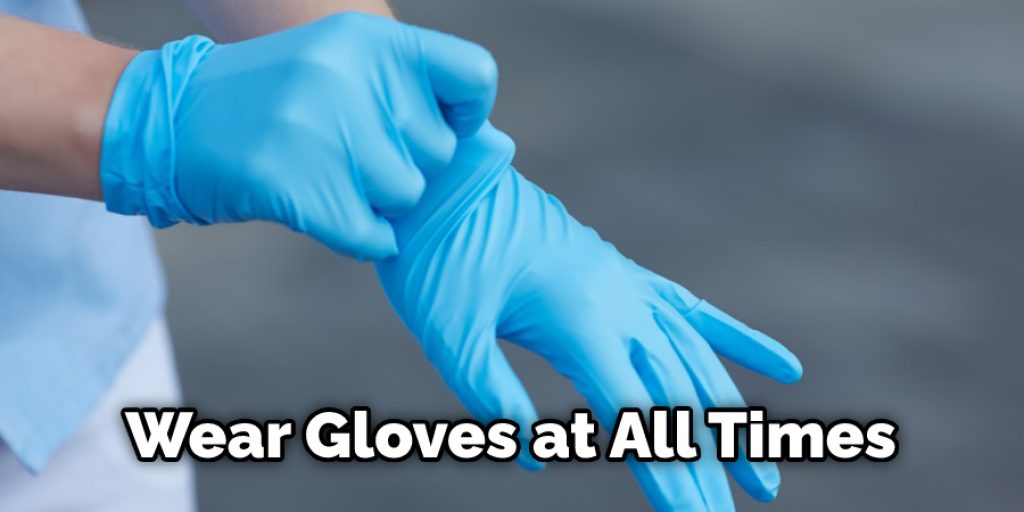
Also, it is advisable for those who handle this work to wear gloves at all times because the chemicals used may come in contact with their hands and cause skin irritation. You should also keep handy some soda bicarbonate tablets or solvents (like turpentine) just in case someone gets a little too close and ends up with an unpleasant experience. Make sure to place any potentially harmful items out of reach.
How Many Layers of Paper Mache?
The number of layers of paper mache required for a project depends on factors such as the finished product’s size, shape, and intended use. In general, smaller and lighter projects such as balloon animals require fewer layers and, therefore, less time and effort to complete, whereas larger and heavier projects such as sculptures require additional layers for increased strength and stability.
For instance, four layers of paper mache are recommended for a small mask. This will create a strong and sturdy mask that can last for years. However, when making a piñata, it is recommended to use at least five layers to ensure that the finished product can withstand being hit with a stick.
Similarly, a small decorative bowl may require four or five layers to create a rigid and durable structure, whereas a larger sculpture may require eight or more layers for added support and stability.
Ultimately, the number of layers needed for a project depends on a variety of factors, and it is important to consider these when planning and executing a paper mache project to ensure that the finished product is both strong and aesthetically pleasing.
Frequently Asked Question
Can I Use a Hair Dryer to Dry Paper Mache?
There is no definitive answer to this question as it depends on the type of paper mache you are using and the hairdryer you are using.
If you are using a traditional paper mache, then it is not recommended to use a hairdryer as it can cause the paper to crack. If you are using an eco-friendly or water-based paper mache, then it is safe to use a hairdryer as long as you do not overheat the mixture.
Can Paper Mache Paste Dry Overnight?
Paste drying is the process of removing water from a paste by the action of air. The paste is placed in an airtight container and exposed to the atmosphere, which dries it out.
The drying process can take several hours or even days, depending on the paste and the conditions of the air. In general, pastes that are less moist will dry faster than those that are moister.
Is Glue or Flour Better for Paper Mache?
It depends on the type of paper mache you are making and the specific ingredients you are using. However, generally speaking, flour is a better choice because it helps to bind the mixture together and create a firmer finished product.
Does Paper Mache Attract Bugs?
There is no definitive answer to this question as it depends on the type of paper mache you are using and the environment in which you are working. However, generally speaking, paper mache does not attract bugs.
Conclusion:
Learning how to dry paper mache fast is actually quite easy. Just remember: start with a thin layer of glue and lay plenty of sheets of newspaper along the way. Leave everything alone for long periods of time until it is completely dried out before moving on to the next step!
More tips can be added during each step as well, so feel free to experiment a little and use your instincts instead of strictly following this tutorial because everyone’s project may not turn out perfectly at first, but that does not mean you should immediately give up. Thank you and have a nice day!
Elizabeth Davis
Elizabeth is a creative writer and digital editor based in the United States. She has a passion for the arts and crafts, which she developed from a young age. Elizabeth has always loved experimenting with new mediums and sharing her work with others. When she started blogging, she knew that DIYquickly would be the perfect platform to share her tutorials and tips. She's been writing for the blog from the beginning, and her readers love her helpful advice and easy-to-follow instructions. When she's not writing or editing, Elizabeth enjoys spending time with her family and friends.


